Using Animation Actors#
Manual addition#
If you added an Animation 2D to the Level, the Animation Actor can be played at a specific moment within a Level Sequence. To do so:
Drag and drop the Animation Actor from the Outliner to the Level Sequence to create an Animation Track.
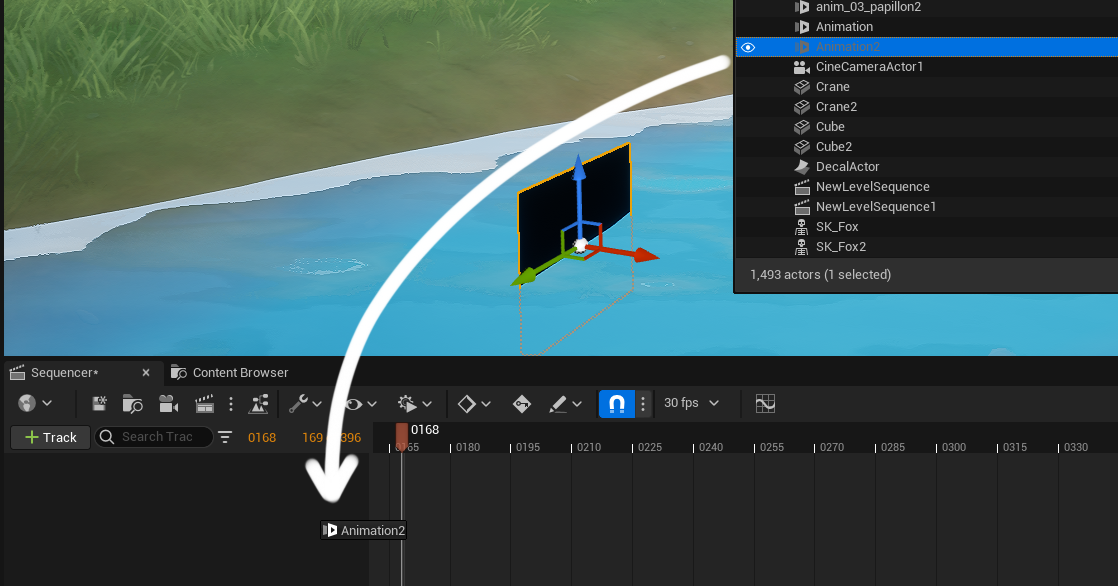
You can then change the position of the Animation Actor Track, or modify its duration:
Tip
If you need to add extra Cells, make sure you increased the duration of the Animation Actor Track!
Note
Many shortcuts lie R and T or Flips will work in that context!
Quickstart Widget#
This widget can be found in the Content folder of Unreal Engine, in the following path “Plugins ▸ Odyssey ▸ Widgets”
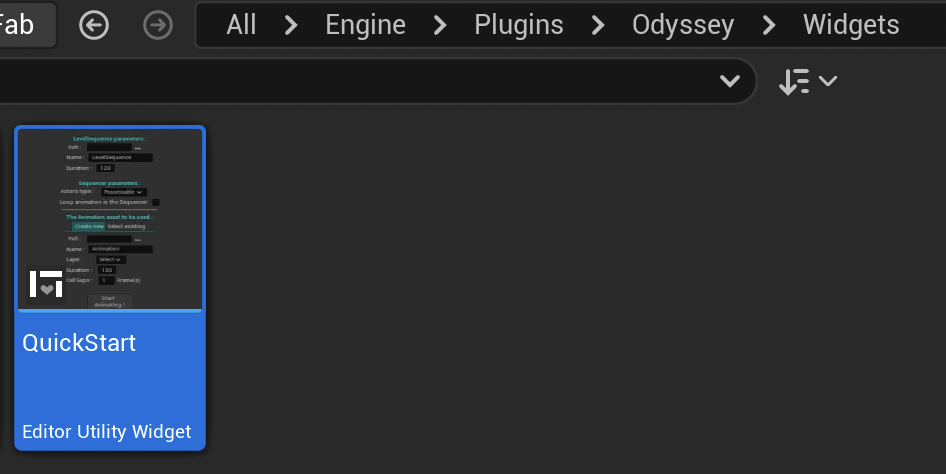
Make a right click on this widget to display it as a panel.
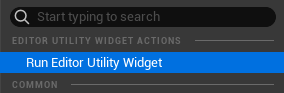
It will open the widget:
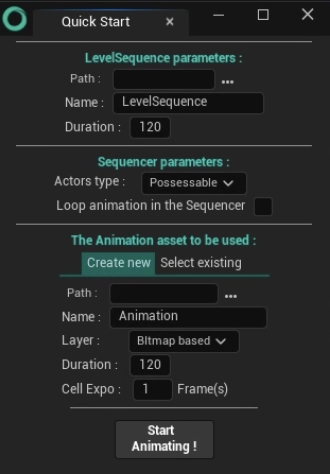
In the part “Level Sequence Parameter” select the path to create the asset Level Sequence, its name and its duration in frames
In the part “Sequencer parameters”, select the Actors type Possessable or Spawnable and if the animation should be in loop.
In the part “The Animation asset to be used”, you can either Create new or Select existing.
If creating a new Animation asset, choose its path in the Content Browser, its name, its layer type (Bitmap or Vector), its duration in frames and its cell exposure in frames.
If using an existing Animation asset, choose it in the dropdown menu.
Click on “Start Animating!”