Light Table#
The Light Table is a feature inherited from traditional animation, which allows to display by transparency the content of previous and next Cells. In other software, the Light Table may be called “Onion skin” or “Onion skinning”.
Enable / disable the Light Table#
In an Animation 2D asset, each Layer displays an additional icon with a light bulb. This icon will enable or disable the Light Table.
Icon |
Description |
|---|---|

|
Light Table is on |

|
Light Table is off |
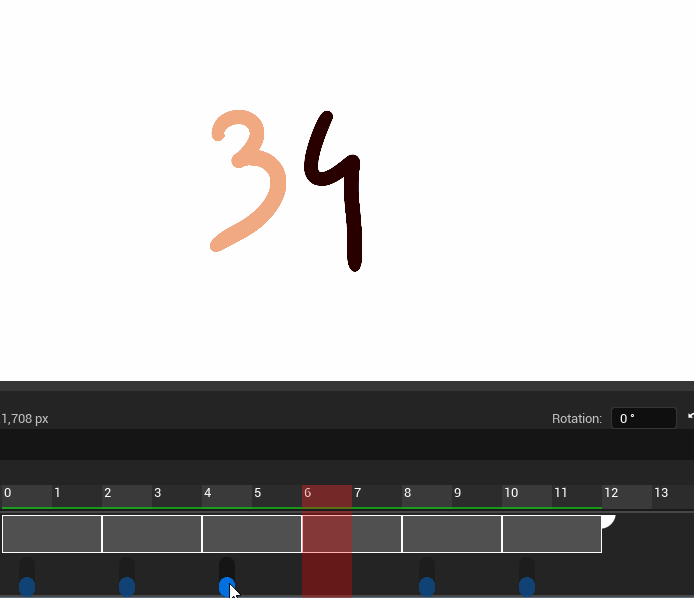
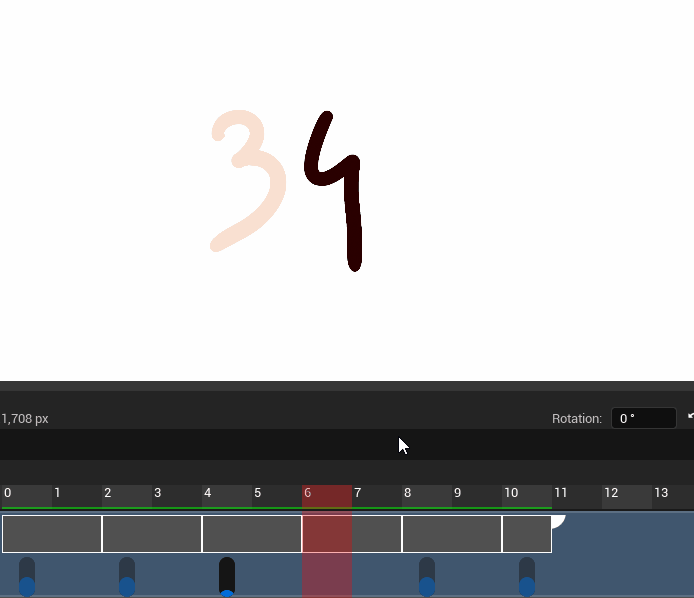
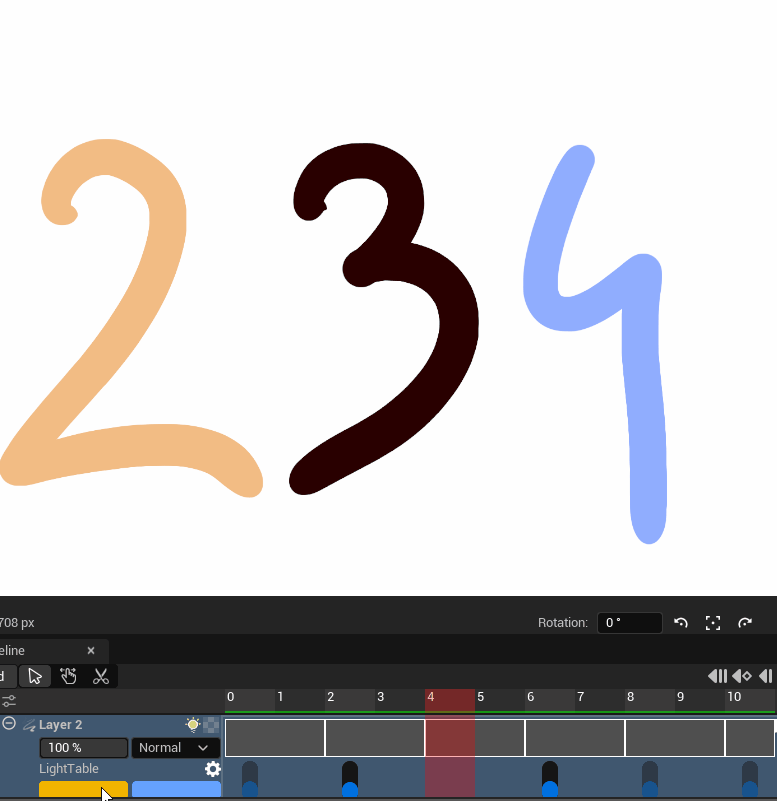
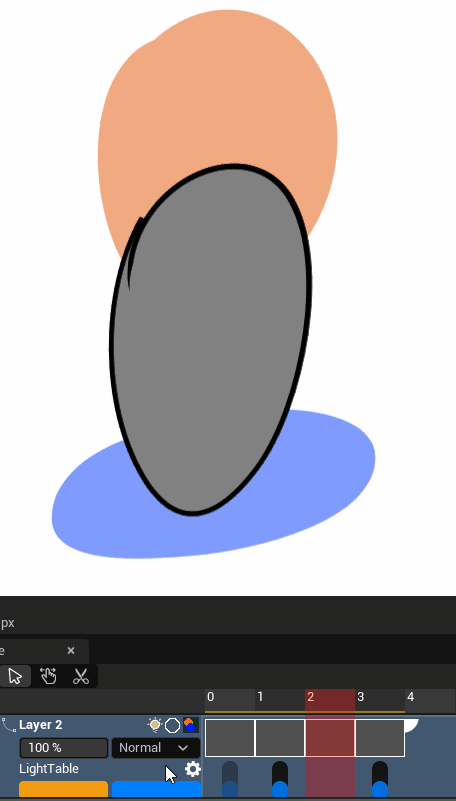
When enabling the Light Table, you will see blue cursor under the first Frame of each Cells.
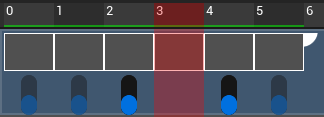
Each activated dot allows you to see by transparency previous and next Cells.
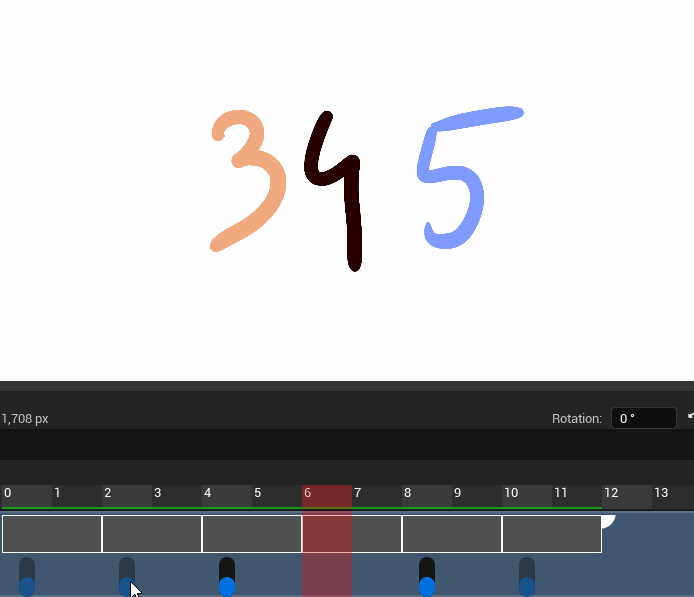
You can increase or decrease the opacity by holding the click on a blue dot and drag the cursor to the top (to increase the opacity) or to the bottom (to decrease the opacity).
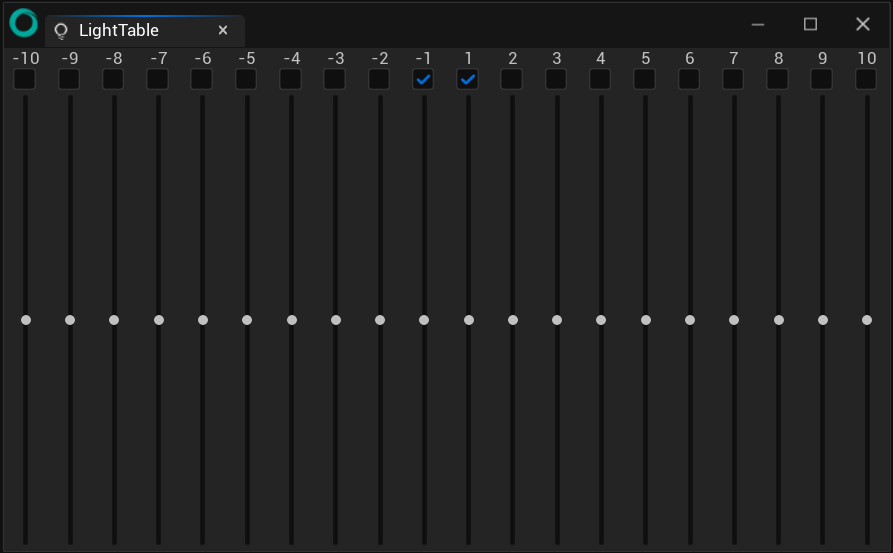
Light Table parameters#
The parameters of the Light Table always adapt to the position in the timeline:
Other parameters for the Light Table are also visible on the stack area.
The color on the left is for previous Cells. The color on the right is for next Cells. Click on the colored square to modify it.
You can also mofify other settings by clicking on the gear icon:
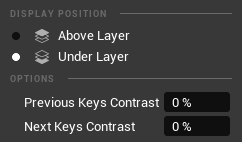
Display position: this option is really useful with Vector Layers that are colorised. It forces the Light Table to be either displayed above or under the current Cell.
Contrasts: this option also is really useful with Vector Layers that are colorised. It creates a contrast to make the difference between the line and the colored aread.

Out-of-Pegs#
The out-of-pegs is also a feature inherited from traditional animation. It is the digital way to move the paper sheet out of the peg bar in order to keep the right proportions of a character. In other software, this feature is also named “Shift and Trace” or “Tap-Wari” (タップ割) in Japanese.
Click on the tiny dots under the blue slides to activate the Out-of-Pegs:
Icon |
Description |
|---|---|

|
When Out-of-pegs has not been applied before |

|
When Out-of-pegs has been applied before |
Activating the Out-of-pegs will display options in the Tool Options Panel.
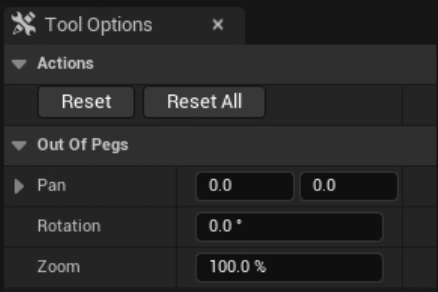
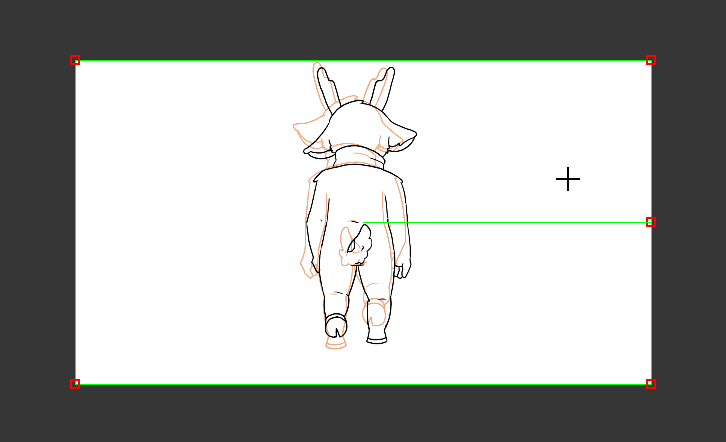
In this panel, you can pan the display of the Out-of-pegs on X ad Y axes, rotate it or change its scale with the Zoom parameter. You can also directly modify the display by using the HUD on the Viewport:
Just above, in the category “Actions”, click on “Reset” to reset the parameters of the Out-of-pegs.
Use “Reset All” to cancel the Out-of-pegs on all the Cells from the current Layer.
When the Cell has been transformed through the Out-of-pegs, it will disaply this icon:

You can temporarily switch it off by clicking on it.

Note
The Out-of-pegs HUD also works in a 3D context, on Plane meshes only.
Light Table panel#
There is also a panel (available in the menu Windows) to control the Light Table, but this one offers much less options than the tool built in the Timeline: