Input
Input nodes use data sent by external devices, such as a graphic tablet or a keyboard.
Tablet nodes
These nodes get data sent by a tablet and its stylus, such as pressure or altitude. However, some nodes can only be used with specific stylus. All these nodes gives a Float result.
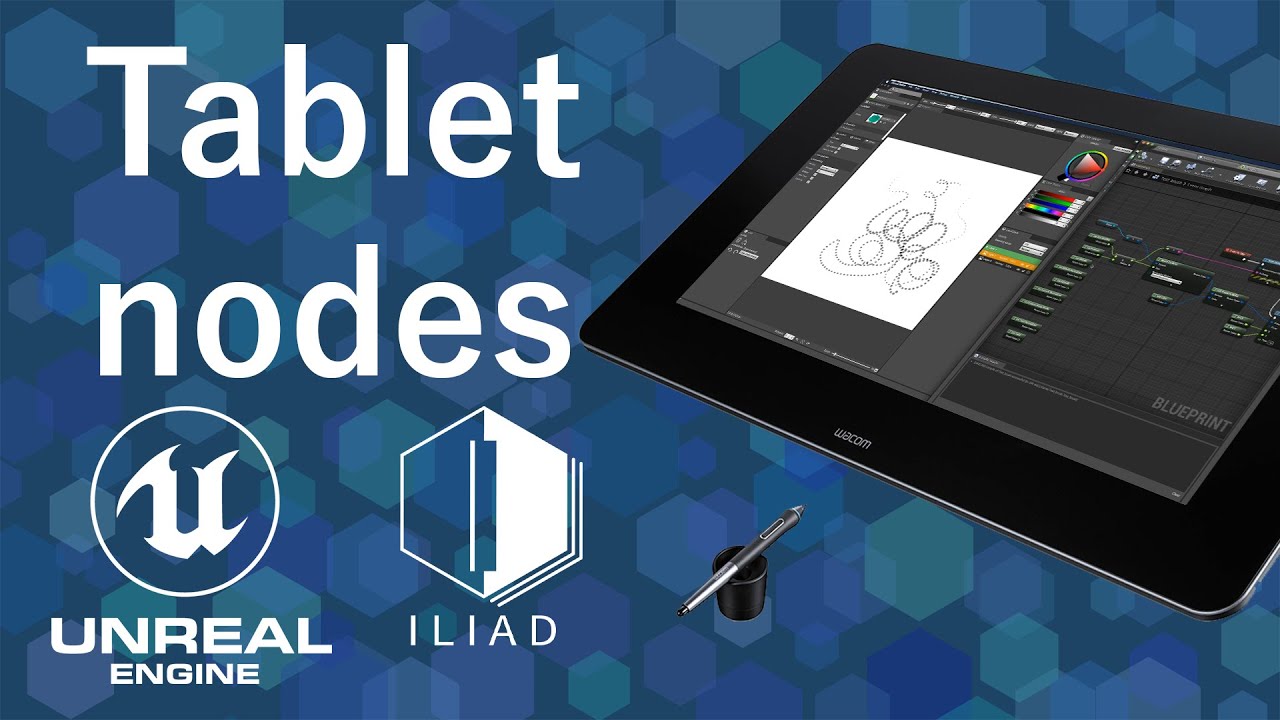
If you need a visual explanation, you will find an old tutorial made on the plugin ILIAD in 2020 which can still be helpful.
Pressure
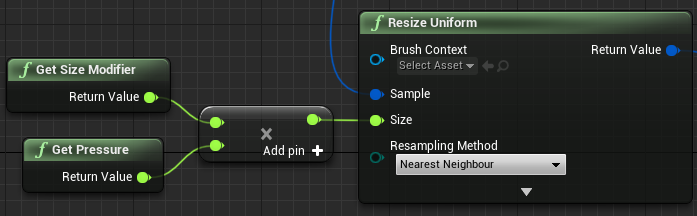
Pressure is undoubtedly the most well-known use of a graphic tablet, as it corresponds to the strength you put onto the tip of your stylus.
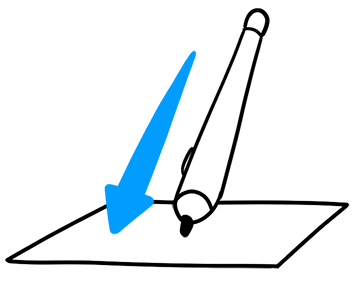
This node sends a Float value between 0 (no pressure) and 1 (maximum pressure) and can be multiplied with other nodes to increase or decrease one or several settings of a brush (size, flow, etc). Typically, in the case below, the size of the brush will get bigger or smaller, depending on the pressure of the stylus on the tablet.
Altitude

Altitude is also sometimes called “Tilt” in other painting software. It corresponds to the angle of the stylus relative to the graphic tablet.
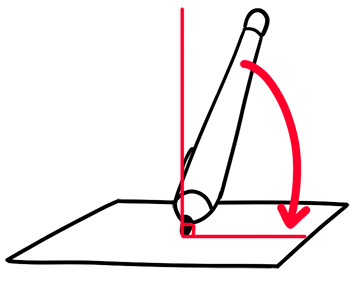
Get Stylus Altitude gives a Float value between 0° (stylus is horizontal) and 90° (stylus is perpendicular). This node can be used to be converted into an Integer and make subtle color changes when you paint.
Get Stylus Altitude Normalized gives a Float value between 0 (stylus is horizontal) and 1 (stylus is perpendicular). As an example, it can be used to affect the size of a brush.
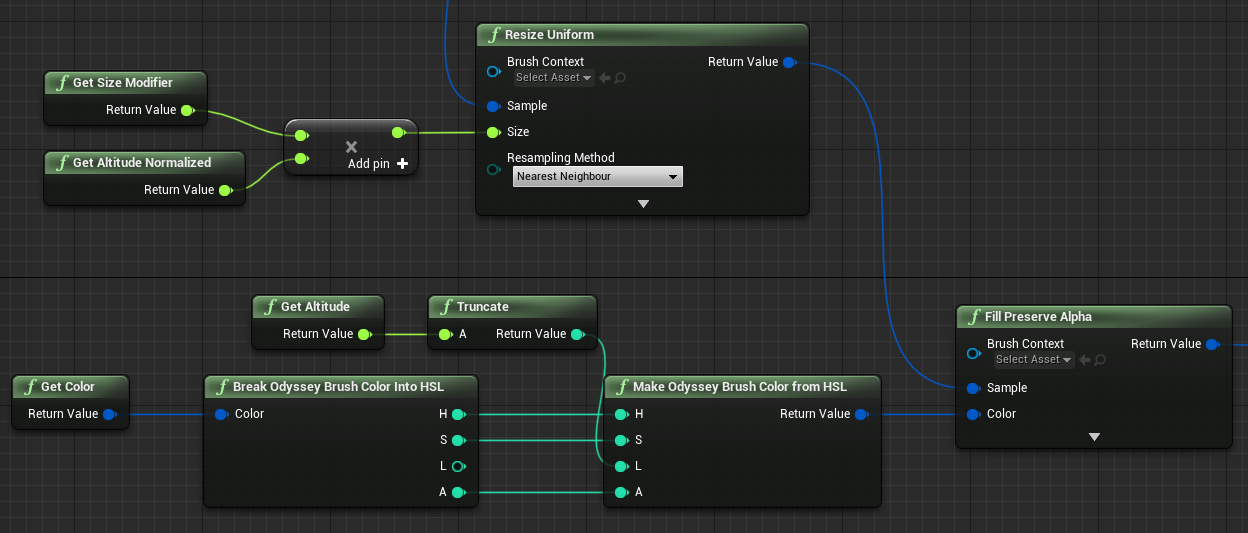
In the example below, the altitude of the stylus is used twice:
“Get Stylus Altitude Normalized” is combined with “Get Size Modifier” - which affects the size of the brush
“Get Stylus Altitude” affects the luminosity of the brush.
The Blueprint:
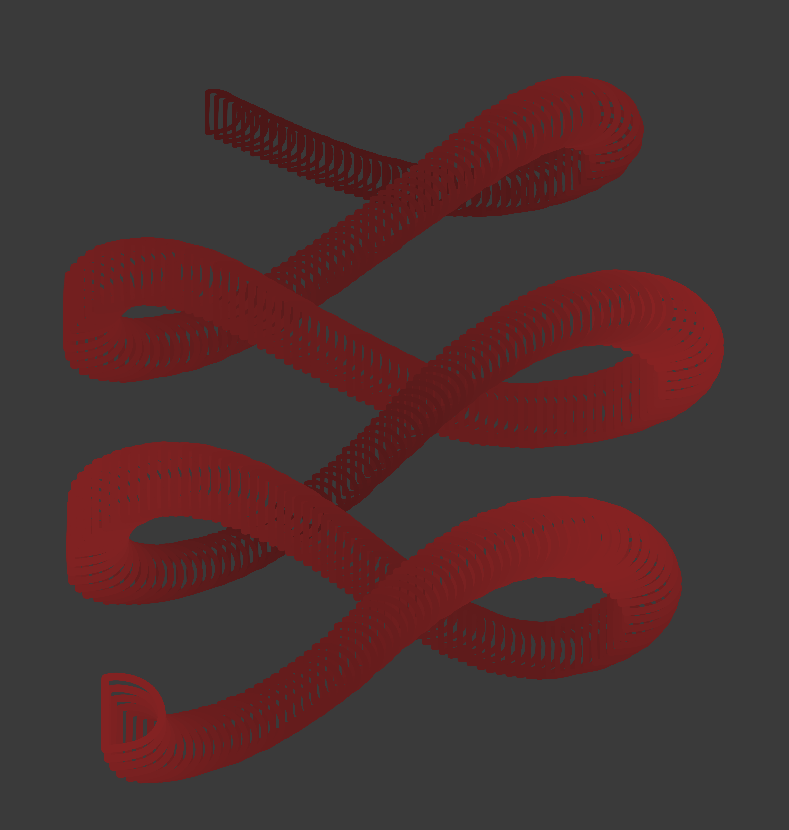
The result:
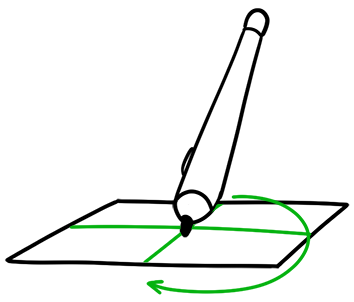
Azimuth
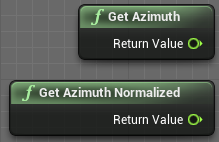
Imagine your stylus as a clock hand and its tip is the center of that clock. When you rotate the stylus clockwise or counter-clockwise, the information sent by your graphic tablet is what we call the Azimuth.
Get Stylus Azimuth gives a Float value between 0° and 360° (or, actually, 359,99°). 0° corresponds to Noon, 90° corresponds to 3 o’clock, 180° corresponds to 6 o’clock, 270° corresponds to 9 o’clock.
Get Stylus Azimuth Normalized gives a Float value between 0 and 1 (where 0 = 0° and 1 = 360°).
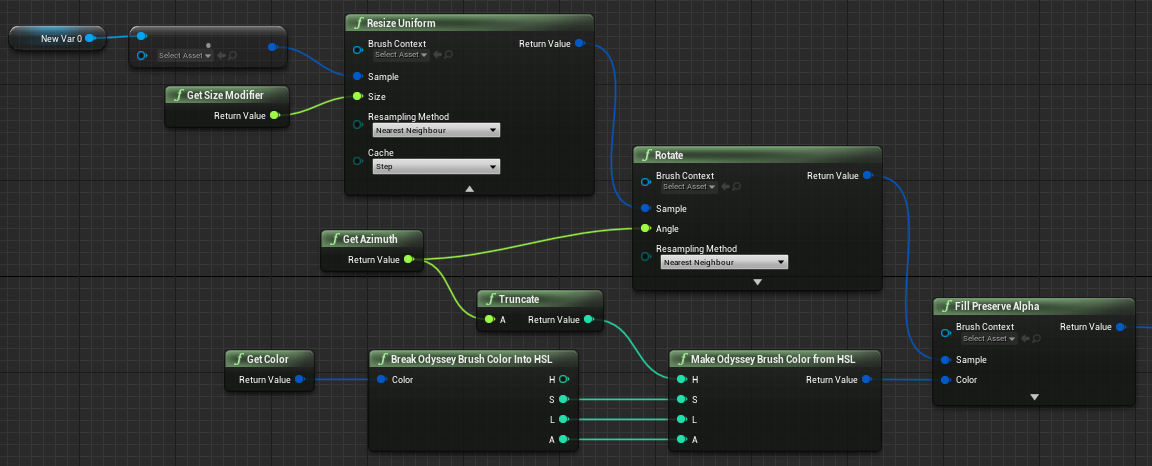
A concrete example where Azimuth is used to modify the brush angle and hue:
The Blueprint:
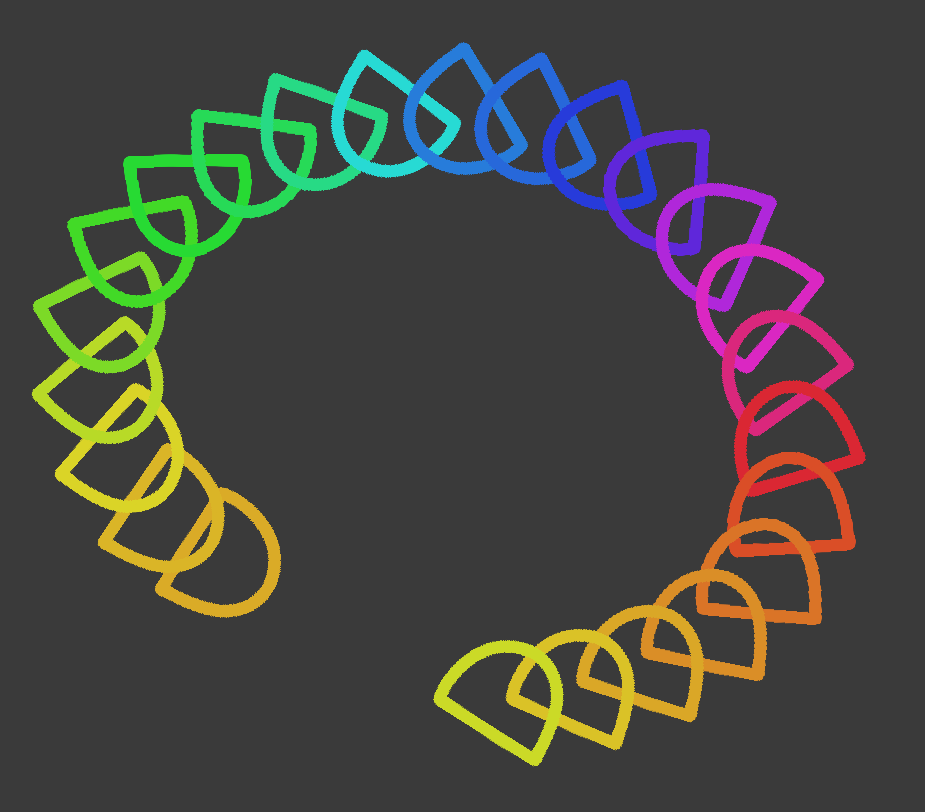
The result:
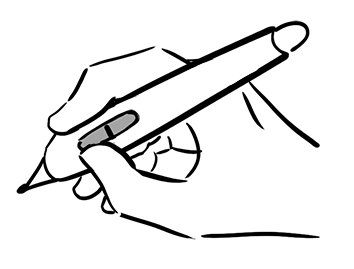
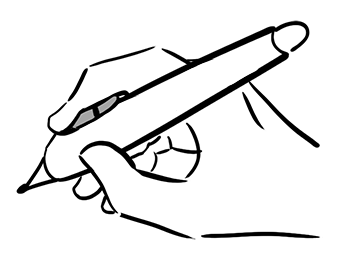
Twist
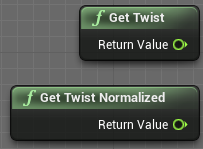
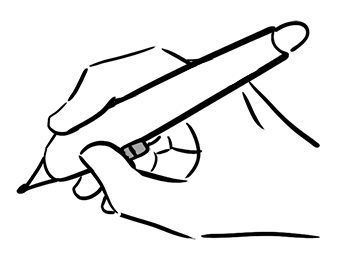
Twist is the rotation of the stylus on its own axis. If you use a Wacom graphic tablet, these nodes will require a specific stylus, like a Pro Art Pen.
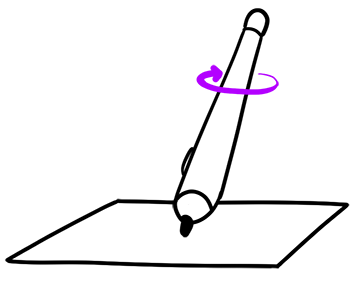
Get Stylus Twist gives a Float values between 0° and 360° (actually, 359,99°). If you’re right-handed, and if we use the side buttons as references:
0° (your thumb is on buttons)
90° (your index is on buttons)
180° (buttons are hidden in your hand)
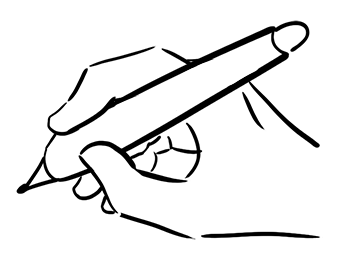
270° (buttons are just behind your thumb)
Get Stylus Twist Normalized gives values between 0 and 1 (0 = 0° and 1 = 360°).
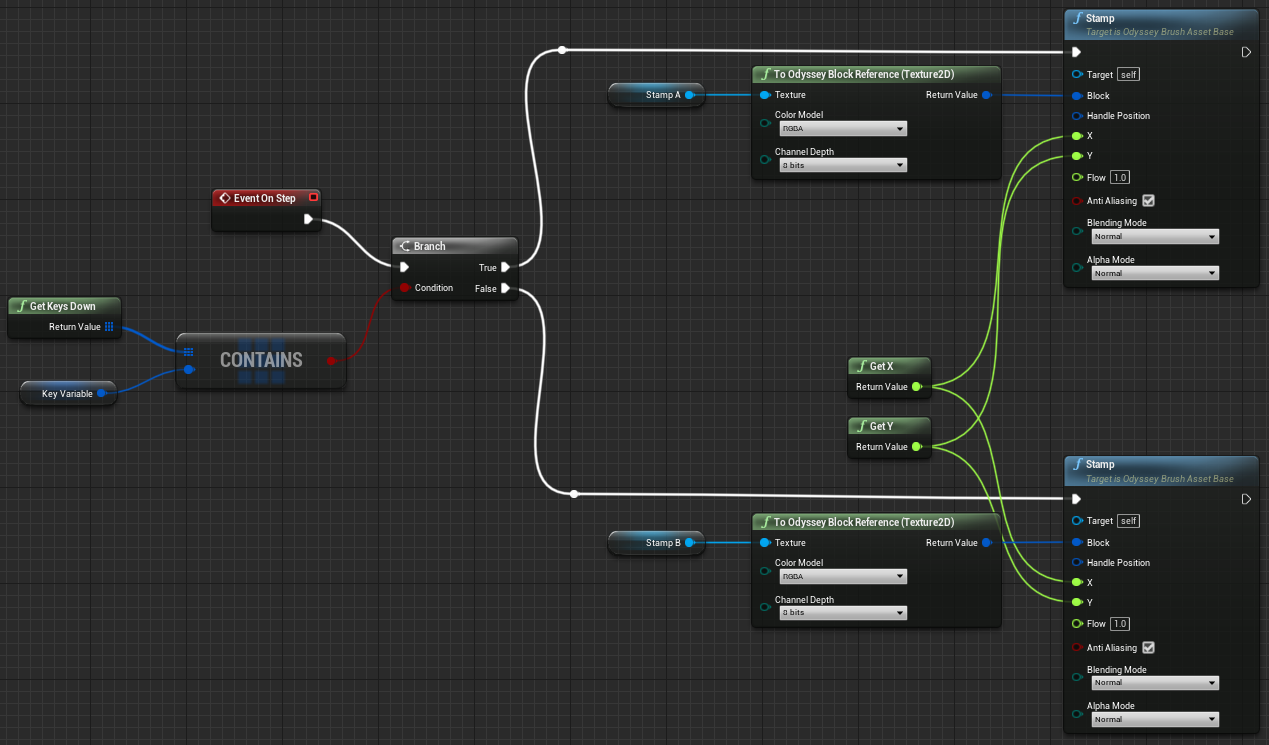
Keys Down
An Odyssey Brush can include shortcuts to call variations or different settings. For instance, you could switch between 2 different stamp, modify the color of a brush or its the size.
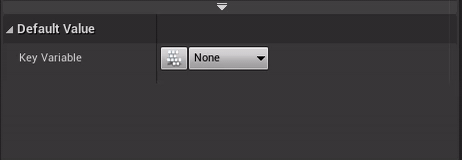
To add a shortcut, you must first add a variable “Key”:
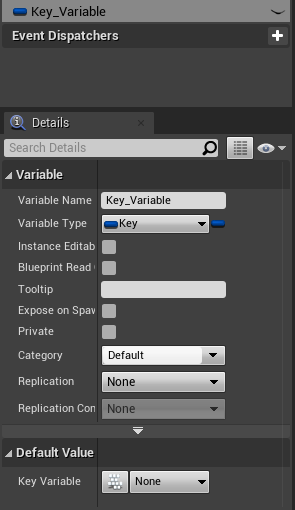
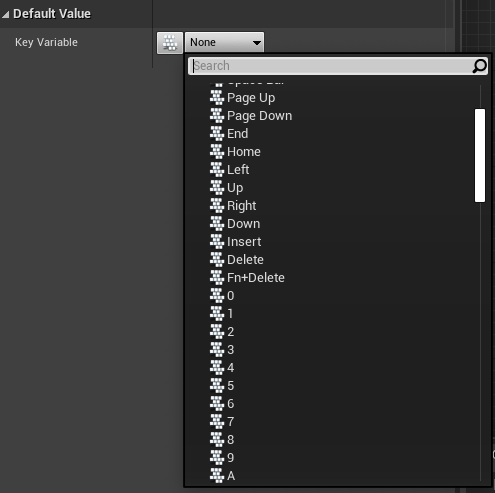
You can then either choose the key among the list:
Or click on the tiny button on the left, then select the input to be used (mouse our keyboard):
In your Blueprint, add the node “Contains item” in the category “Utilities › Array” and connect it to “Get Keys Down” with the variable you have just created. You must then connect it to a node “Branch”, whose the outputs “True” and “False” will be connected to different Stamps.