Blueprint basics
Blueprint is a scripting language using nodes. It comes from Unreal Engine and is derivated from C++ coding language. This lesson is a beginner introduction to Blueprint. However, we advise you to read the documentation of Unreal Engine if you need advanced explanations.
Blueprint interface
To open an Odyssey Brush, you must double click on its icon, either from the Content Drawer, or from the Brush Selector. If you open a new Odyssey Brush, you will get this window:
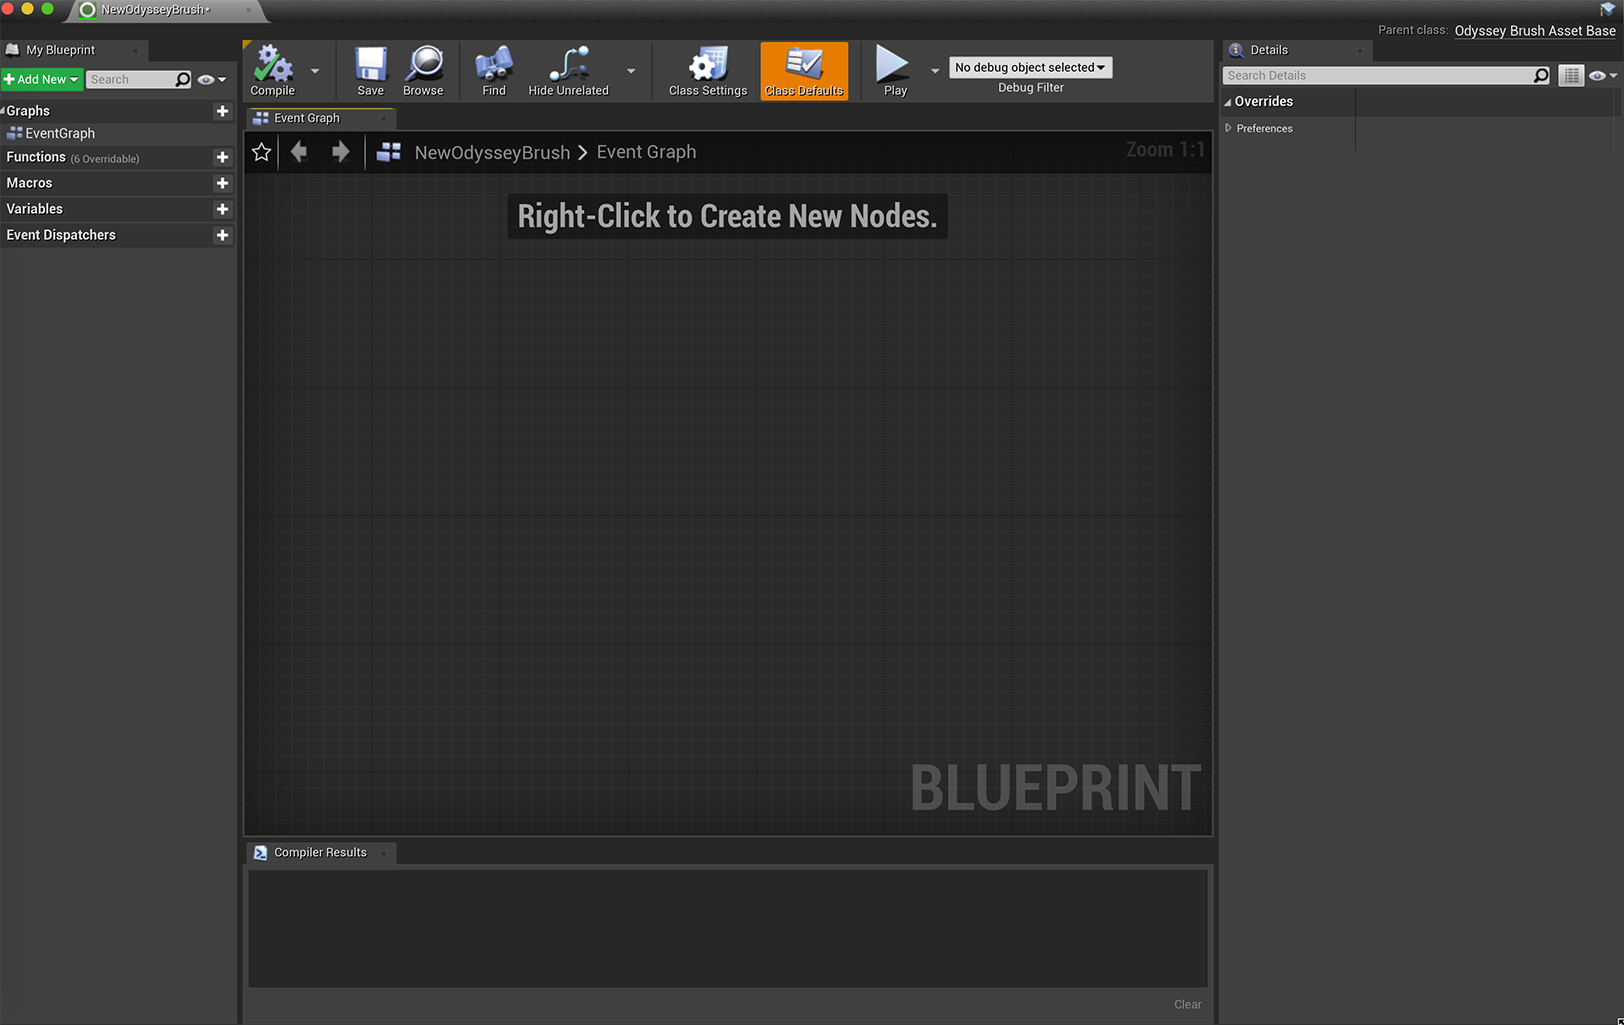
The panel on the left, “My Blueprint” will stock all the custom elements you might need to create, such as variables, functions or macros. The panel on the right, “Details” displays details on the a node or a custom element that is selected in the interface.
Add a node
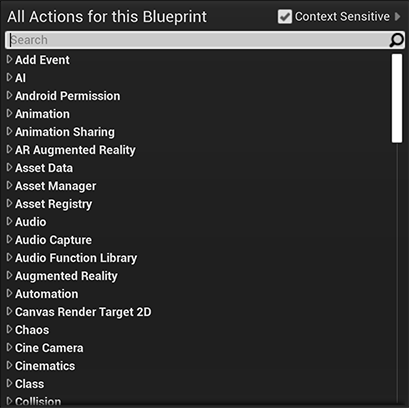
You can open nodes directly in the Blueprint grid with a right click:
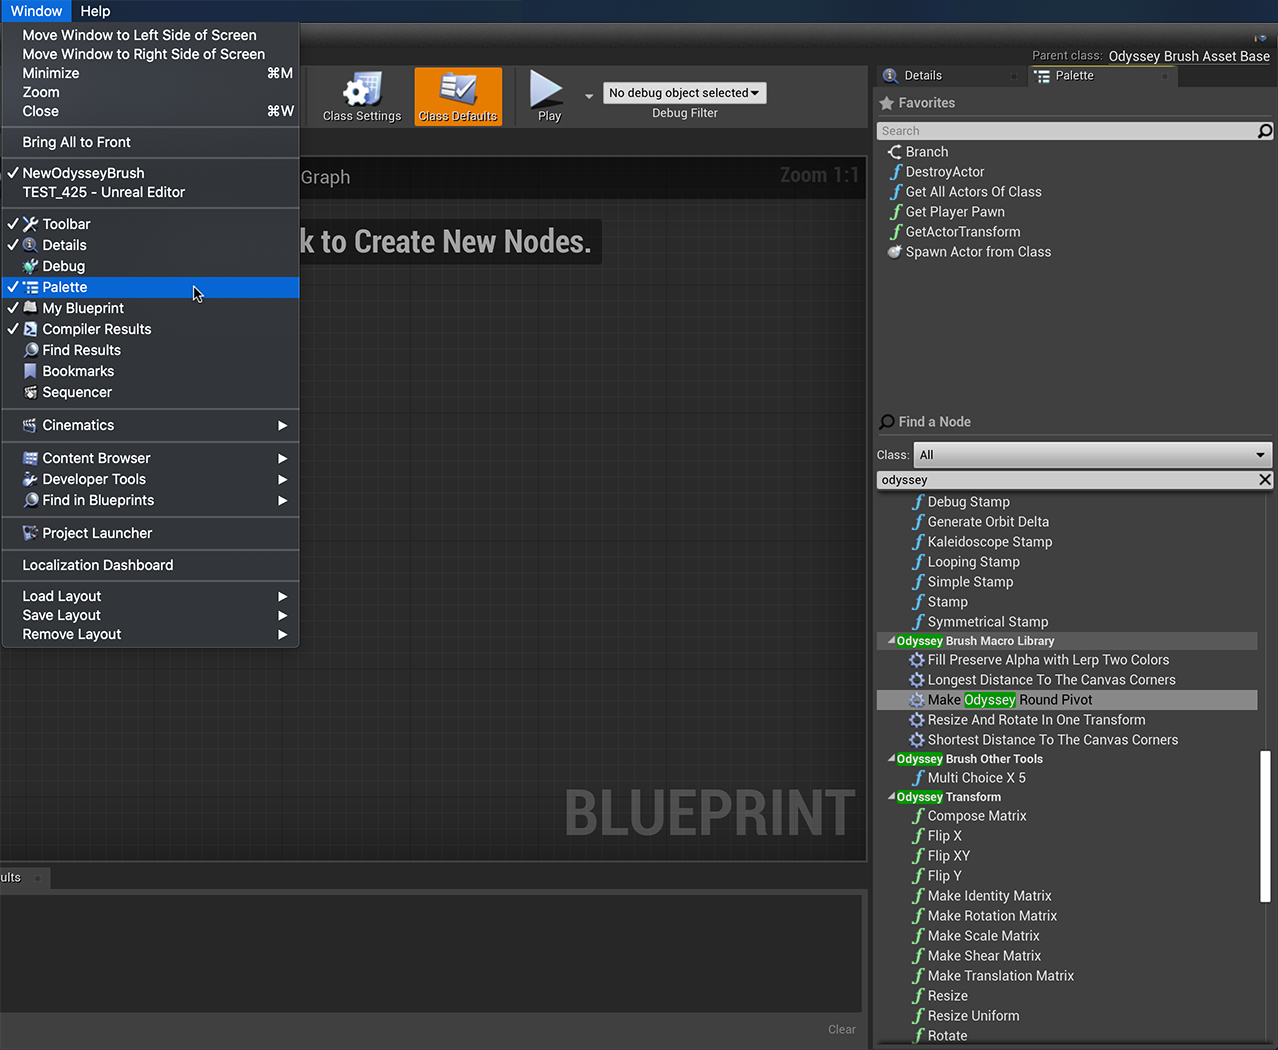
You can also go to the “Window” menu and enable “Palette” to keep nodes aside. Nodes specific to Odyssey Brushes are into “Odyssey” categories.
Navigation
Move nodes
Nodes move like a window. Select the top of the node and hold it to move it around.
Zoom
Use the Mousewheel up and down to zoom in and out. If you use a stylus, you can combine LMB (tip of the stylus) + RMB then move up and down to zoom in and out.
Pan
Use RMB to pan the Event Graph.
Node connection
Connecting nodes is really easy! Nodes are made of input values (on the left side) and output values (on the right side). Nodes must be connected to each other. To do so, hold the click on an input or output to create a string and plug it in the right socket.
If you change your mind, you can use the shortcut Alt to cut an existing string.
Comment
You can organise nodes thanks to comments. To add comments:
Select several nodes
Make a right click
In the drop-down menu, select “Create Comment from Selection”
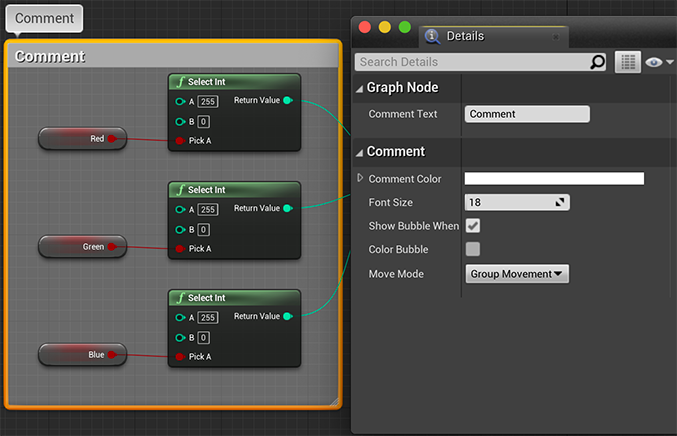
In the panel “Details”, you will be able to change settings like:
The name of the Comment Text (give an explicit title)
The color of the Comment
The size of the font
A bubble with additional explanations and its color
The Move Mode of the Comment
For instance, the default mode “Group Movement” allows you to move all nodes into the commented section.
Compile & save
Compiling your Blueprint is mandatory to test your Odyssey Brush.

Your Blueprint needs to be compiled.

Your Blueprint has been compiled and works well.

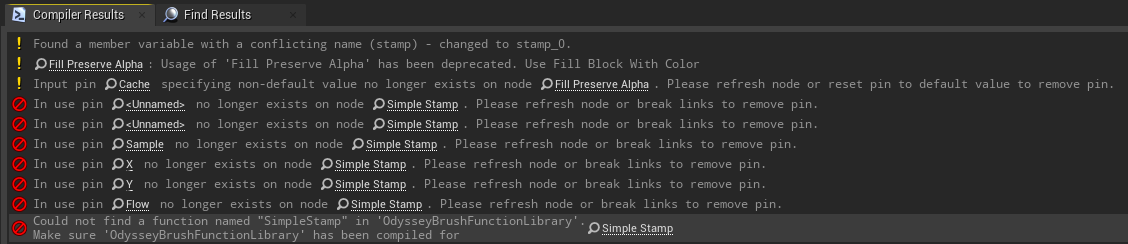
Your Blueprint has some errors to fix. For more information, see Compiler Result panel.

Click here to save the changes you brought to your Bluperint.
Be careful : compiling won’t save and saving won’t compile. These are two different tasks.
Structure of an Odyssey Brush
And Odyssey Brush is usually made of this classical structure:
Event: Node that triggers the stroke on the canvas
Stamp: Node that creates the stamp for the stroke
Variable: Custom elements with colors or image to be used in the Stamp
Nodes: All nodes that configure the stroke: size, blend, rotation, connection with the tablet, etc.
IMAGE