Adjust Block
Color Model
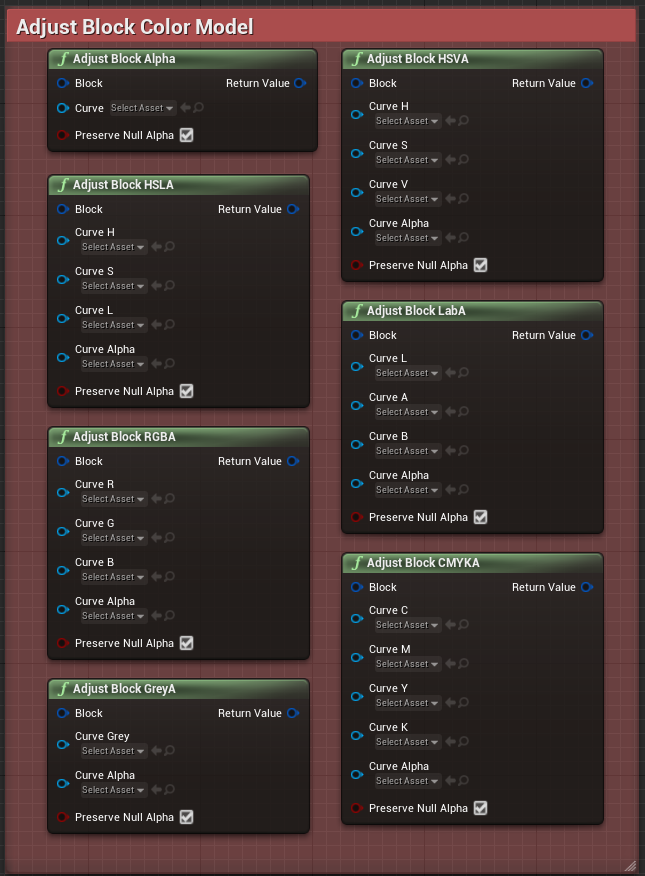
These nodes shall be used to adjust the various channels of a block using Curves Float Objects. This is really useful, especially if you need to adjust a texture (hue, luminosity, saturation, etc).
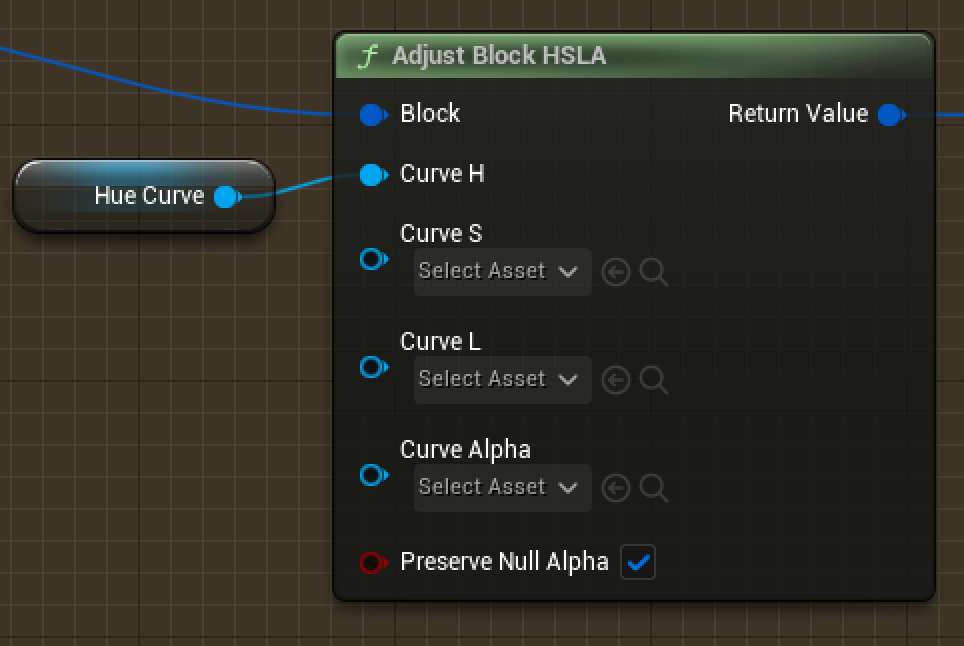
As example, let’s set create a Blueprint using a photograph as a Texture and “Adjust Block HSLA” with a Float Curve linked to the Hue as a Variable.
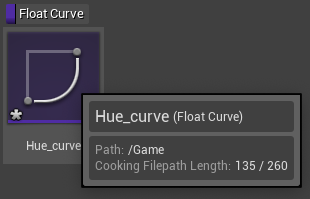
In the Content Drawer, make a right click in an empty area and click on “Miscellaneous” to select “Float Curve”.
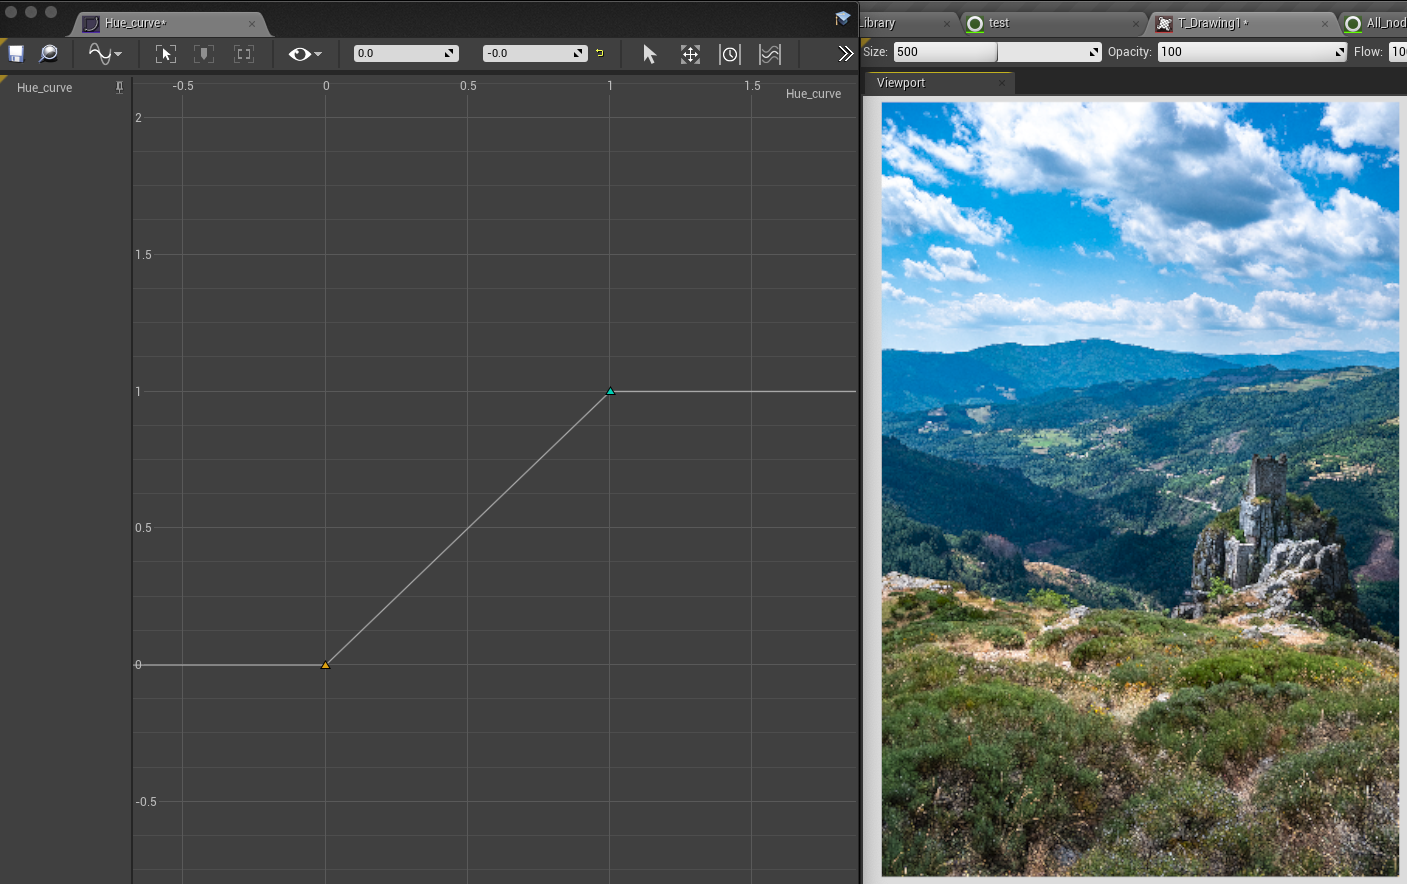
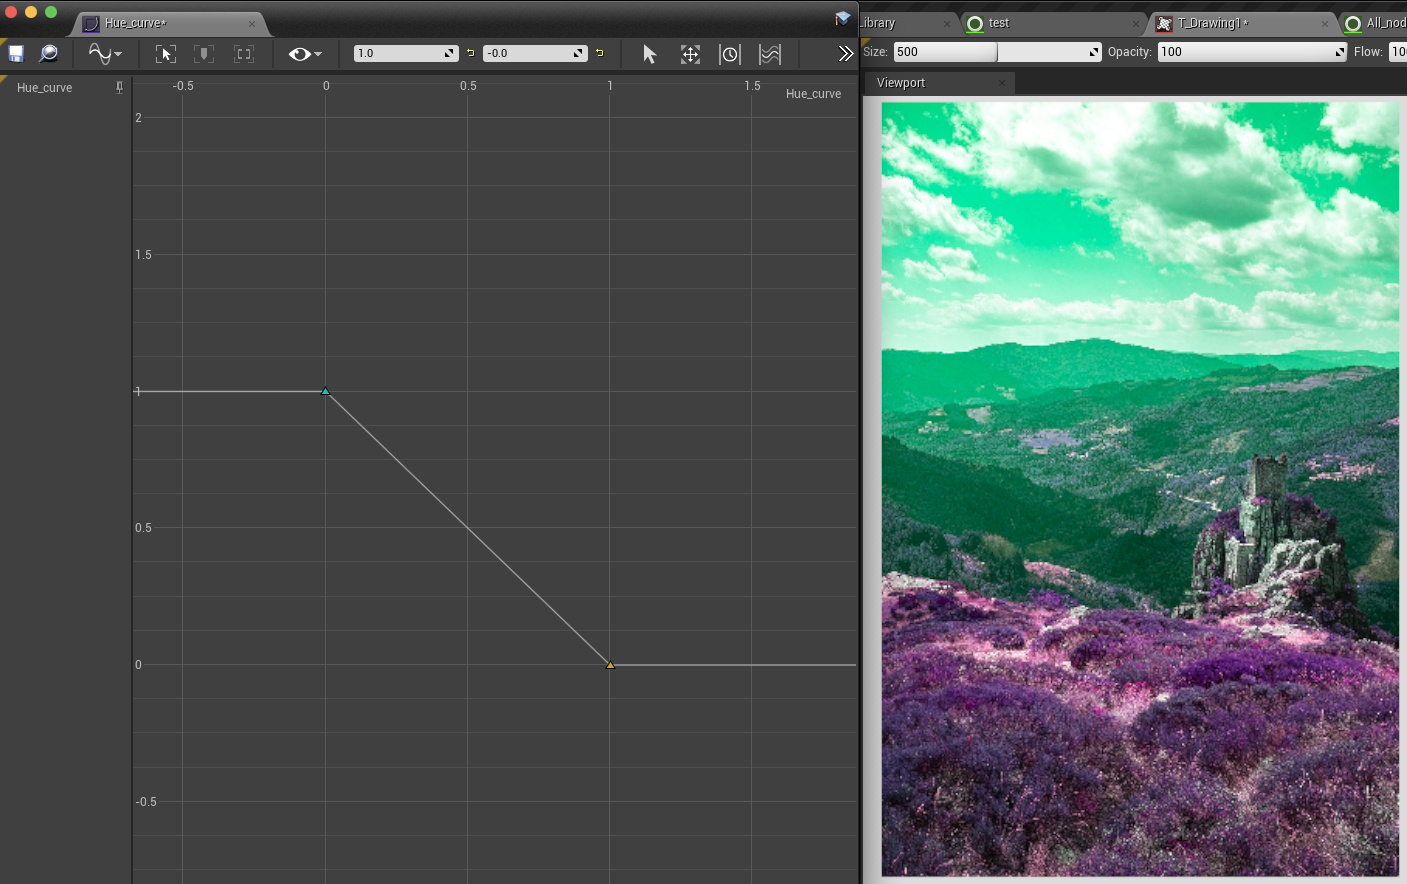
Open and Edit the Curve (to respect the original colors, the curve must go from 0-0 to 1-1 :)
In the Blueprint, create a variable “Curve”
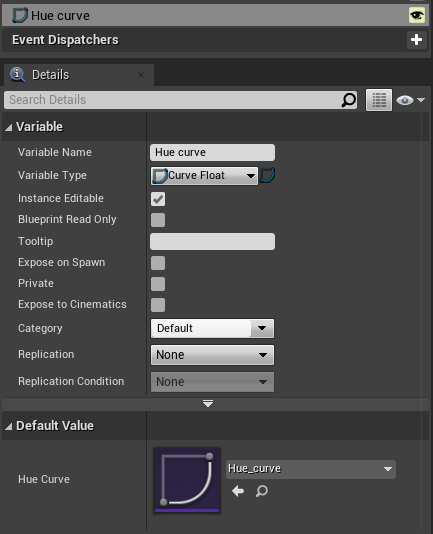
Connect this variable to the input “Curve H” in “Adjust Block HSLA”
Open the asset Curve and play with its orientation. Some examples:
From 1-1 to 0-0:
From 0-0.5 to 0.5-1 to 1-0

Note
Please note you will have to check the result by stamping the brush on the canvas each time.
Convert
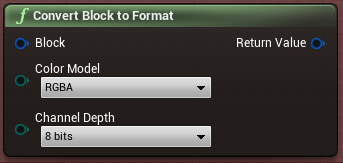
This node will convert the whole Block to another format (Color Model + Channel Depth).