Step 6 - More Planes
Adding more Planes
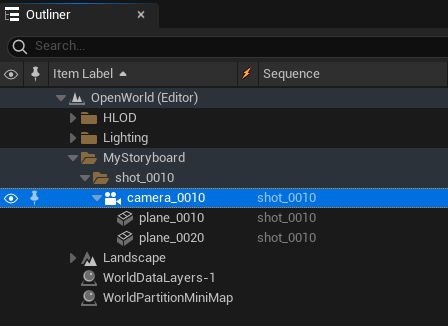
You might need to work on several Planes within the same Shot, especially if you work on several characters having different key Drawings or moves, just like in the example below:
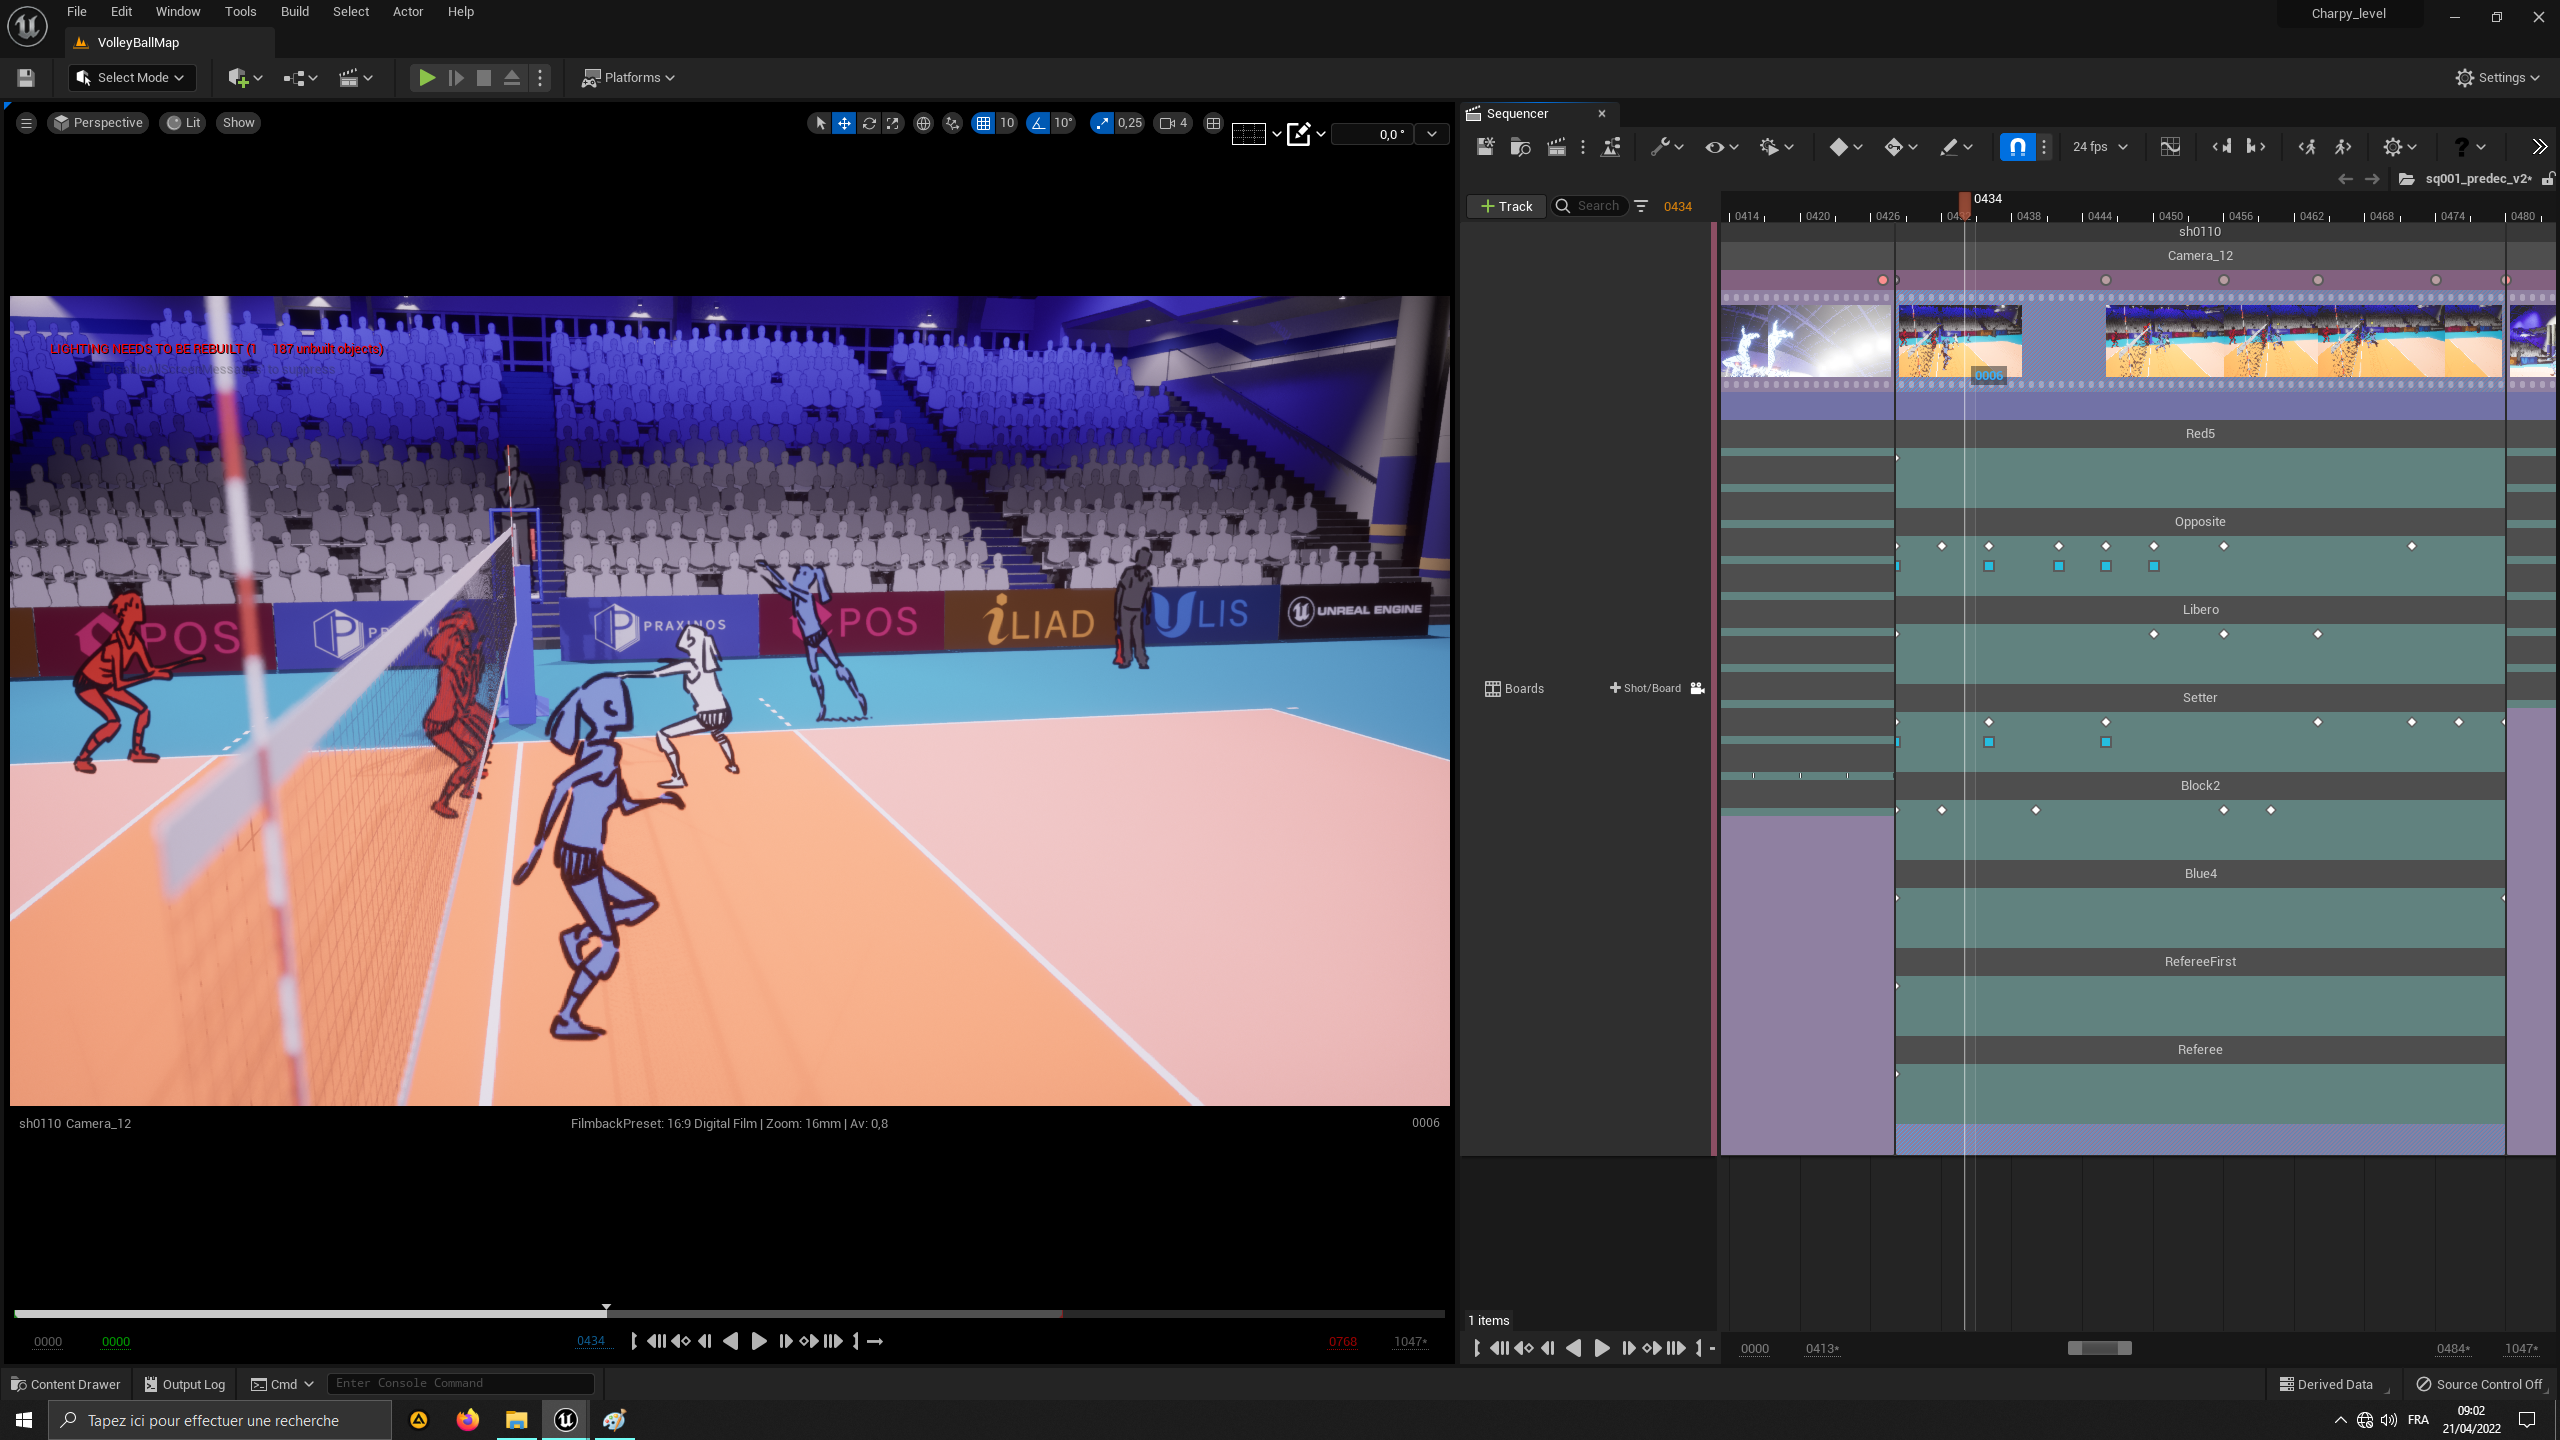
To add more Planes, you will find this “+” icon at the bottom of each shot.
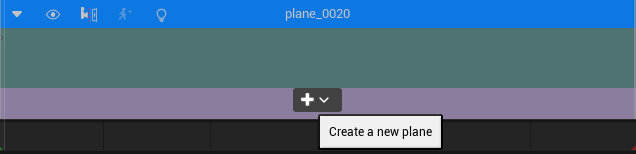
When clicking on this Icon, you will be asked to choose the Plane’s margins, Relative Scaling and Texture Height.
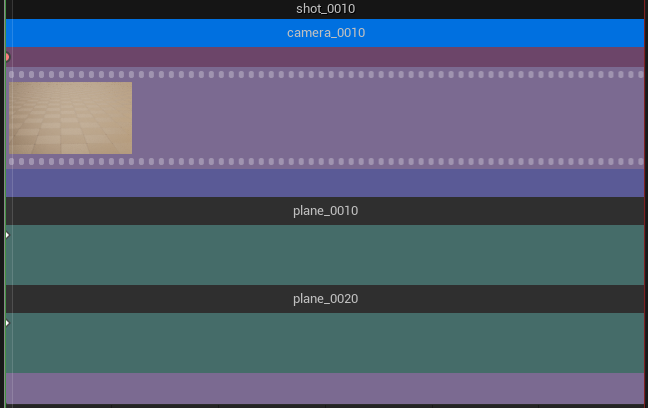
Click then on “Create a new Plane” to create another Plane Track in your Shot Sequence and in the World Outliner. Here is an example of a Shot with 2 Planes visible in the Sequencer and the World Outliner:
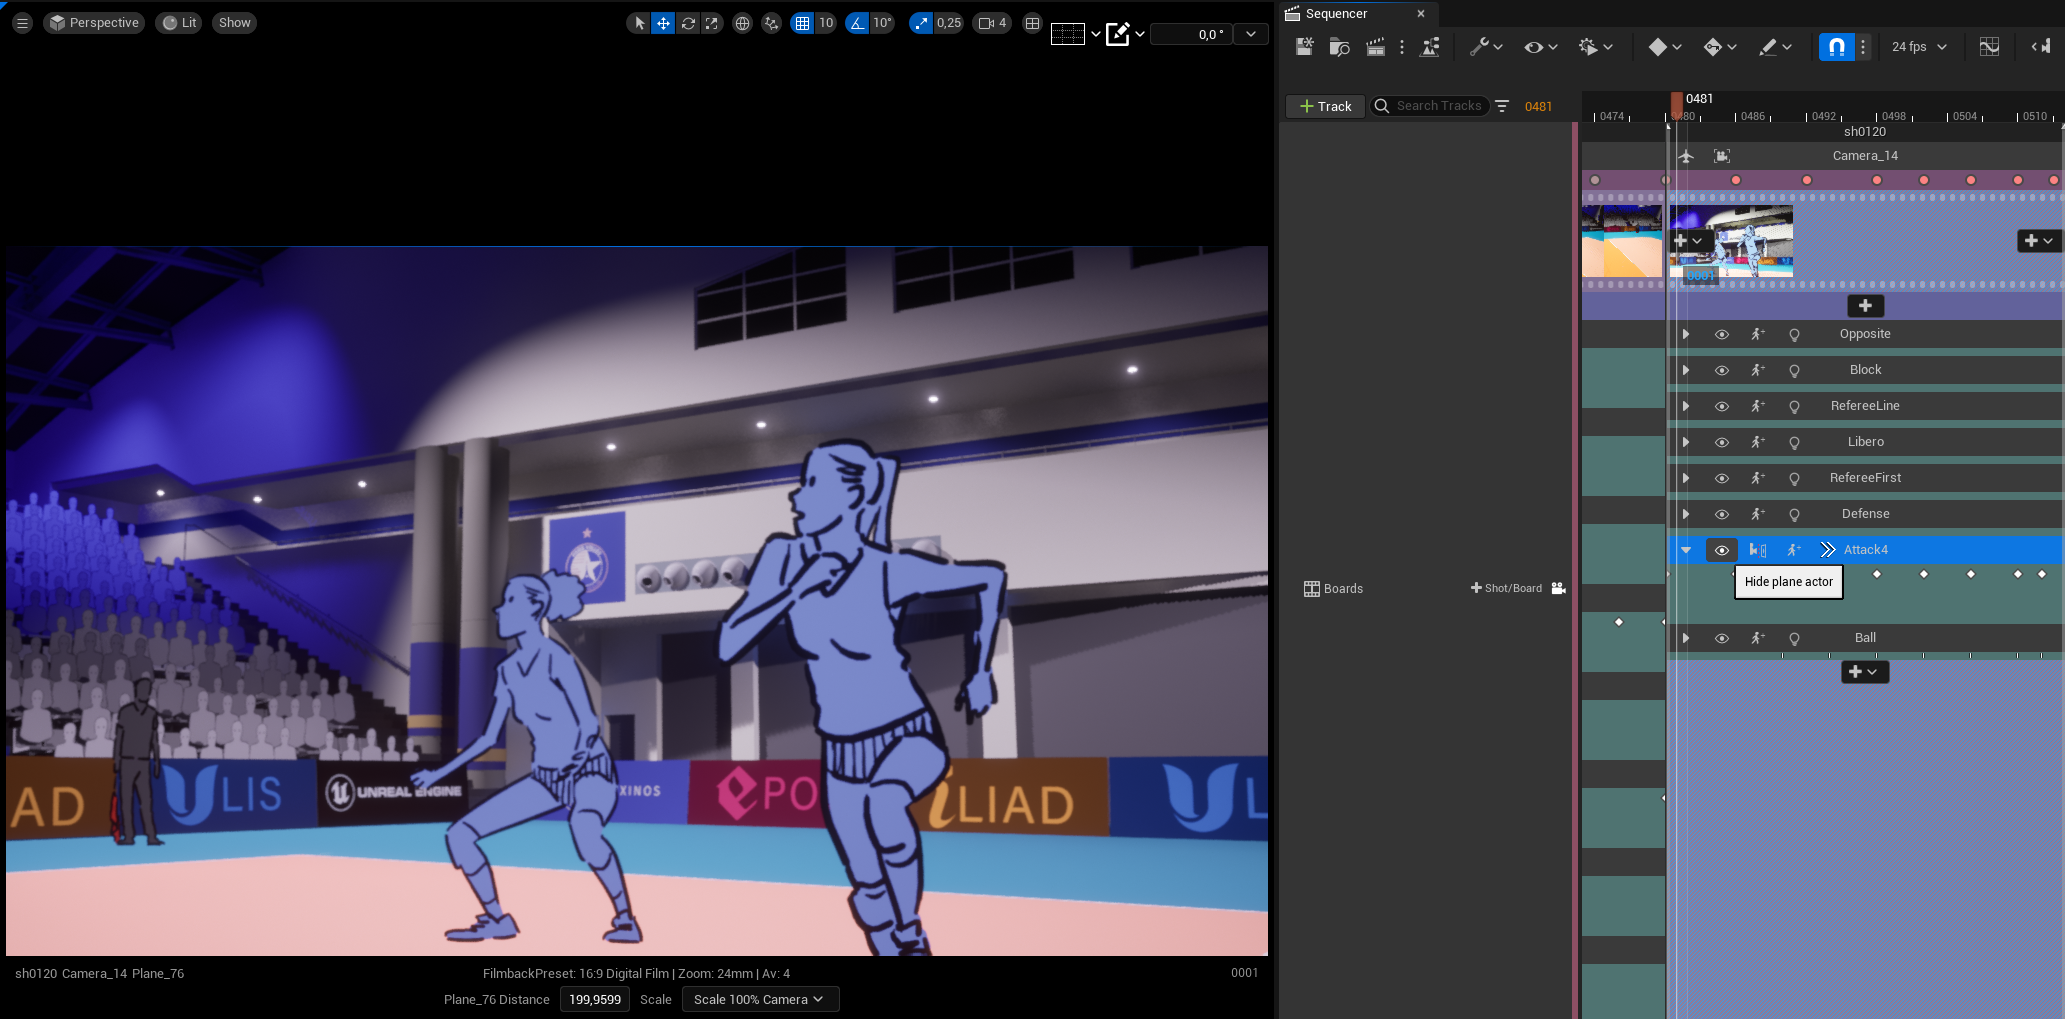
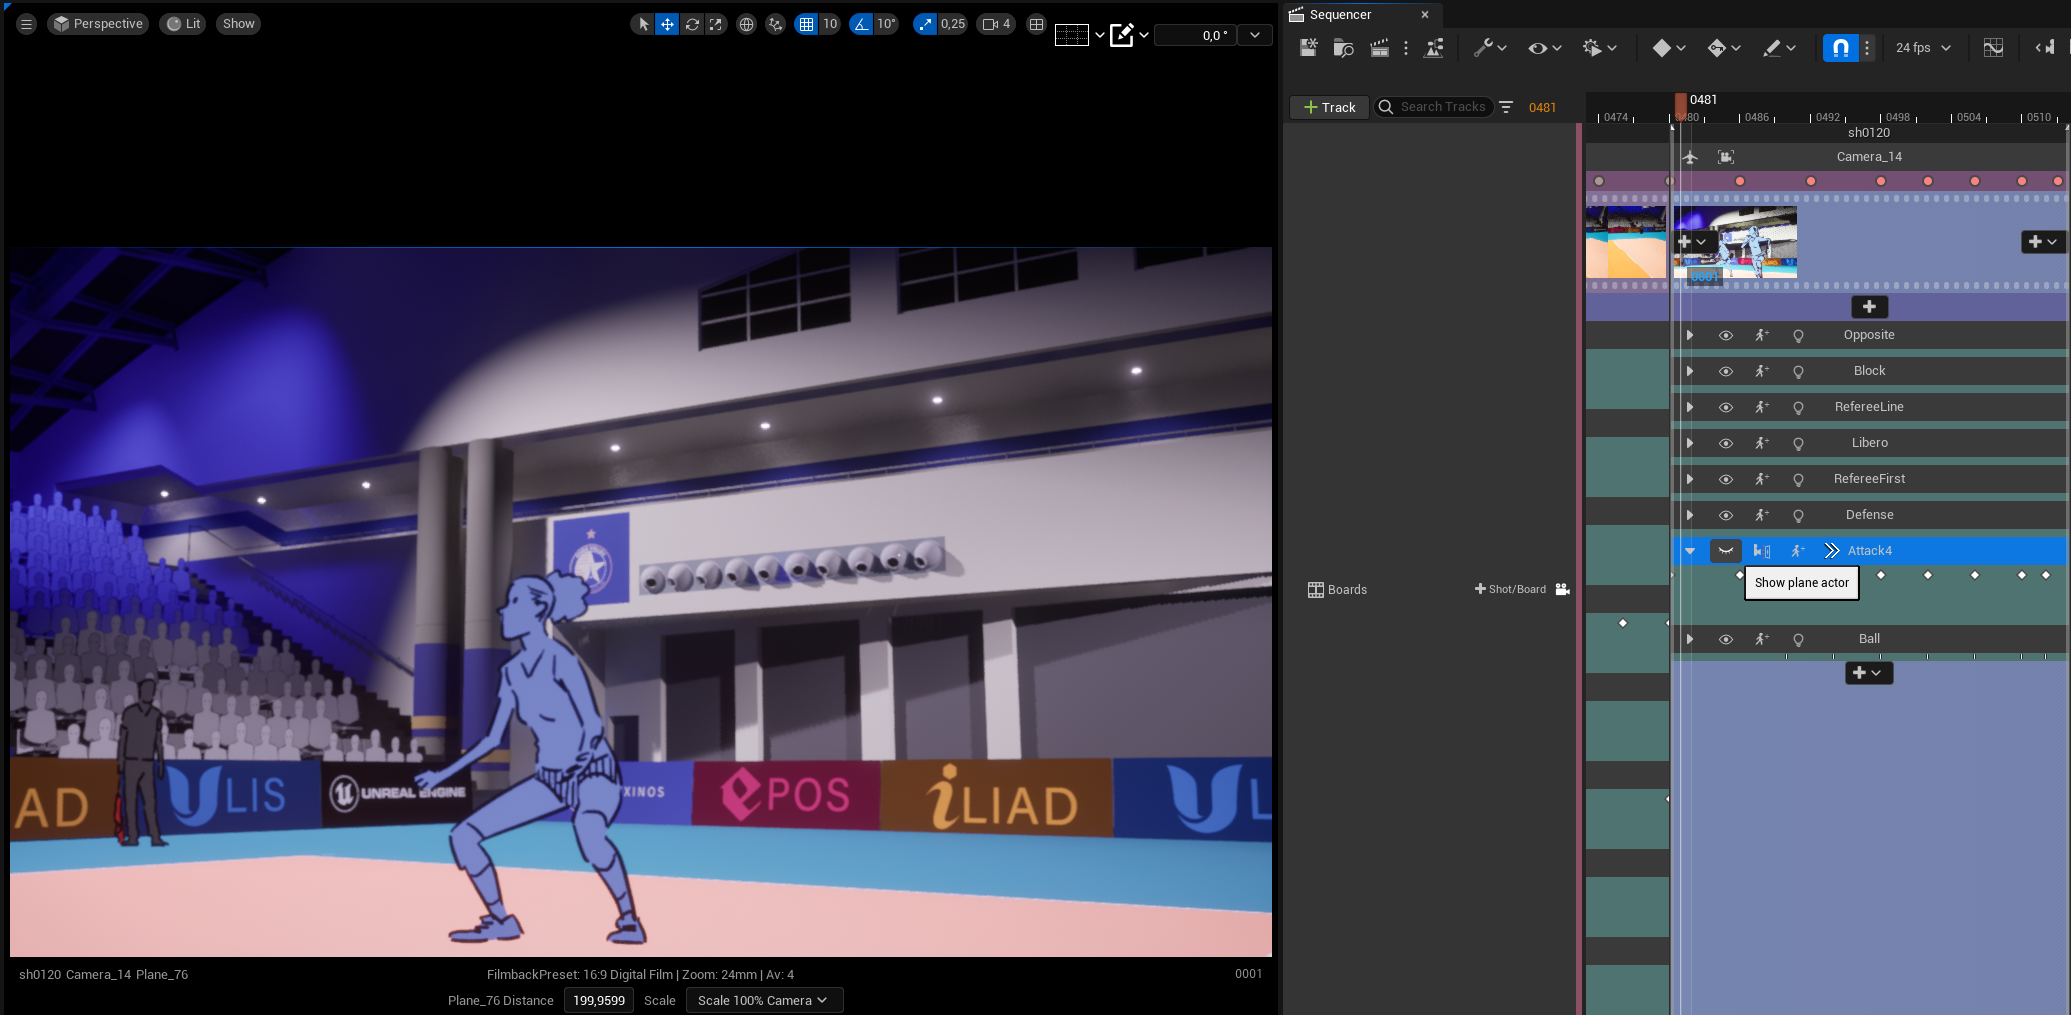
Hide and collapse a Plane
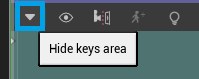
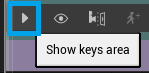
As we saw in the previous lesson, icons appear when hovering Planes with the mouse or stylus. The tiny triangle on the left will collapse and uncollaspe the plane to hide keys (Drawings and Transform)
If you need to hide the Plane and its content for any reason, click on the icon with an eye:
If the Shot duration is too small, no icon will be displayed on the the Plane Track. Instead, you will have to click on the “>>” icon to get the same options: