Step 11 - Export Footage
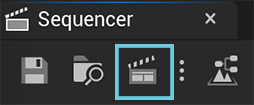
You can to directly export your animatics as videos or as image sequences from EPOS. To do so, click the icon with a clapperboard in the Sequencer tool bar.
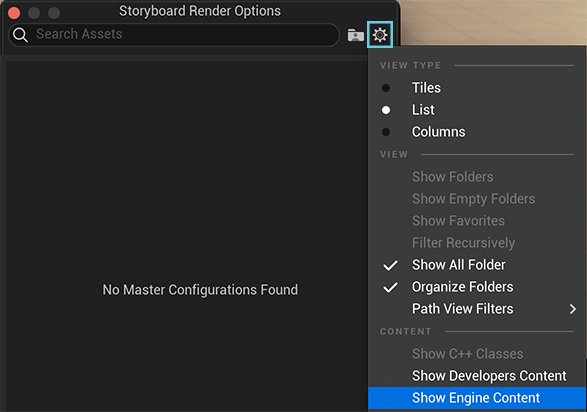
You will be displayed the panel Storyboard Render Options. If it’s empty, make sure the option Show engine content is enabled in the settings (gear icon).
You will be displayed several Movie Pipeline Master Config (MPMC) files. Ignore the default files from Unreal Engine (Still_Draft and Still_Ultra) to focus on MPMC_Storyboard_Sequence and MPMC_Storyboard_ffmpeg.
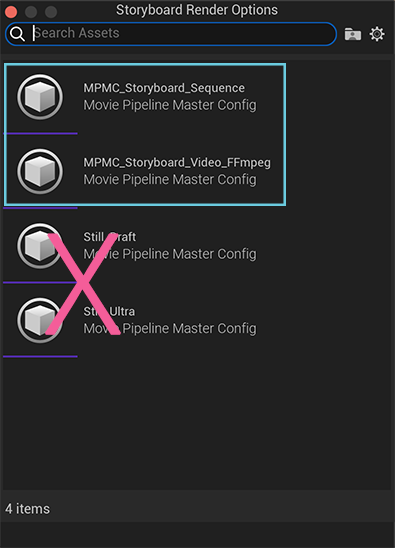
The first one will use native features from Unreal Engine, the second is an advanced option requiring an external library named FFmpeg.
Using Storyboard Sequence
to be written later
Until the document gets written, you can read this documentation.
Using FFmpeg
FFmpeg is an external and open-source library to render video files with various codecs and settings. This library must be installed separately to render films and sequences with EPOS.
Windows
Go to this website and download the pack ffmpeg-release-essentials.zip.
Unzip the content of this file (make sure you have an application to do so, such as 7zip.) and place the unzipped folder anywhere on your computer (it must be a local disk). For this lesson, the folder was renamed ffmpeg and is placed into the disk G:\

Installing process is finished
Mac
Go to this webpage and download the pack ffmpeg-[version-number] (as a zip). Once downloaded, double-click ffmpeg-[Version-Number].zip. This will extract it using the Archive Utility and create an executable ffmpeg file.
Open a new Finder window (use [cmd + N] and go to your Home folder (use [cmd + shift + H]) and create a new folder called FFmpeg. In this folder, create another one called bin. Move the executable ffmpeg file to this bin folder.

Now it is time to authorize this library to run on your Mac OS. To do so:
Double-click the file called ffmpeg.
You should see an error message “FFmpeg can’t be opened because it is from an unidentified developer”. Click “OK”.
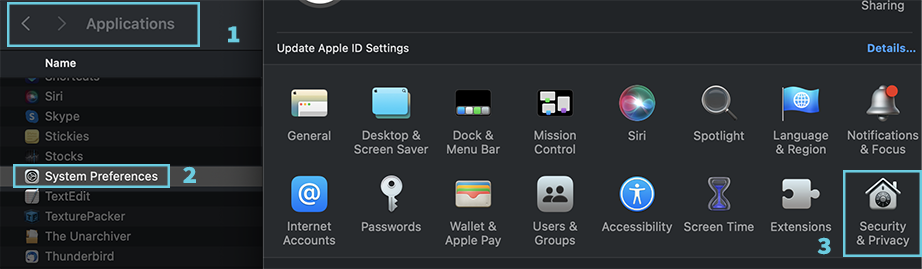
Go to Applications > System Preferences > Security and Privacy and click on the General tab.
At the bottom of the window, you will see a message saying that FFmpeg was blocked. Click “Open Anyway”.
If you do not see this message in the General tab, double-click ffmpeg again in the bin folder.
You may have to click the “unlock” button and enter your password to be able to click “Open Anyway”.
If you see another popup that says “FFmpeg is from an unidentified developer. Are you sure you want to open it?”, click “Open”. If you don’t get this popup, just go to the same file and double-click it again.
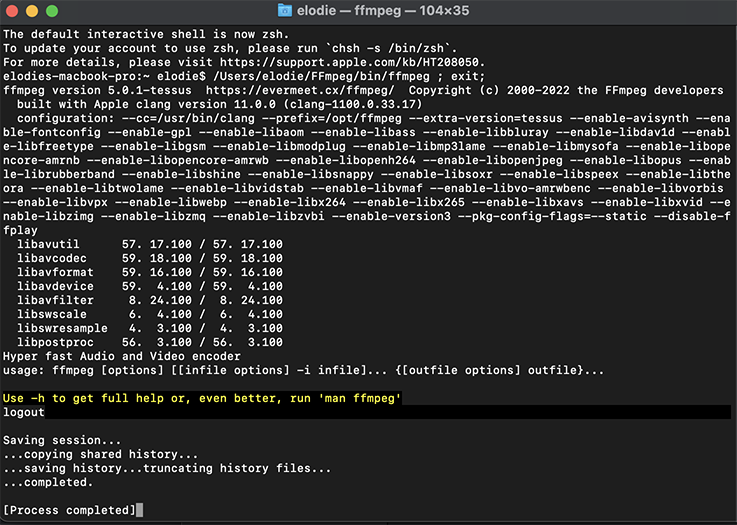
When you double-click the file, a Terminal window may open. Keep the Terminal open until you see a message confirming you can close it.
Installing process is finished
Settings
Now FFmpeg is properly installed on your computer, you can finally go back to your Unreal Engine project and open Storyboard Render Options.
Executable Path
The first and most important one to configure, is the executable path.

On Windows, the path will depend on where ffmpeg.exe was placed, such as C:\[path]\bin\ffmpeg.exe. According to this lesson, the path will be G:\ffmpeg\bin\ffmpeg.exe

On Mac, the path will be /Users/[user-name]/FFmpeg/bin/ffmpeg

Then hit [Enter]. If FFmpeg executable is set properly, the tiny warning signal will vanish. If it’s still there, make sure there is no mistakes or typos in the path.
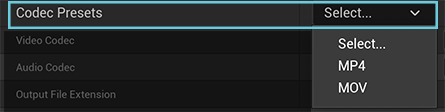
Codec Preset
FFmpeg offers many different video and audio codec to be selected in the list on the right.
Video codec:

Audio codec:
Using FFmpeg will only let you export video files, which means you will have to set an output file extension for a video : mp4, mov, mkv, avi, etc.
If you are not too familiar with FFmpeg, you can use the preset available in Codec Preset menu.
In the part Command Line Arguments, you will hve to possibility to modify and add specific parameters. To know more about FFmpeg command lines, please read this documentation.
Render video with FFmpeg
Once your settings are ready, double click on MPMC_Storyboard_FFmpeg to open the Movie Render Queue panel. If necessary, you can change the path to the output by clicking here:
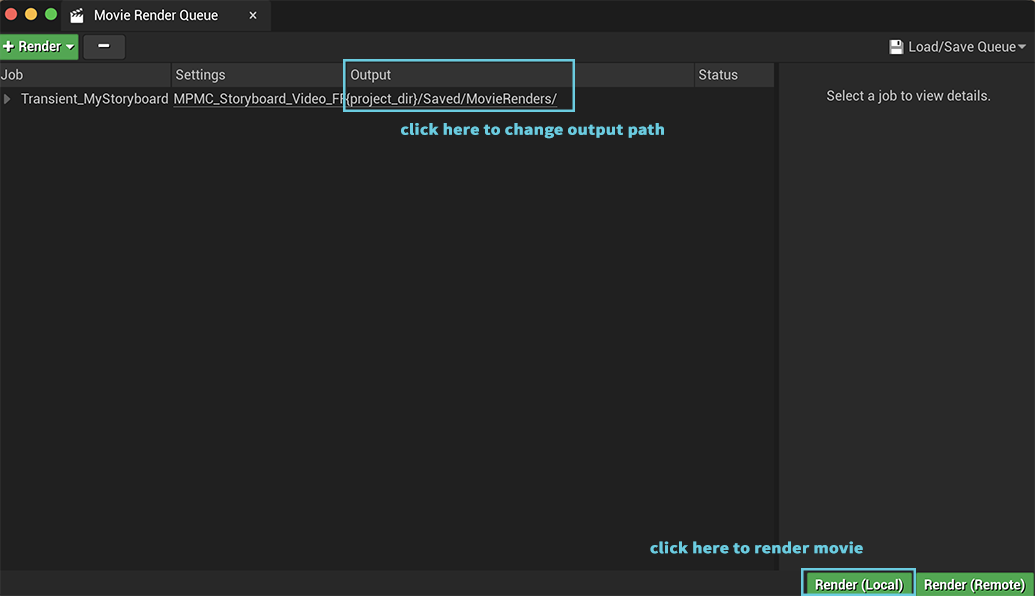
Then, hit “Render local” to export you animatic as a video encoded by FFmpeg.