Viewport
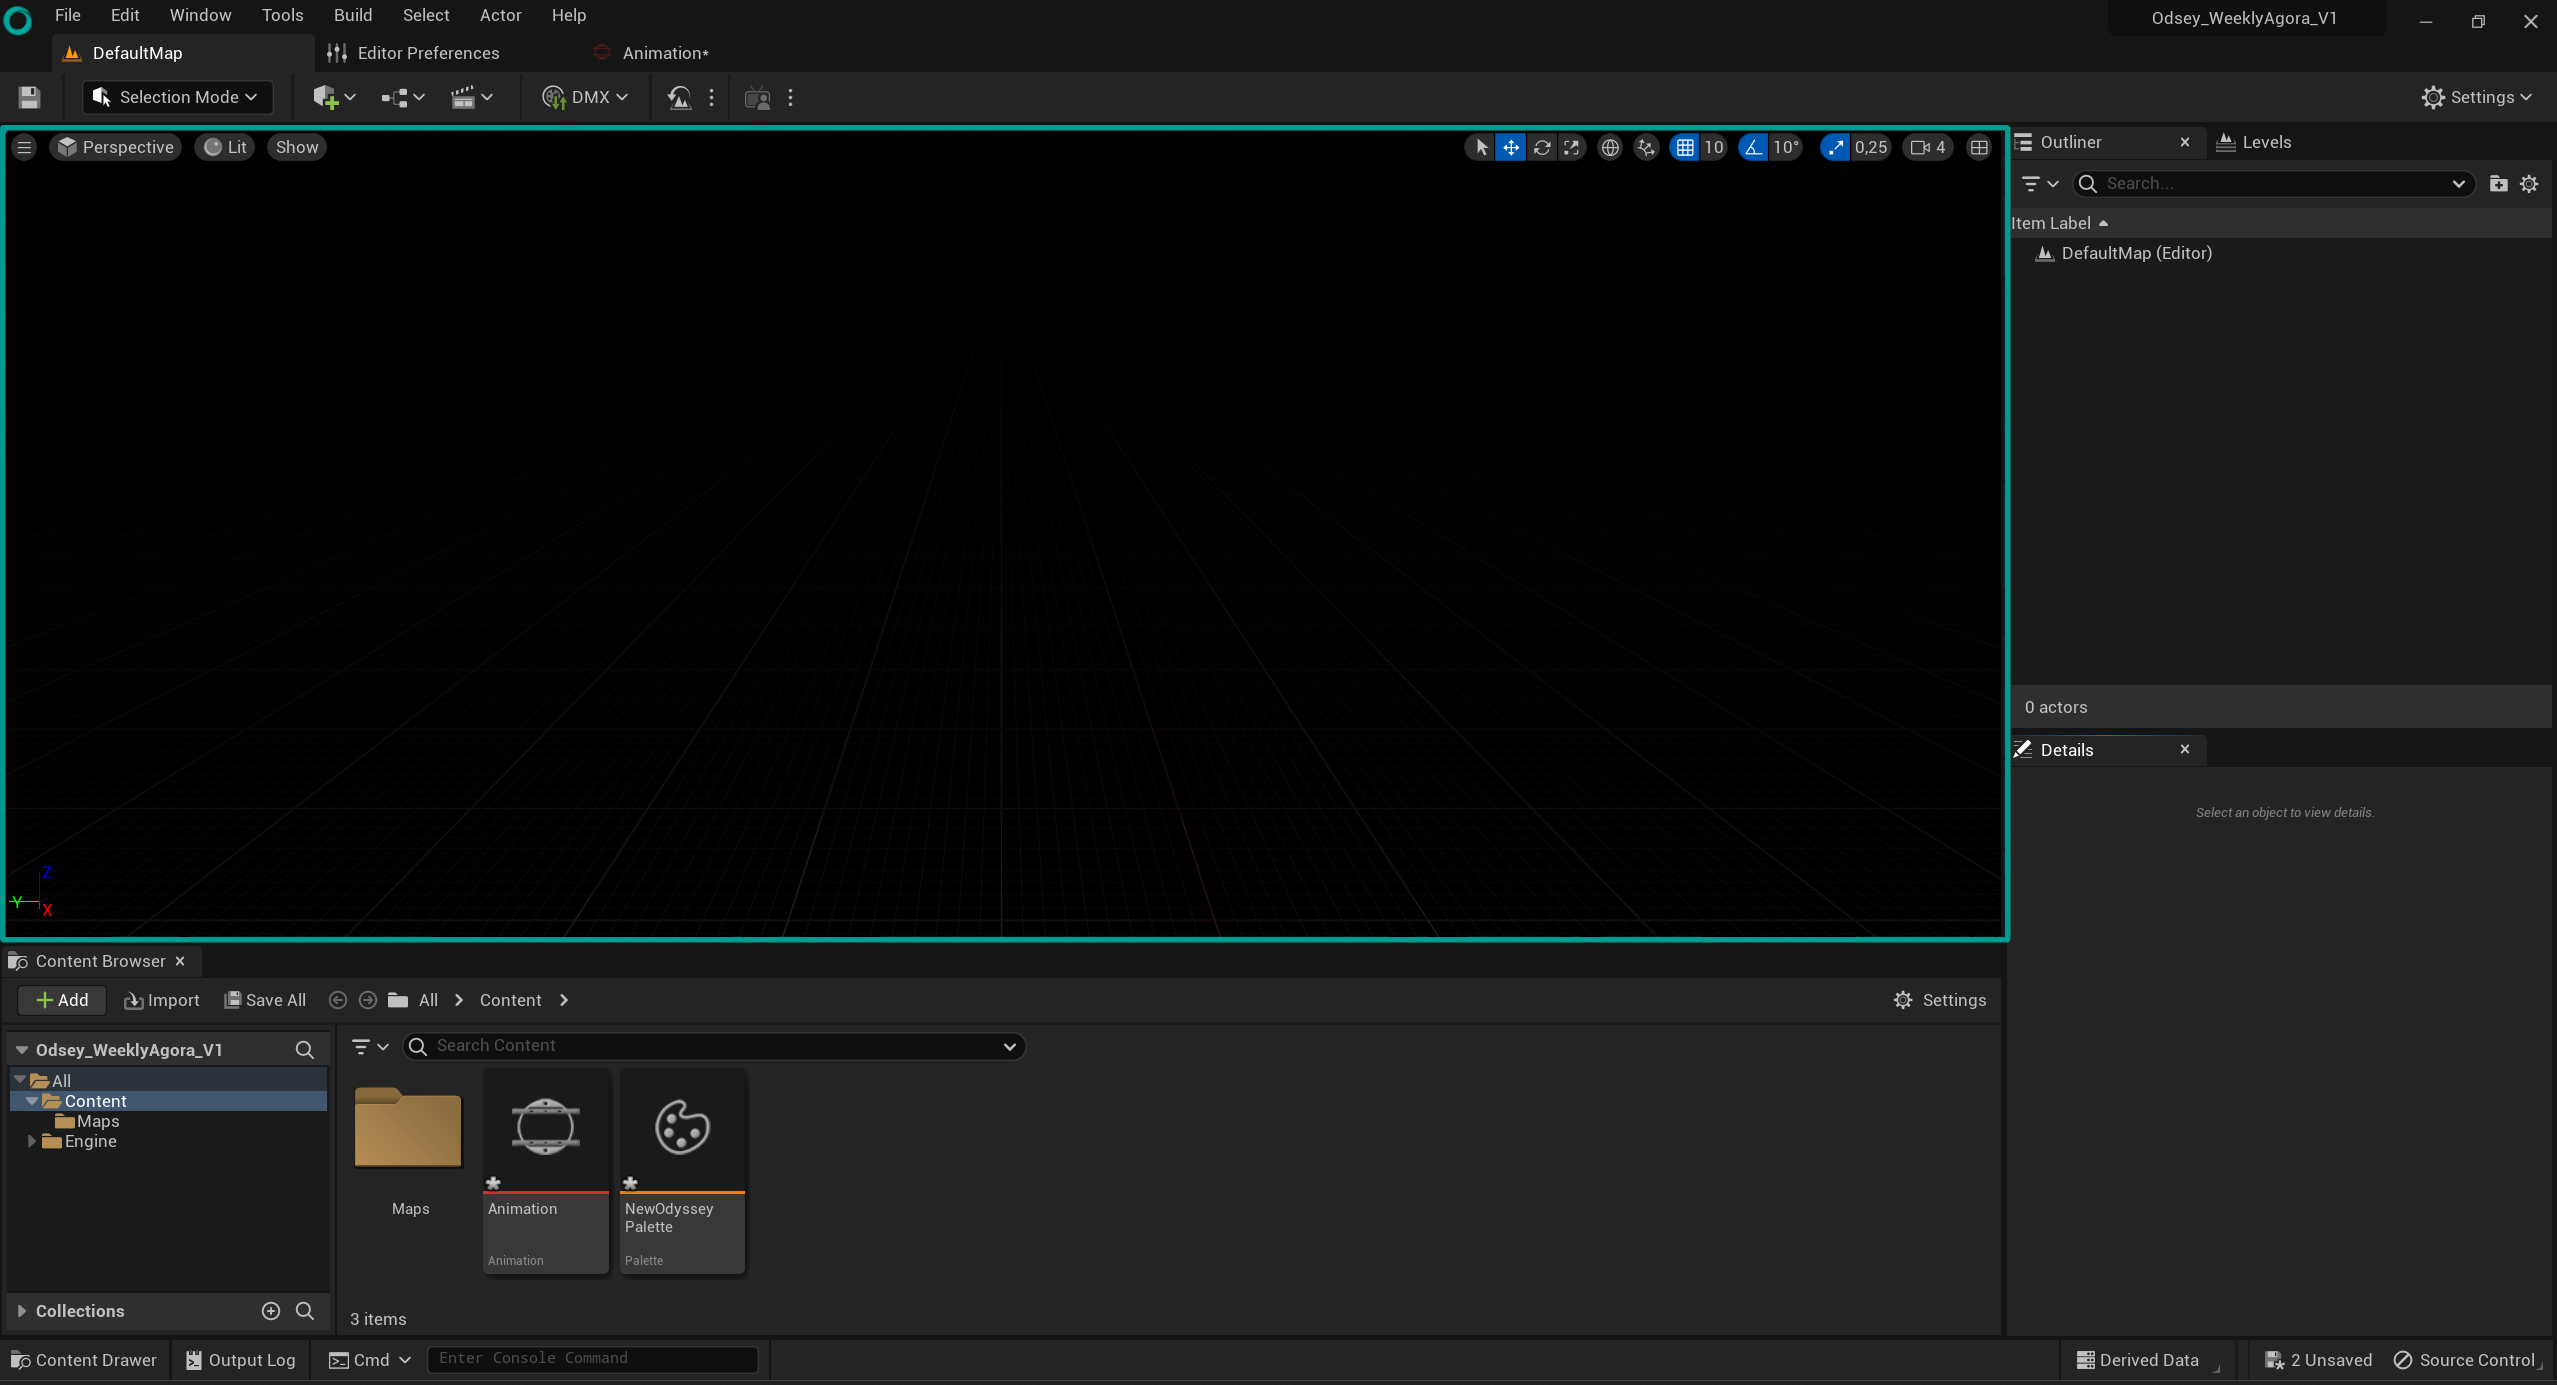
The viewport is essentialy just a view into our Level.
Viewport Settings
Options
The Viewport Options menu is accessed by clicking the button located in the upper-left corner of the viewport and provides basic rendering settings for the viewport.
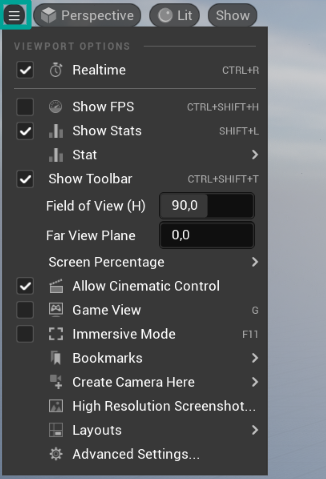
Display
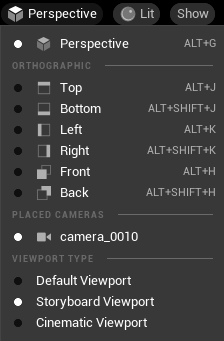
In this menu, you can select how to display the Viewport.
Perspective or Orthographic
The perspective view is a 3D window into the world. The Orthographic views - Front, Side, and Top - are 2D Viewports that each look down one of the main axes (X, Y, or Z).

You can cycle through the types of Viewports by pressing Alt and G, H, J, or K. These set the Viewport to be Perspective, Front, Side, or Top, respectively.
Placed Cameras
This mode will be available only if Camera Actors have been placed into the Level. This mode allows you to see the point of view of a chosen camera and pilot it.
Viewport Type
You can choose here between the Default Viewport, the Storyboard Viewport and the Cinematic Viewport. Cinematic and Default are inherited from Unreal Engine. We advise you to choose Storyboard Viewport, especiall when working your 2D animations or storyboard in Odyssey, as they offer much more options than the 2 other ones.

Indeed, this mode will allow you to:
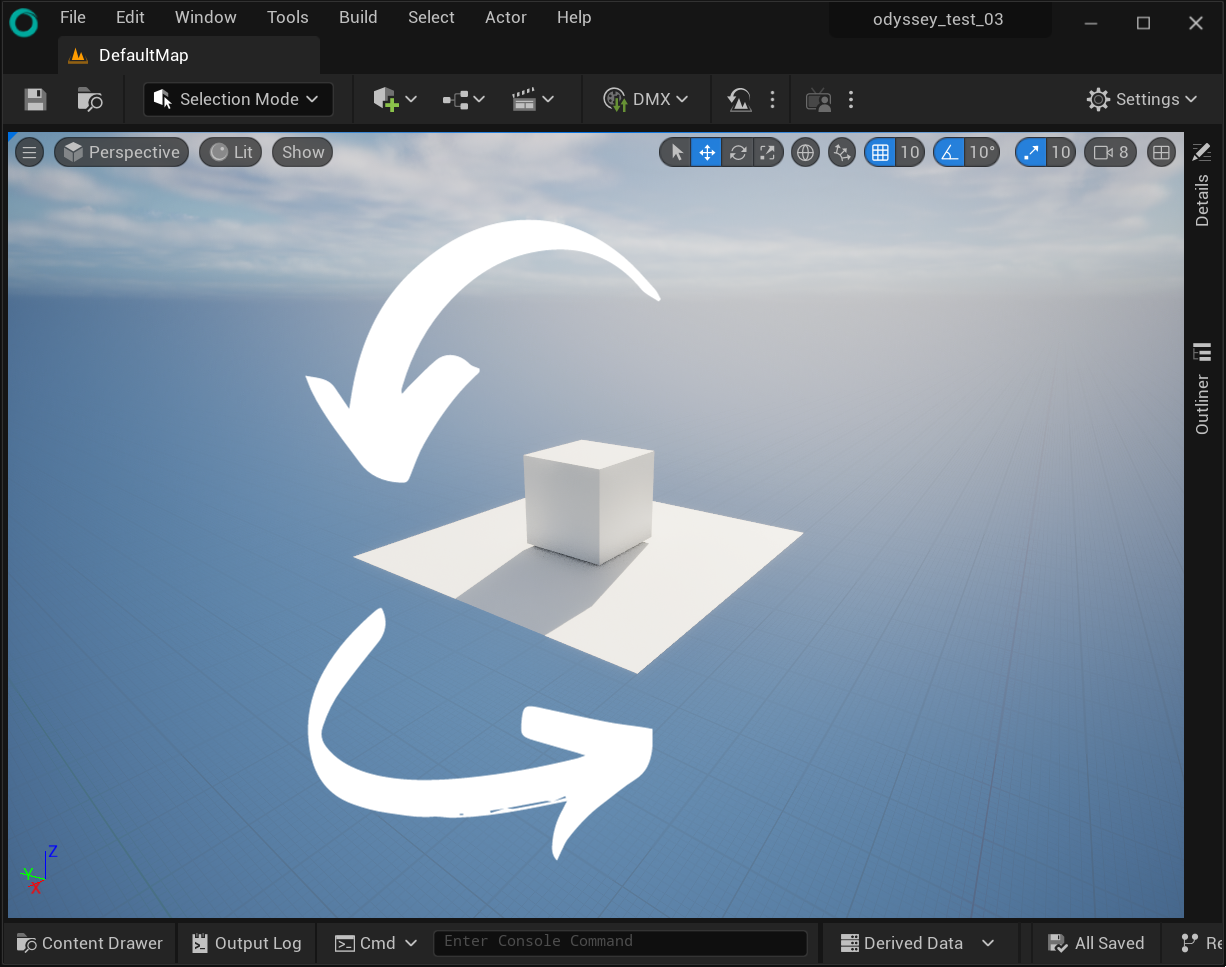
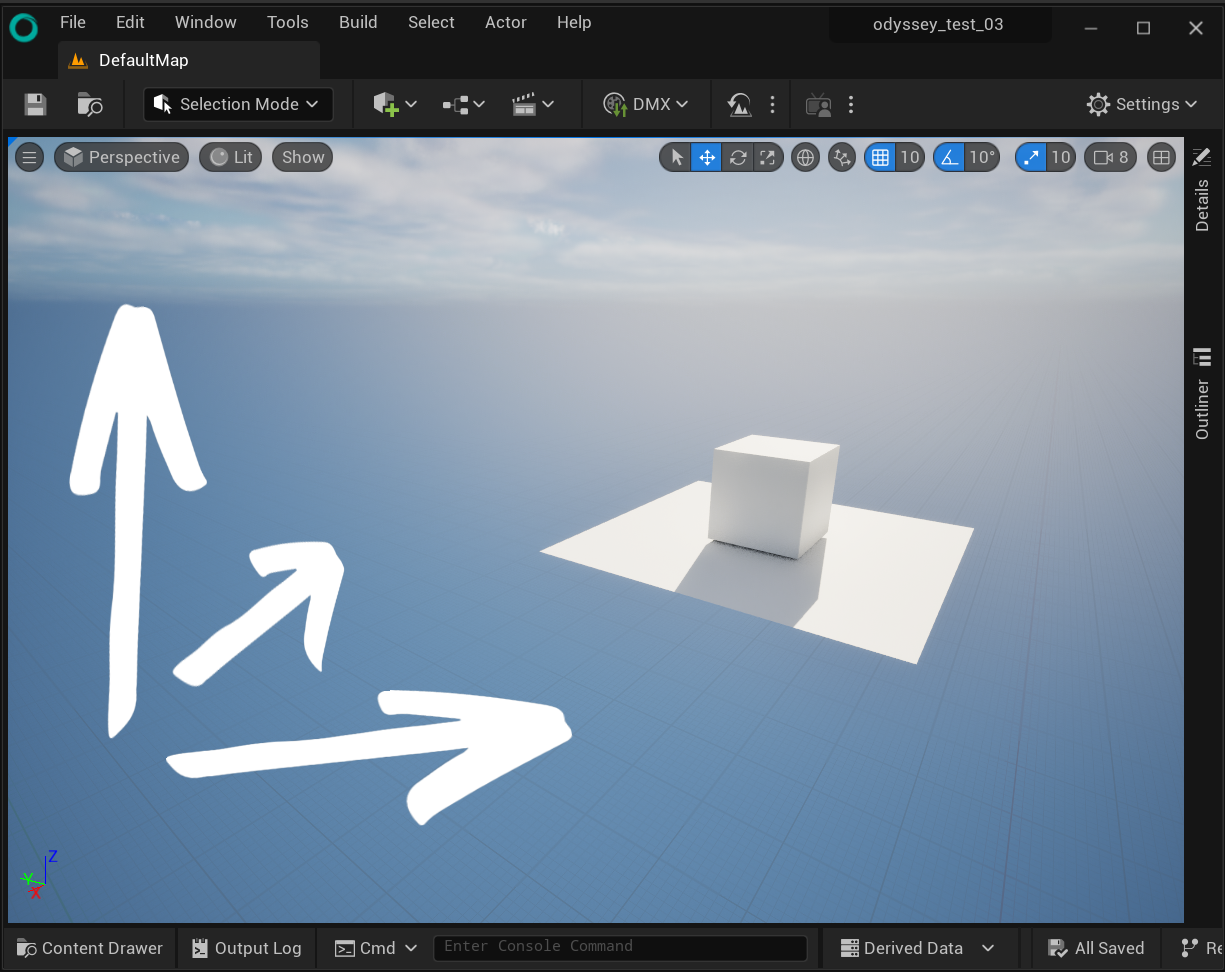
Pan with the viewport with M+LMB + drag
Zoom in and out the viewport with M+RMB + drag
Rotate the viewport with Ctrl+M+LMB + drag
You can reset pan, zoom and rotate thanks to this icon at the top right corner.
The gear icon can be used to modify the display of the Storyboard Viewport:
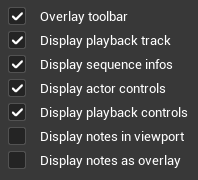
Overlay Toolbar: when activated, the toolbar will be part of the view. When disabled, it is placed above the view, in an empty area.
Display playback track: displays a tiny track that symbolises what’s before the current frame (in white) and what after the current frame (grey).

Display sequence info: displays the name of the Sequence on the left and the current frame on the right.
Display actor control: displays Planes and Camera controls (read Plane Distance and Camera Focal Length)
Display playback controls: displays the the remote control to play the sequence.
Display notes in viewport: display the Notes between the camera view and the playback control (read Notes)
Display notes as ovelay: display the Notes as subtitles in the camera view (read Notes)
Viewmode
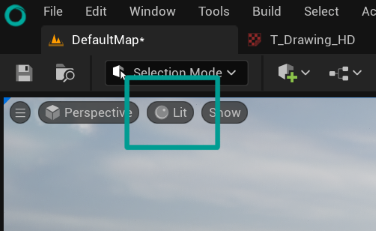
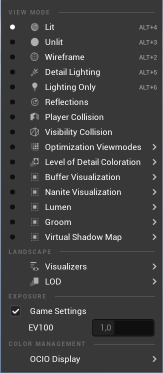
Viewports offer various visualization modes to assist in understanding your scene’s data and identifying errors. While some popular view modes have dedicated shortcuts, you can access all of them via the View Mode menu within the viewport.

The most commonly used view modes are shown here: Lit / Unlit / Wireframe
Show
The Show Flags are found under the Viewport Show menu.

They serve as a method to toggle the visibility of numerous elements displayed in the viewport. This includes options to hide various items, such as particles, landscape objects, or more advanced functions like deactivating all sprite icons.
Viewport shortcuts
Here is a list of some useful shortcuts.
Viewport Options |
Shortcut |
|---|---|
Show FPS |
CTRL+SHIFT+H |
Game View |
G |
Immersive Mode |
F11 |
Perspective View |
ALT+G |
Lit Mod |
ALT+4 |
Unlit Mod |
ALT+3 |
Note
Some shortcuts using digits will not work on some keyboards, like the French Keyboard.
Transforms

This part is detailed in the lesson about Actors
Camera speed

By clicking on this icon you can change the speed of you camera, the one you use to move arround in 3D space.
Maximise or restore viewport

The Maximize button, located in the upper-right corner of the viewport, is used to toggle between a single viewport and a split 4-view style.

Adding more Viewports
You can work with 4 different 3D Viewports, each with different settings. To add a new Viewport, go to the menu “Window ▸ Viewports”.
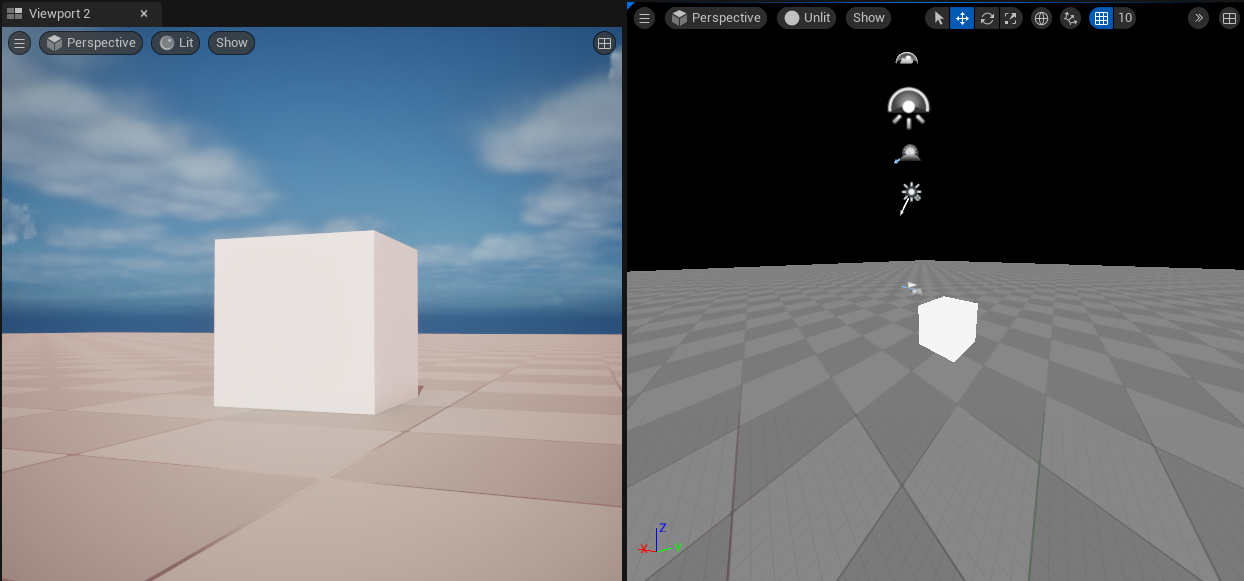
In the image below, you can see 2 Viewports with different settings:
