Working with Multiple Levels
In Odyssey, you can basically open only one Level at a time. However, there are solutions to still work with several Levels simultaneously.
Working with multiple Levels can be necessary in a context of an animation production, as it allows you to work with several sets of backgrounds and call them up according to the corresponding scenes.
This is also a great tool to share the work and the tasks among different artists in the production.
Make sure you read the lesson Introduction first to follow this one properly.
Assembling Levels together
Example 1: Environment + Props
In the example below, we have 2 different Levels:
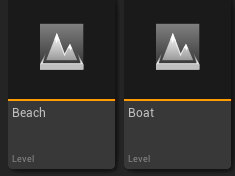
a Level with a a boat, without any environment
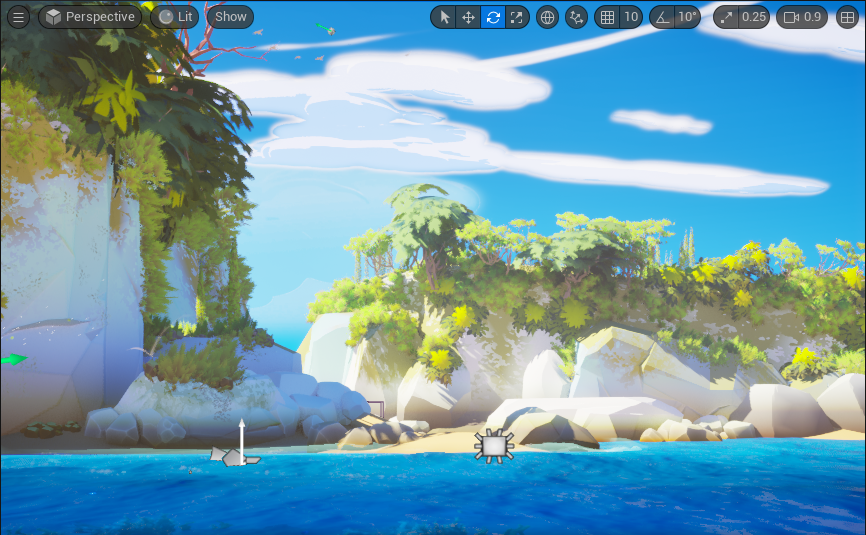
a Level with a beach
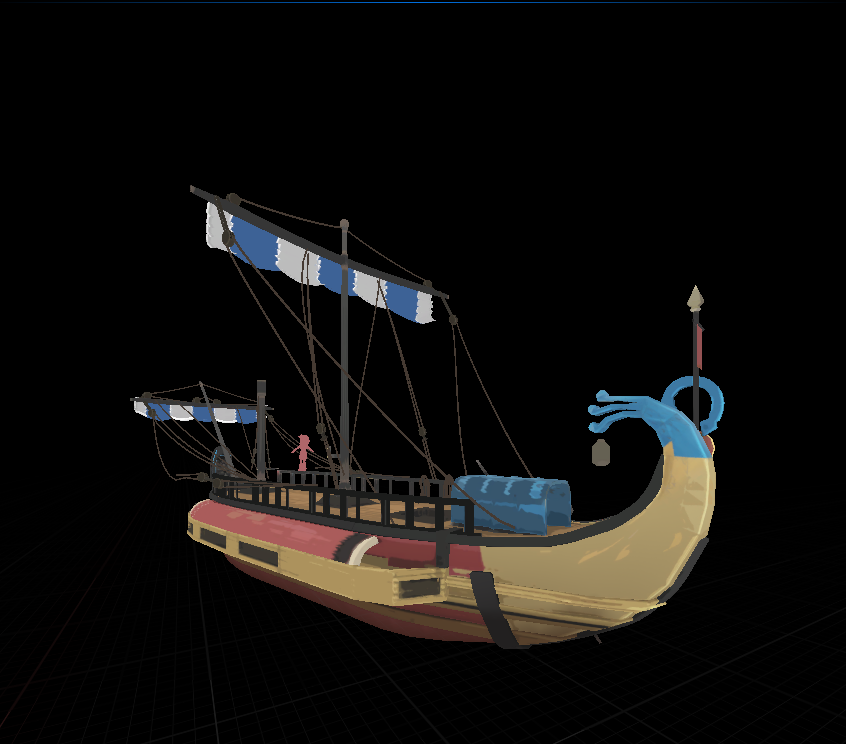
Separating the boat from the beach can be necessary, especially to allow different artists to work simultaneously on 2 different tasks: a background artist (that will assemble the environment) and a prop artist (which will use the Level with the boat to directly paint on it with the Editor Iliad).
At some point, each of the two artists may want to see if the beach and the boat work together.
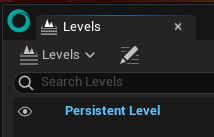
To do so, they will go to the menu “Window” to open the panel “Levels”.
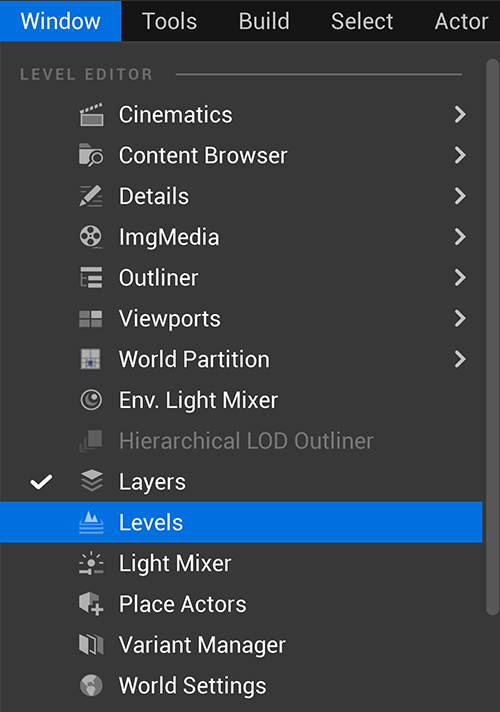
By default, there will be a Persistent Level: it corresponds to the Level currently opened (in this case, it is the Level “Beach”).
To open the second Level, click on the dropdown menu “Levels” and select “Add Existing”
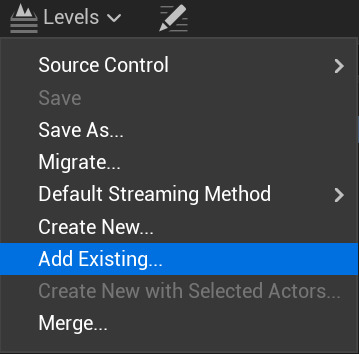
A window will open for you to load the second level to be streamed. Select the 2nd Level to be added as a Sub-Level.
Note
You can also create Sub-Levels by dragging and dropping Levels from the Content Browser to the panel Levels.
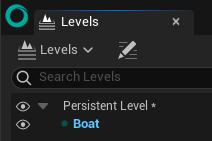
Congratulations! Now the boat and the beach are visible at the same time.

Note
If the Persistent Level is saved, the second Level will always load with the Persistent Level.
Example 2: Different lights
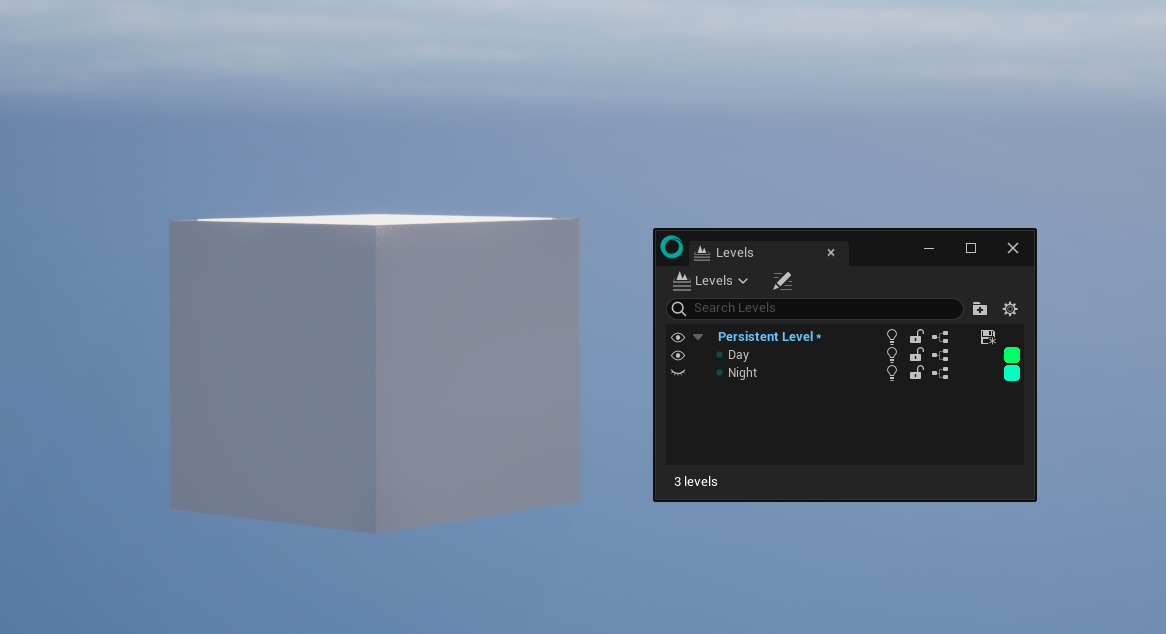
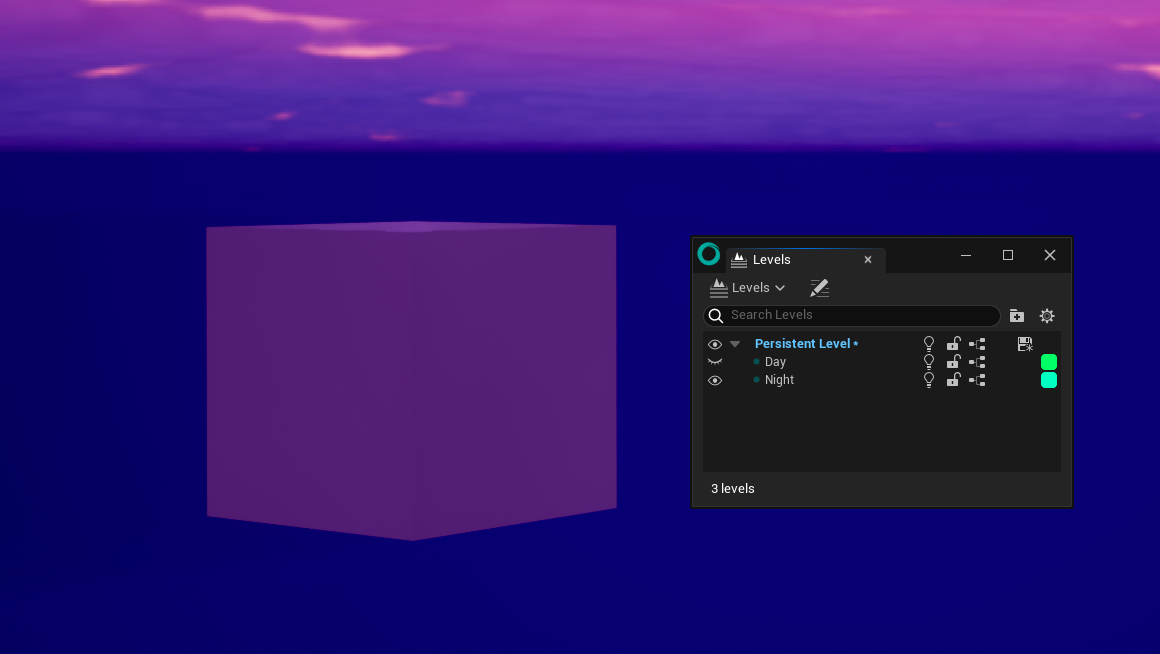
In the example below, we have 3 different Levels:
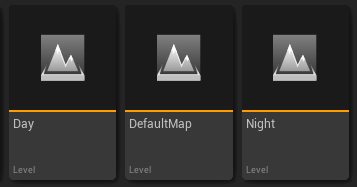
a Level with a cube (Default Map)
a Level with a lighting configuration “Day”
a Level with a lighting configuration ‘Night”
The Persistent Level in this case will be the one with the cube (DefaultMap). The Sub-Levels are the ones with different lighting configurations.
Now, we can simply toggle on and off the Levels Day or Night to see the result.
Note
You cannot have several Directional Light Actors. If you do, it will show an error message:

In that situation, disable one of the extra Directional Light from the panel Outliner.
Example 3: Storyboard & Environments
Note
To understand better this example, we advise you to read the lesson about Sequences.
In the example below, we have 3 different Levels:
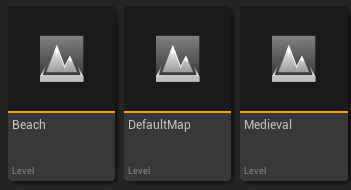
an Level named “Default Map” with a rough storyboard, made in Unlit Mode.
a Level with a beach
a Level with a small medieval castle
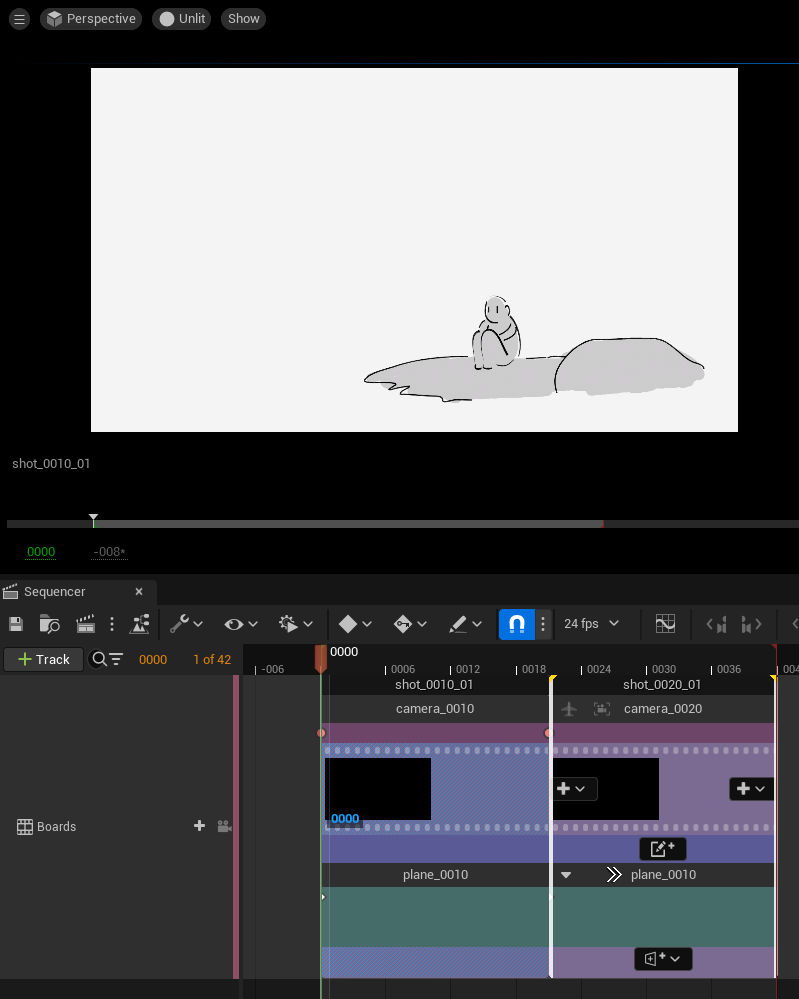
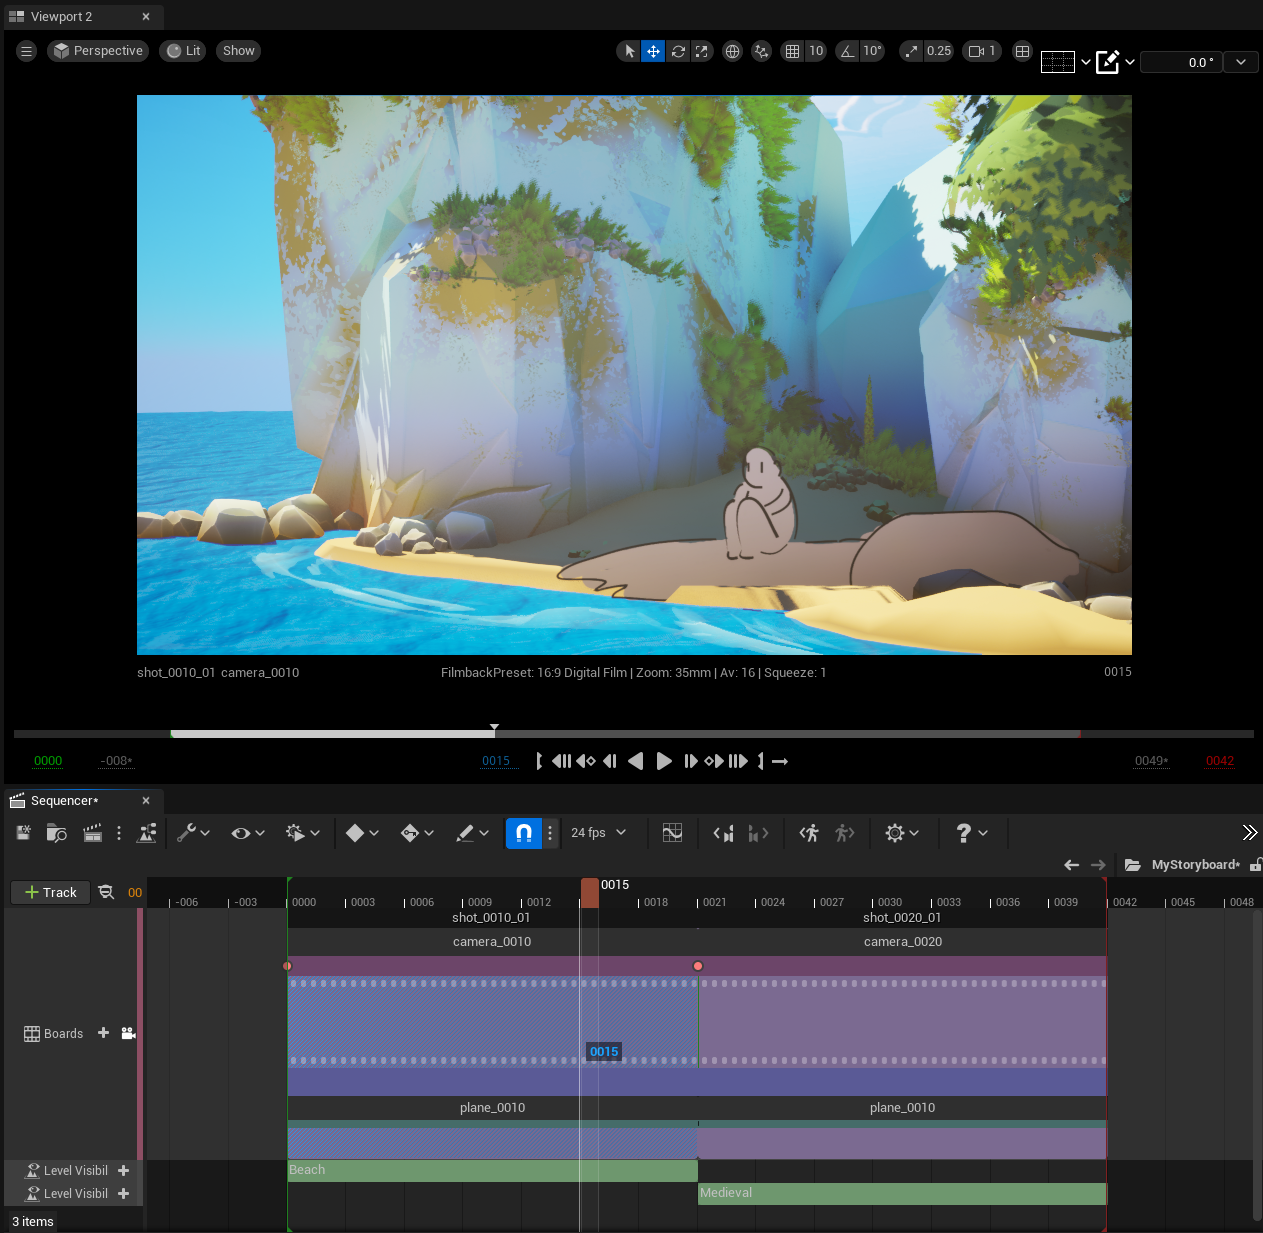
In the storyboard, there are 2 main scenes: one takes place at the beach, the second near a medieval castle. The idea is to go from the beach to the castle, thanks to the storyboard sequence.
First of all, open the Level with the rough storyboard and its Board Sequence.
Open the panel Levels from the menu Window and add the two other Levels, as explained in the first example.
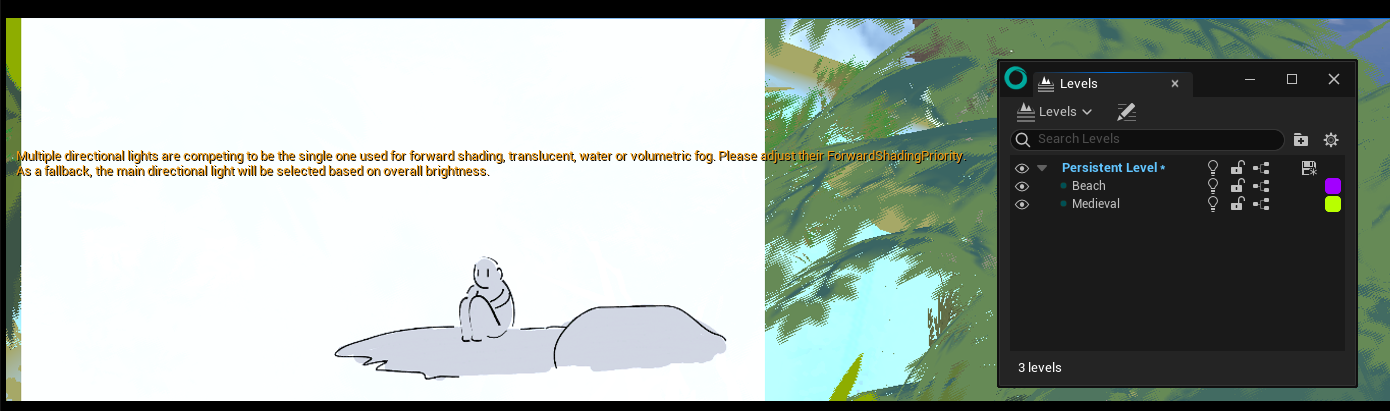
The content of both Levels is displayed along with error messages. To hide the messages, we need to hide the two Levels that have just been added. To do so, click on the eye icon. Then double click on the Persistent Level to make it bold blue.

In the Sequencer, we will add two “Level Visibility Tracks”.
Give two different durations to each Level Visibility Track, then drag and drop the hidden Levels into the the tracks.
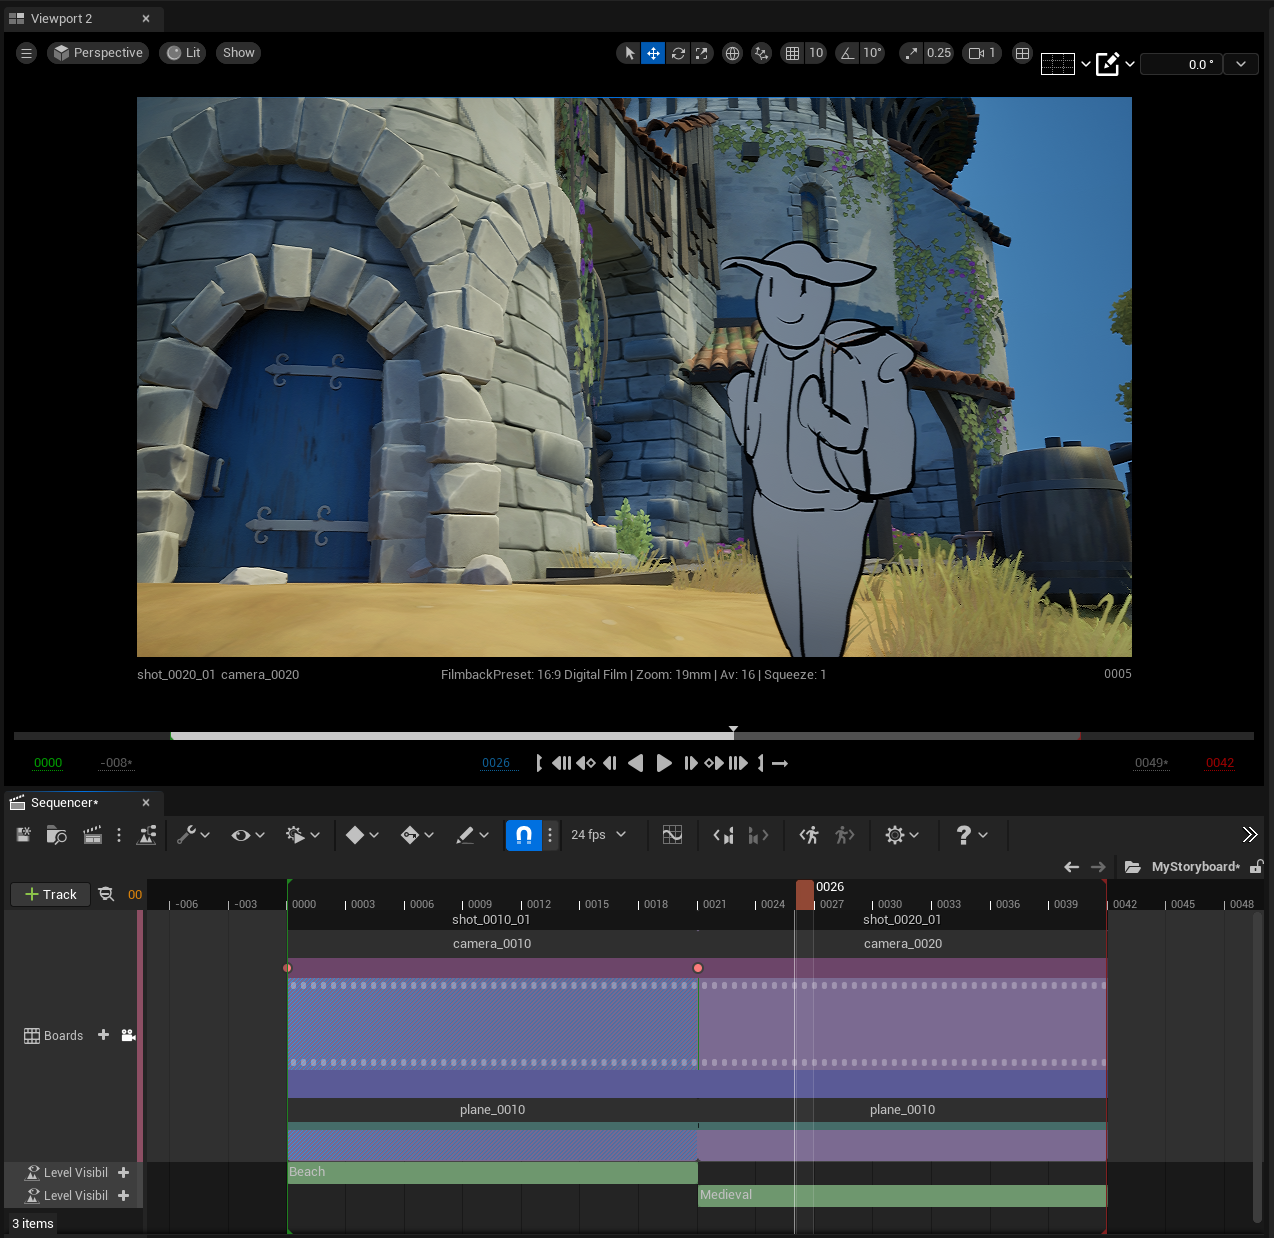
Now, if you scrub in the timeline, you will see how the Levels automatically switch on and off, depending on their duration in the Sequencer.
Working that way will allow background artists to work on the different envrionment, while the layout artist (or a previz artist) will place the different Planes and Cameras at the right place, in the environment. That way, you limit the risk of overwriting someone else’s work.
Result:
Settings of the panel Levels
Select & focus the right Level
You may have notice Levels and Sub-Levels can appear in bold blue.
This bold blue typed Level or Sub-Level is the one you are currently working on.
Warning
Pay very attention to that information, for it means that if you create or add Actors, they will be added to the selected Level.
To focus on another Level, double click on its name.
Hide / Show Level
Click on the eye icon to switch on and off a Level or Sub-Level.

|
Level is visible |

|
Level is hidden |
When a Level is hidden, its content disappear from the Outliner:
Lock / Unlock Level
Lock a Level to prevent unwanted modifications.

|
Level is locked |

|
Level is unlocked |
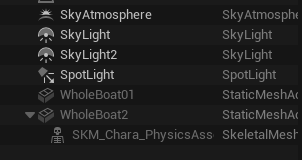
When a Level is locked, its content in the Outliner are greyed out:
Note
To know more about Multiple Levels: https://docs.unrealengine.com/5.4/en-US/managing-multiple-levels-in-unreal-engine/