Managing Content
The Content Browser is a central tool for managing, creating, organizing, and interacting with project assets. It provides features like filtering, collections, asset identification, and asset migration.
The content drawer is like a computer’s file explorer; you will have folders and in those you have subfloders and those subfolders contain assets.
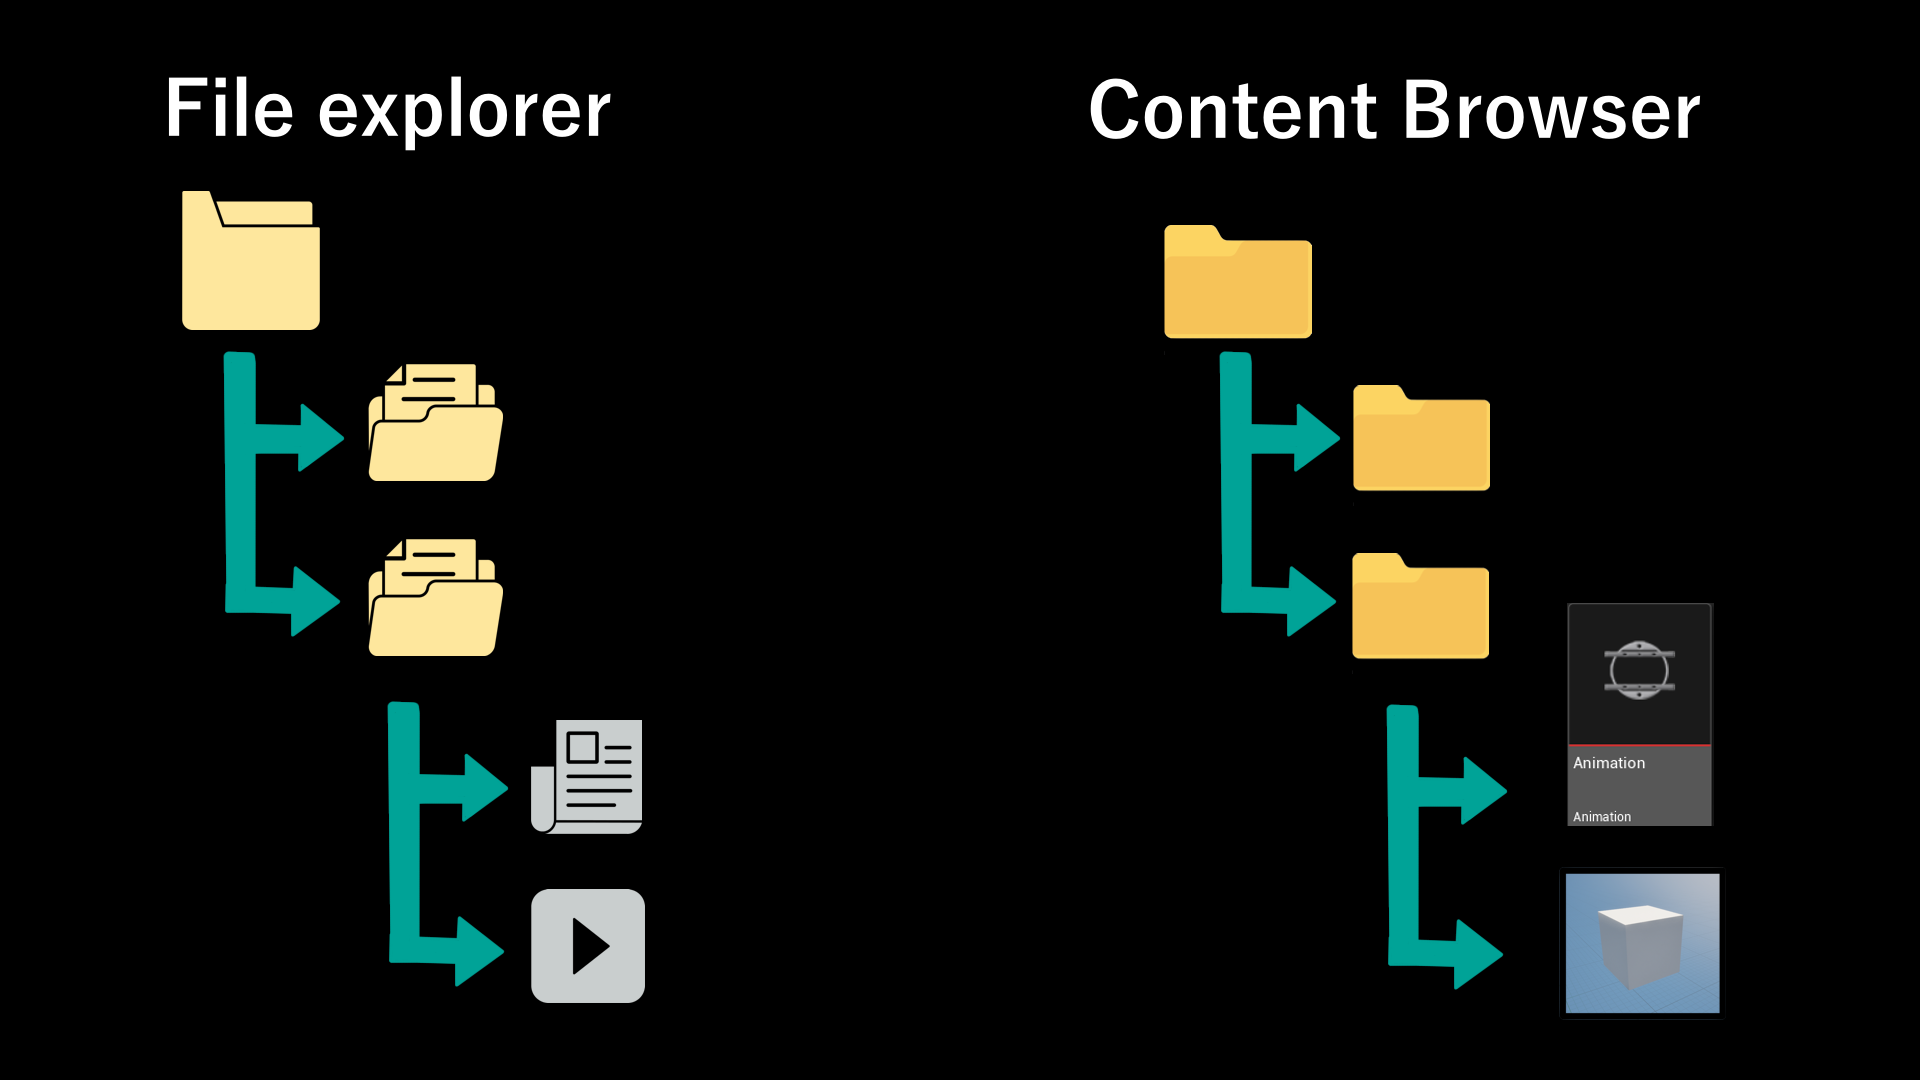
By the way, any assets available in the Content Browser can also be found in your computer’s file explorer, into the Odyssey project, into a folder named “Content”.
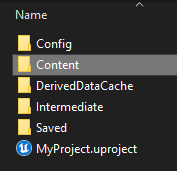
Access to the project’s content
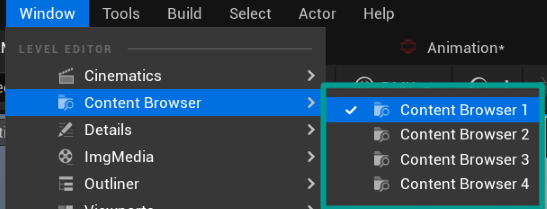
From the Window menu in the top menu bar.
From the Create menu on the Main Toolbar.
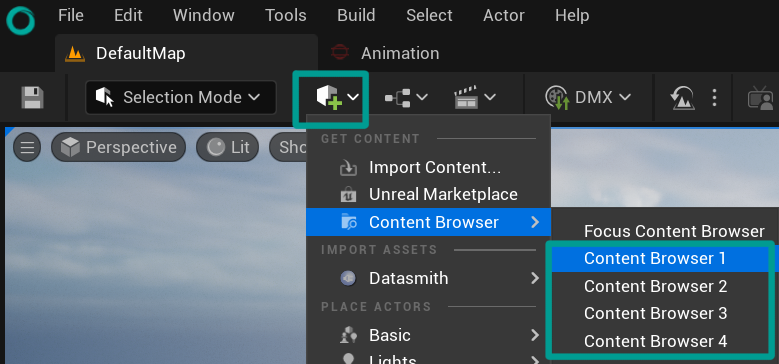
By clicking the Content Drawer button on the bottom toolbar of the editor. This opens a temporary Content Browser you can then dock to the editor window.

The Content Drawer is a special instance of the Content Browser with slightly different behavior. To open it, either:
Click the Content Drawer button on the bottom bar of the editor.
Or use the Ctrl+Spacebar (Windows) or Cmd+Spacebar (MacOS) keyboard shortcut.
Note
Contrary to Odyssey 1 / Unreal Engine 5.3, the Content Drawer will not close when hitting again the shortcut Ctrl+Spacebar.
The Content Drawer automatically minimizes when it loses focus (that is, when you click away from it). To keep it open, click the Dock in Layout button. This creates a new instance of the Content Browser, but you can still open a new Content Drawer.

The Dock in Layout button on the Content Drawer.
Note
In this whole user guide, the terms Content Drawer and Content Browser will be often used to mean the exact same thing.
Access to assets
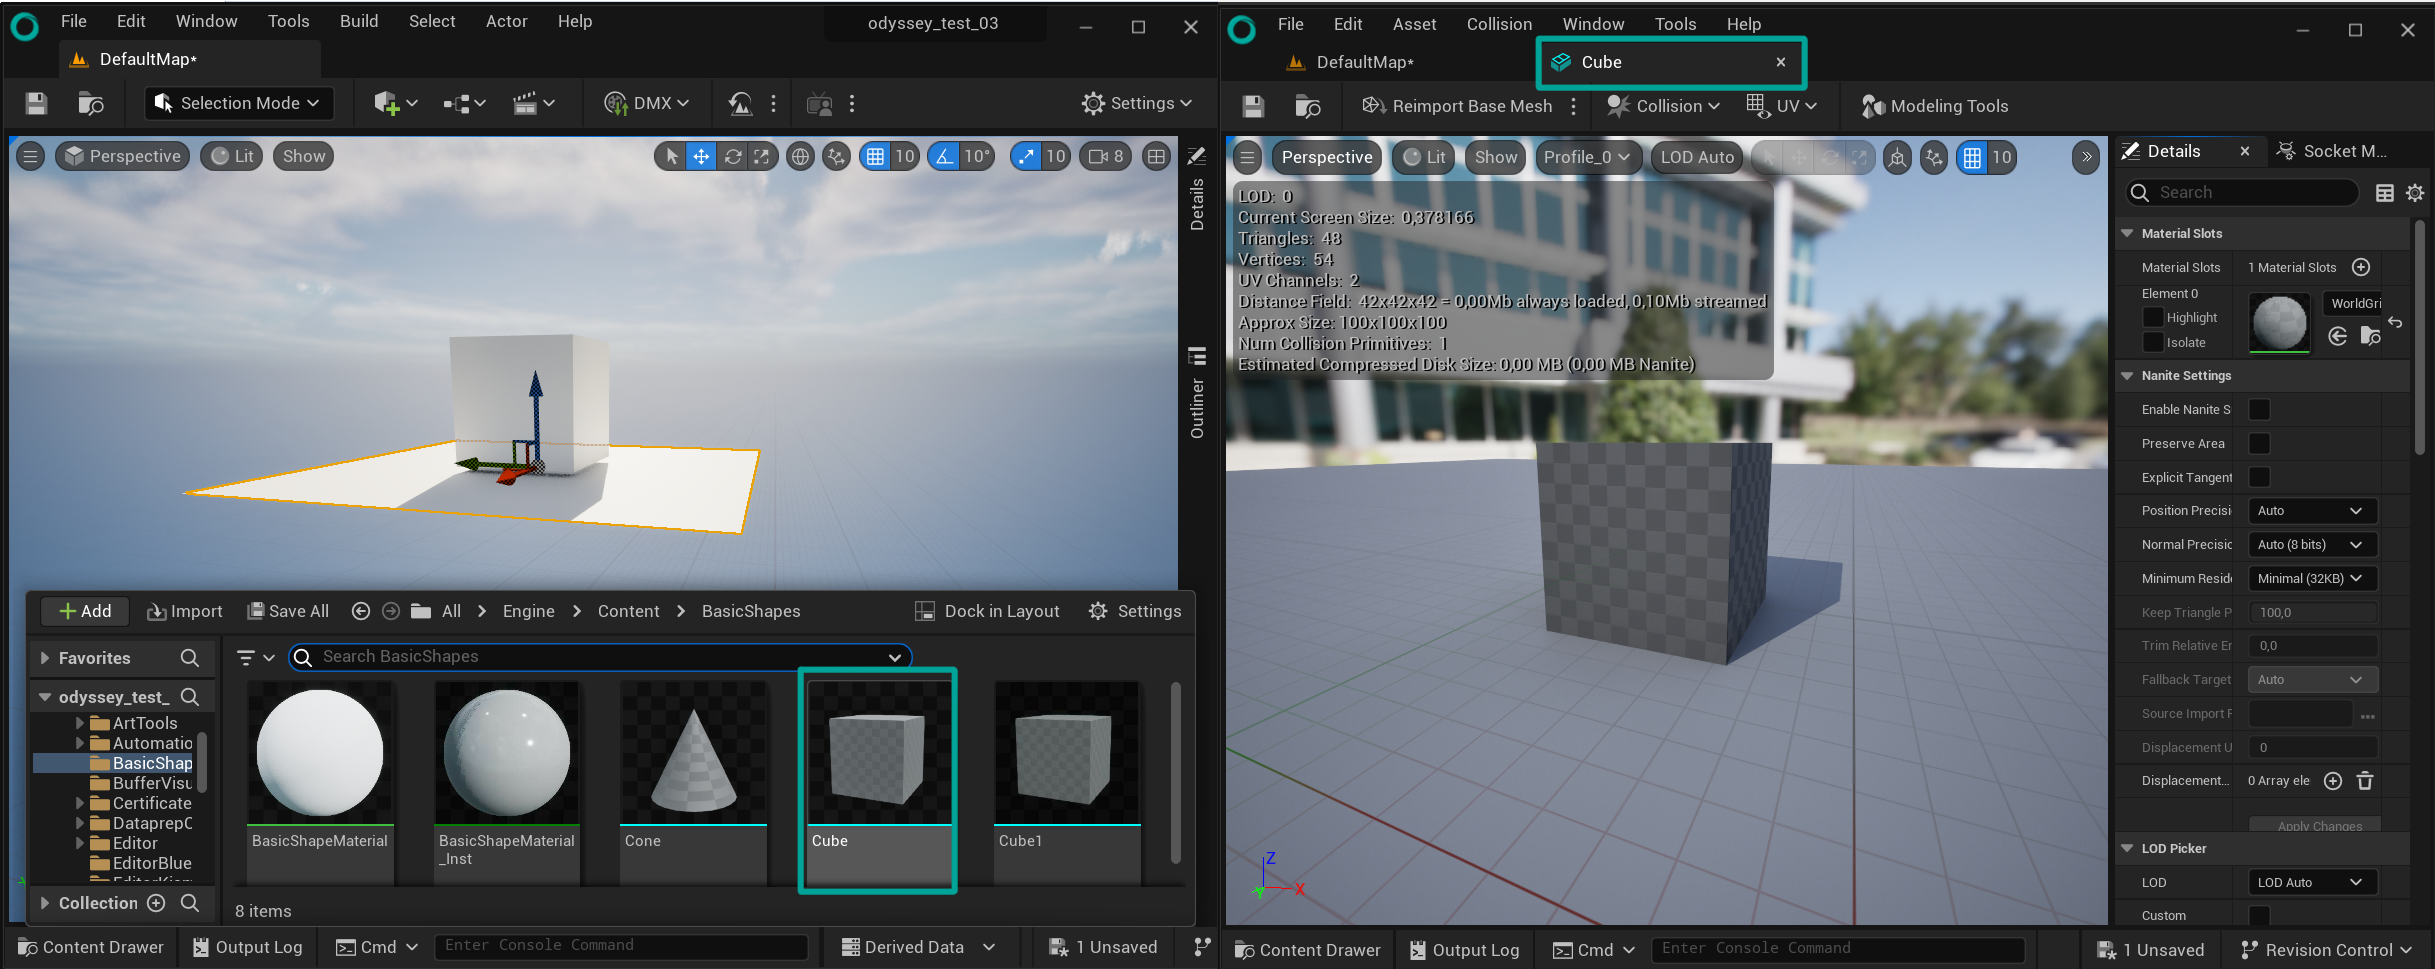
Open the Content Drawer to bring up a folder view of all the assets that make up our project. For example, if we want to see where this asset is stored and edit it, we can go to the folder where it is stored, and double click on the asset to open it in an another window.
A new window will open with only the assets and with a details panel that make you able to do adjustements. Depending on the type of asset, this window may look completely different.
If you right-click on the asset, a list of possible actions will appear. Rename, duplicate, reimport, export, migrate to another project, enable nanite, and many other actions are available here.
Also simply hovering the mouse over an asset will display extremely useful information such as disk size on the screen.
Warning
Engine content cannot be modified, it is usually a good idea to duplicate the asset first.
File Management
Folder
Oragnization is very important in an Odyssey project. Our first tip is to simply create folders.
To create a folder, just click on the “+ Add” button and select “New Folder”.
This will be very important for collaborating and sharing a project, and for versioning, since a single project can be quite heavy.
Once you have created a folder, you can simply drag and drop assets into it. However, even if the folder is empty, you may encounter errors when attempting to delete it. Or some other unusual issues when moving files.
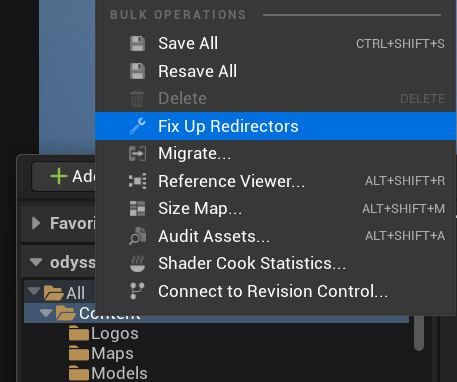
To solve that, right click on the Content folder and select “Fix Up Redirectors”.
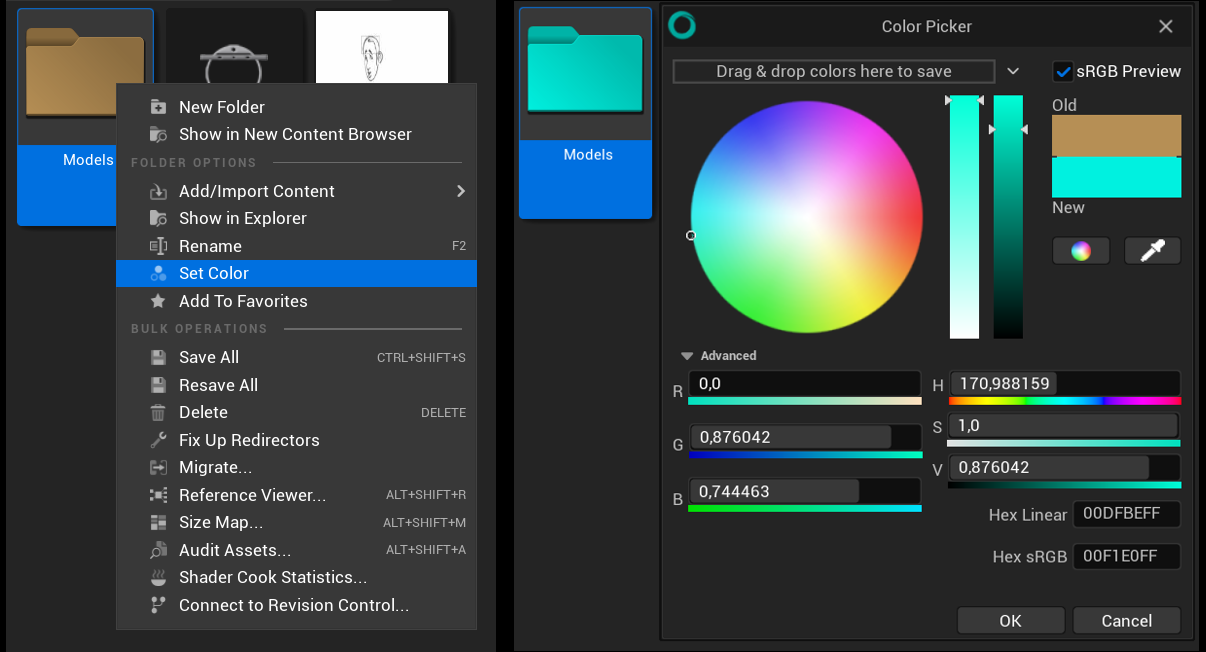
You can change any the colour of any folder you create. Just right-click on a folder and choose “Set Color” to modify its appearance with your preferred color. Reusing colors is effortless, as they are conveniently listed under “Existing colors” when you revisit the “Set Color” option.
Respect the naming convention
See this link for some naming conventions: https://github.com/Allar/ue5-style-guide
Hierarchy
Each project consists of an “All” folder, followed by two folders: Content and Engine. The engine folder contains all the tools that go with it. The Content folder will contain everything relating to the current project.
To keep the good integrity of your project you will have to put all your created or imported assets inside the Content folder. Nothing in the Engine folder can be altered.
Try to create and use a folder for every files that belong together : maps, materials, texture, animation, storyboard…
For futhermore organization see Collections later in this lesson.
Settings
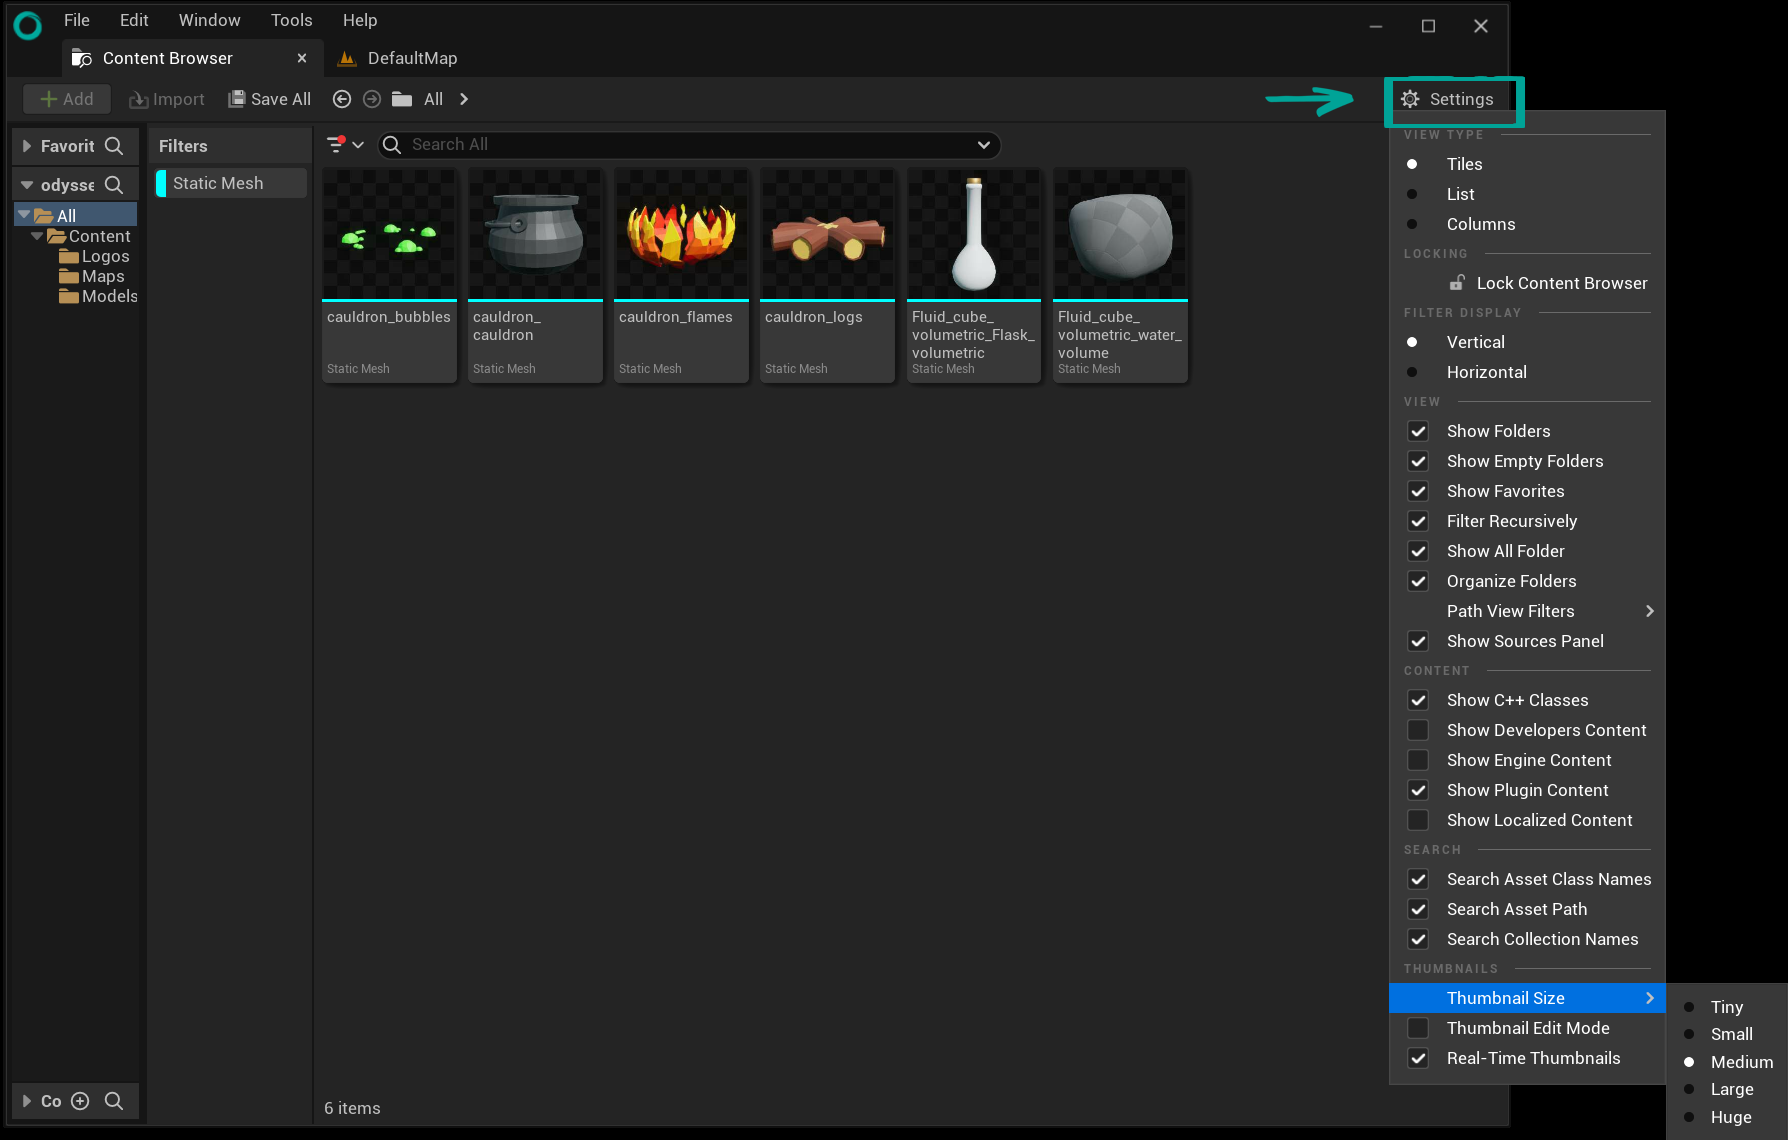
On the right side of the Content Browser window, there is a Settings button that will open a list of all available options:
View Type: Choose between tiles, a list, and columns.
Lock Content Browser
Filter Display: Select whether the filters should be displayed vertically or horizontally.
View: Just check or uncheck what you want to see in the browser.
Content: Show C++, developers, engine, plugins, or localized content.
Search: These three options function as search filters for the search bar. Just enable or disable them.
Thumbnails: Choose how large you want the thumbnails to be displayed, from tiny to huge.
Allow incompatible skeletons
Search and filters
To apply a filter, simply click the small icon with three horizontal lines adjacent to the search bar.
Previously chosen filters are saved as “Quick filters,” allowing you to effortlessly deselect them by clicking on the filter name and maintaining multiple active filters at once.
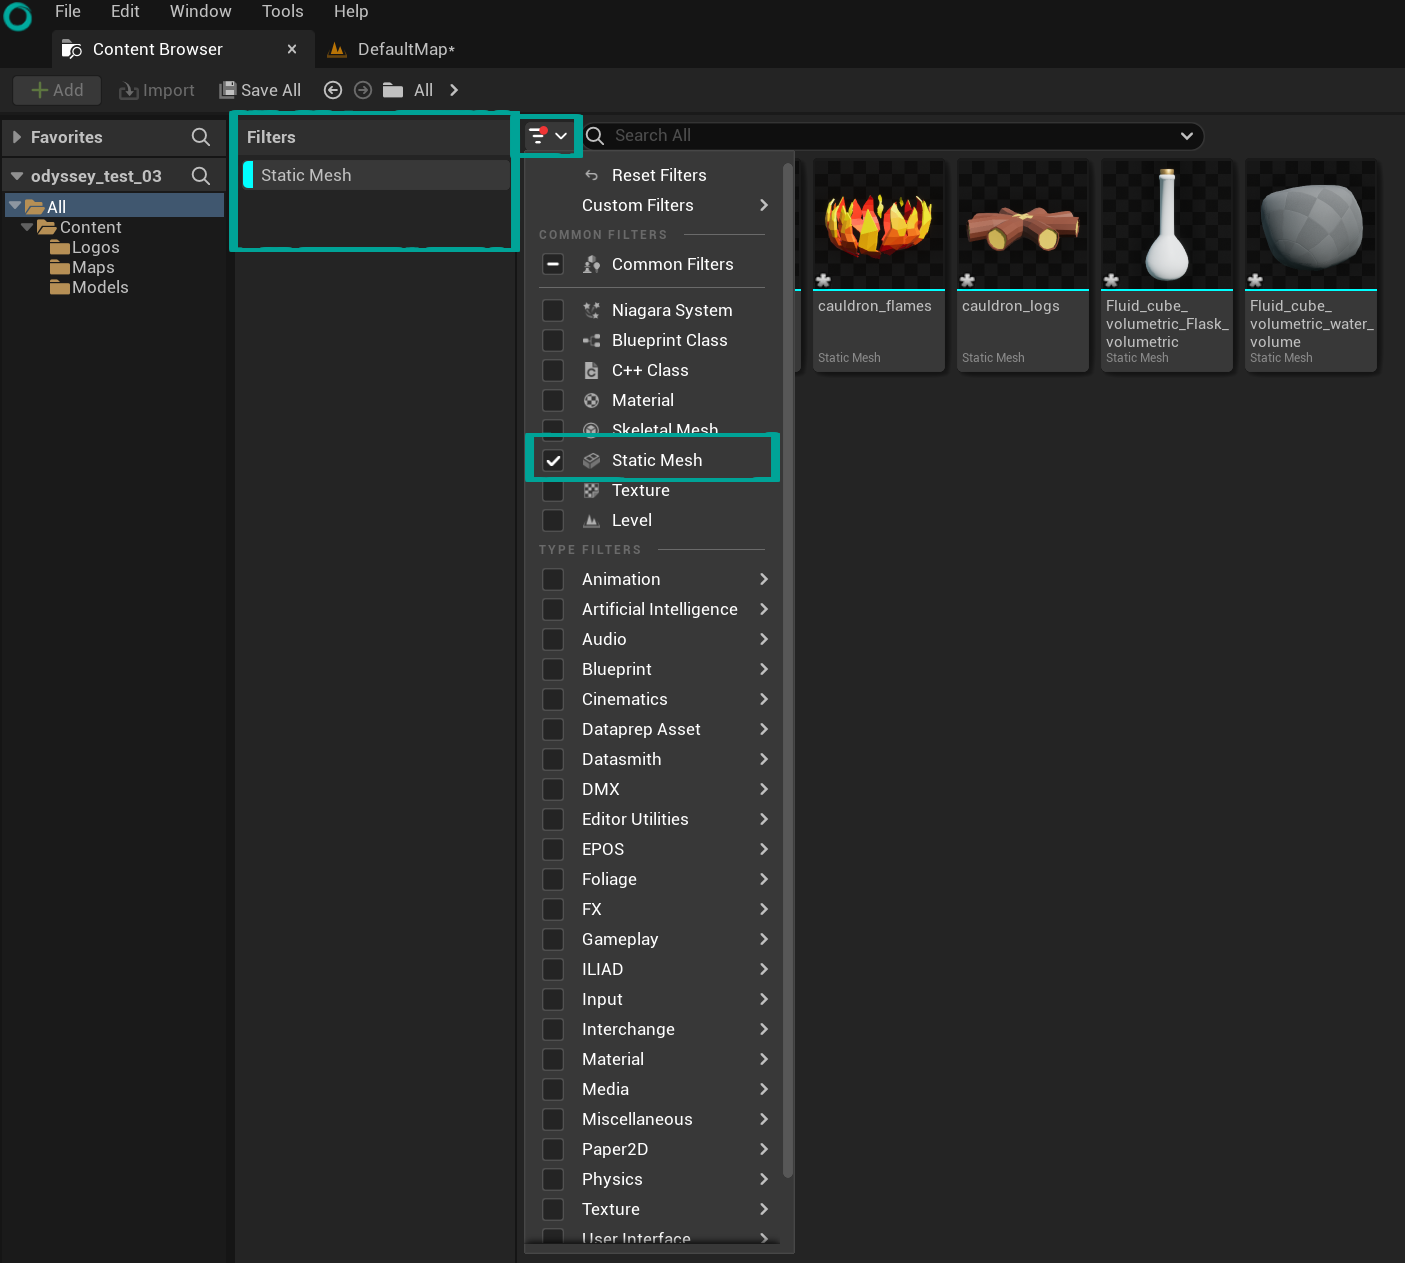
To entirely remove a filter, click the filter icon again and uncheck the checkbox located to the left of the filter.
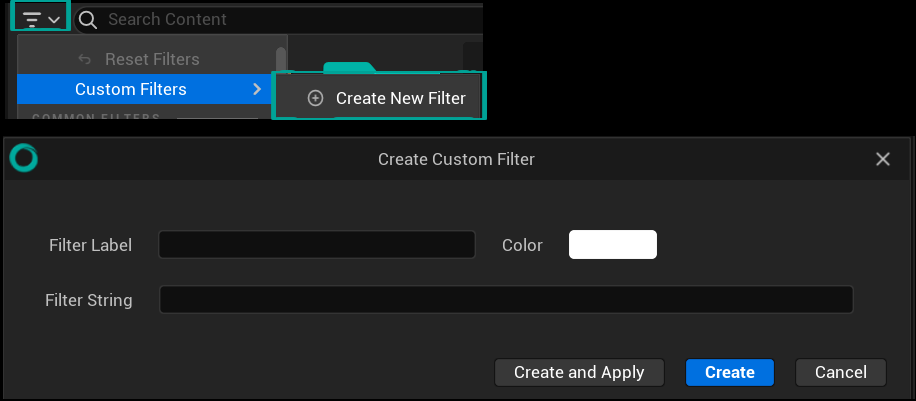
You can also create your own advanced and unique filter rules. To do it select “Custom Filters ▸ Create New Filter”, or press the “+” inside the search box.
Now just enter any name in Filter Label, select a color, and finally enter a Filter String, for example Name=”Third”. This will select all assets with the word “Third” in their name.
Collections
Collections makes you able to keep track of where the assets are, it creates a reference to the asset location. You can have an asset in multiple collections at the same time.
To make a collection, go to the Collections section and click the “+” icon, then select “Local collection”. You can also create a shared or private collection if you are working with a team in a multi-user project.
Give your collection a name, and then drag and drop assets into it. You can also right-click on the asset you want to add to the collection and choose “Manage Collections”” to add it to one of your collections.

Warning
Be careful to never DELETE assets within collections because they will be completely removed from your project. Remove assets by using the Manage Collections option.
Create assets
You can create assets with a right click on the empty space in the Content Browser. Select then the asset type you want to create.
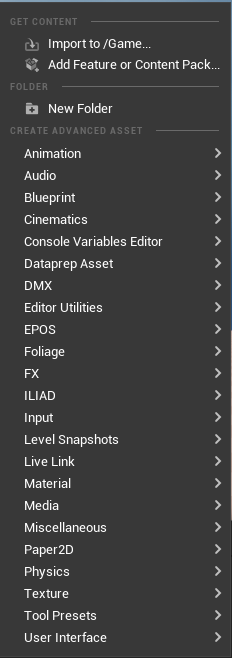
Explore the rest of this user documentation to know more about asset creation.
Import assets
Import files
Images
You can import images in the Content Browser in the following format: png, jpeg, psd.
To do so, you can either :
Click the Import button. Using the file browser, find the folder where your asset is.
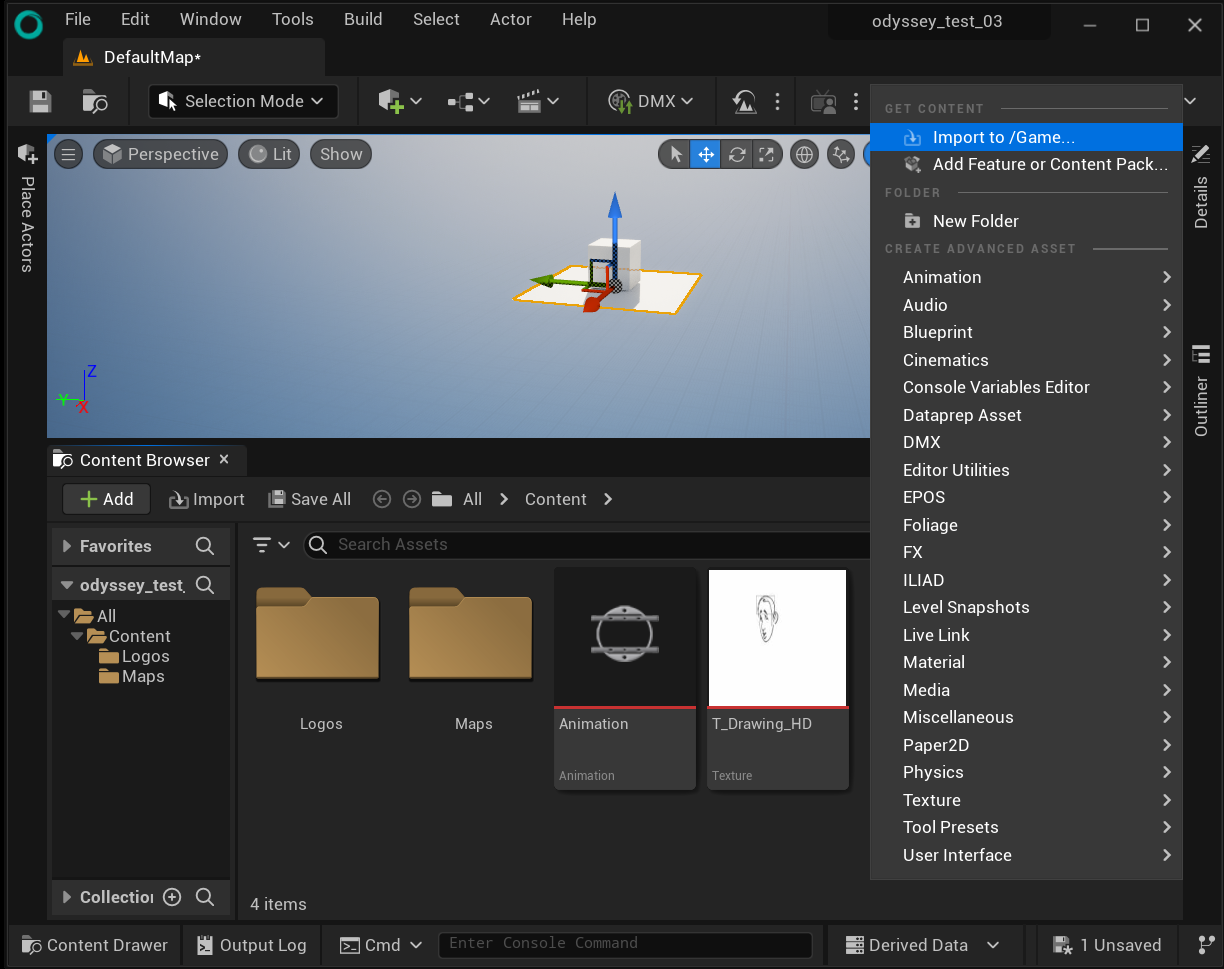
Or drag and drop the image into the Content Browser to convert it into an asset.
Note
Until we fix the module Interchange which overrides Odyssey capacities, psd files will be flattened when imported.
Sound
Sound can also be imported the same way as images.
Note
Sound can only be in wav - 16bit.
3D models
You can create 3D models in other modeling software (Maya, 3DS max, Blender, etc). You can convert any of your files in FBX in those software and then import it in your project.
Navigate to the Content Drawer and right-click the Content folder and make a new folder called Models.

Click the Import button. Using the file browser, find the folder where your asset is. Select the FBX model and put it into your Models folder.
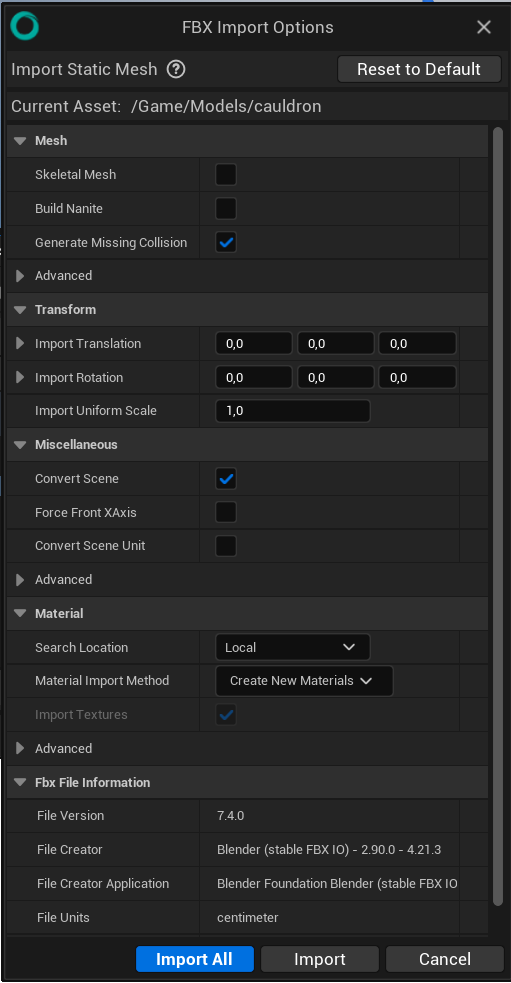
Odyssey will give you some import options for the .fbx file. Before importing, you can change the model’s Import Uniform Scale to uniformly scale up the model for example.
Next, click the Import All button. The models included in the FBX will appear in your Content Browser folder. Note that in Odyssey, these models are called static meshes.
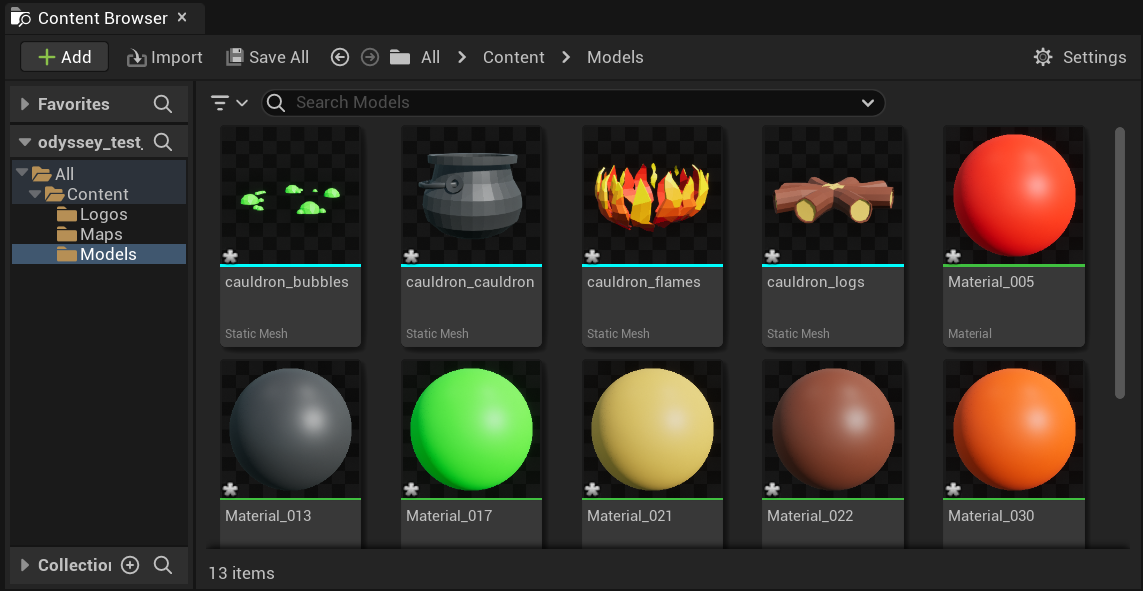
You can also drag and drop an asset from your file explorer.
Sometimes importing an asset downloaded from Sketchfab results in a warning popup. Click the Clear button at the bottom of the warning and close the window to continue working with your imported asset.
An important thing to remember when importing and exporting project assets: when you import a file, it is not saved into your project until you explicitly do so. Save files by right-clicking the file and selecting Save, or save all files at once by selecting File ▸ Save All. Save often!
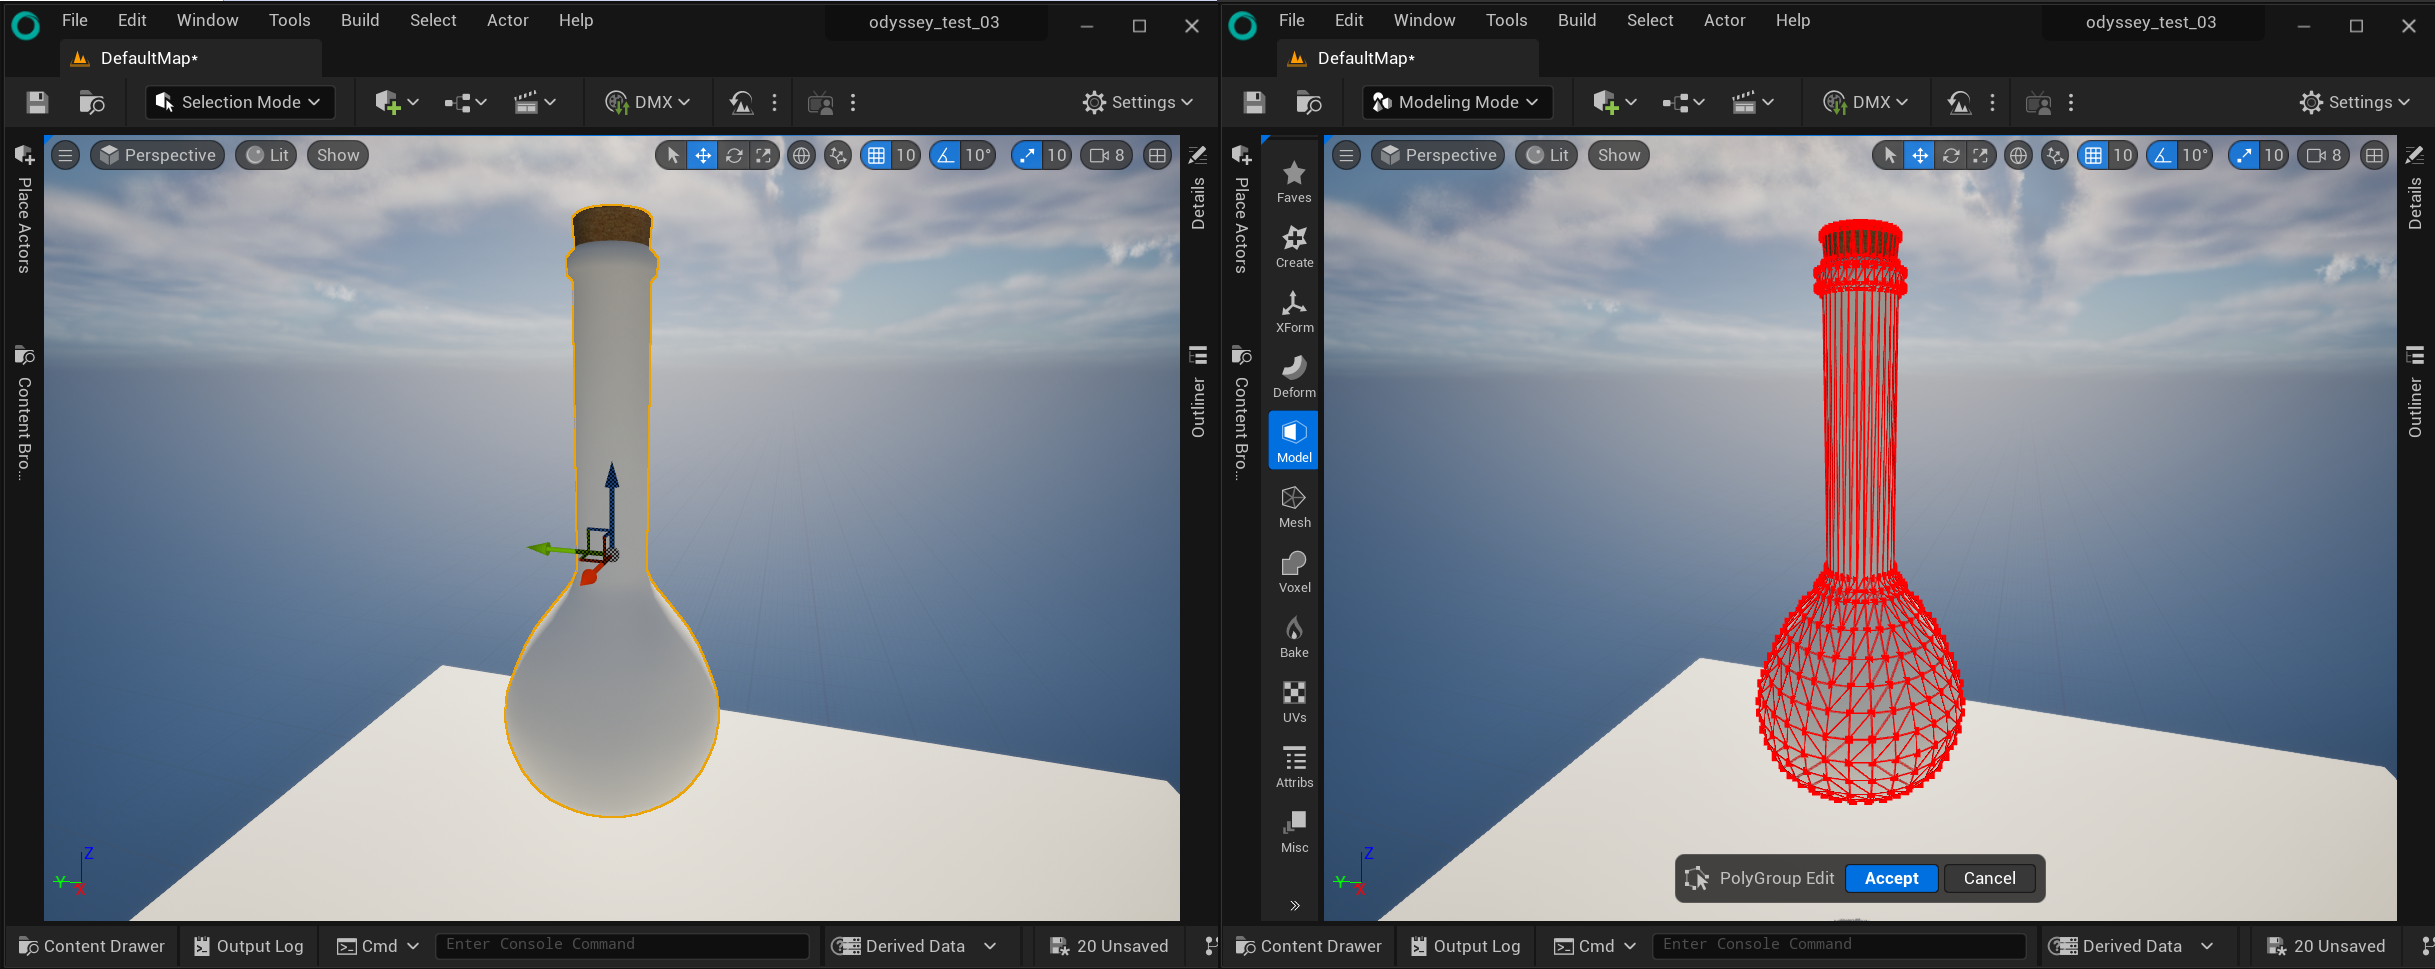
Warning
Odyssey only renders models as triangles meshes. This means that every meshed asset imported will be automatically broken down into tris. regardless of their initial topology.
Marketplace
Odyssey being based on Unreal Engine, it shares the same structure, which means you can import assets from the Unreal Engine Marketplace, which will require you to install the Epic Game Store and create an account.
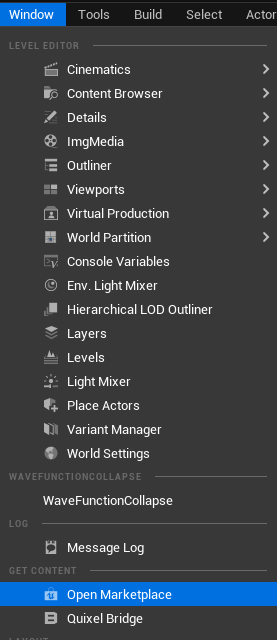
Select an asset of your choice in the Marketplace (it can be 2d assets, environments, characters, animations, music, props, sound effects, textures…).
Add it to your cart and pay for it.

The item will appear into your Vault, in the Library tab. Click on “Add to project”.

Check “Show All Projects” to display Odyssey projects.

Note
If the section remains empty, it comes from the parameters of the Epic Games Store. In this case, close the EGS (make sure it is not running at all or silently).
Then, go to the directory C:\Users\{User}\AppData\Local\EpicGamesLauncher\Saved\Config\Windows\GameUserSettings.ini and change the directory in CreatedProjectPaths to include Odyssey projects.
Do not forget to save before starting again the Epic Games Store.
Select the Odyssey project.
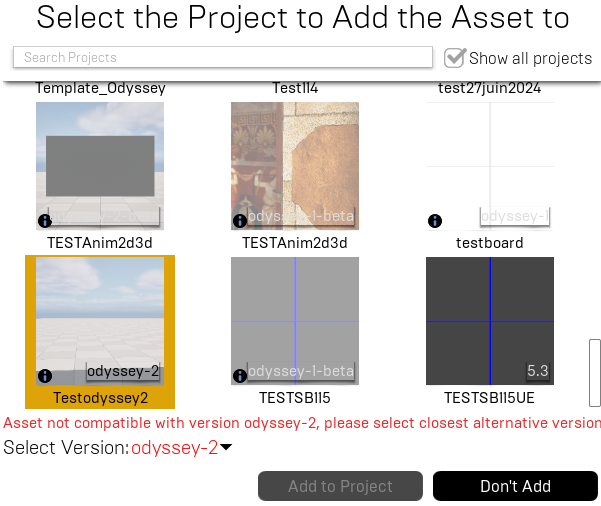
Choose the right engine version Odyssey is based on.

Add the asset to the project
Your assets should be then available in your Content Browser.
Note
All assets downloaded have an original copy on your computer. Make sure you delete them from time to time to prevent your drive to be fullfilled with Marketplace assets! To do so, click on the yellow arrow to remove Local Content

Bridge
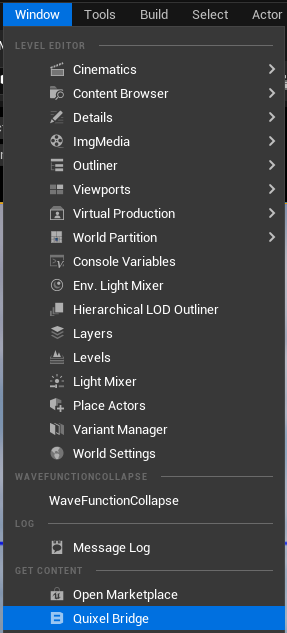
You can also access to Quixel content thanks to the plugin Bridge. This will also require you to have an account on Quixel or on the Epic Games Store.
You will find all the instructions to use Quixel content (Megascan, Metahumans…) on this page from Unreal Engine 5.4 documentation.
Migrate assets
You can also migrate assets from projects to another (event from an Unreal Engine project to an Odyssey project).
To do so:
Open to the original project
Open the Content Browser and make a right click on one or several assets to be edited.
Click on “Asset Actions ▸ Migrate” in the pop-up menu if you selected one or several assets. Click on “Migrate” if you selected a folder.
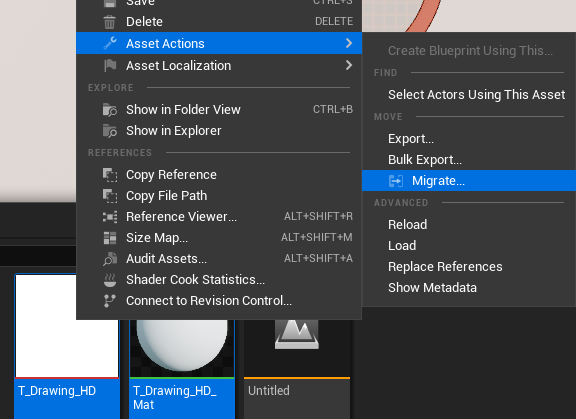
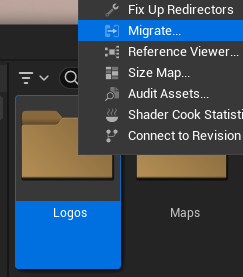
Check all the assets that should be migrated and uncheck the ones that should not.
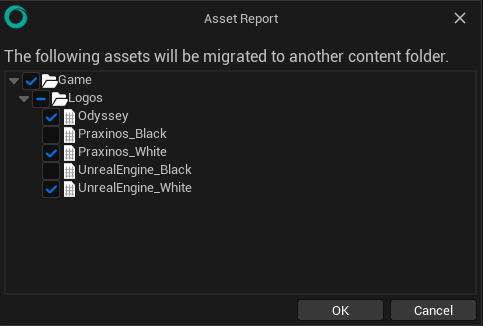
An explorer window will appear: select the folder “Content” from another Odyssey / Unreal Engine Project (it must be the Content folder).

If the migration will replace existing content, you will be asked to confirm the overwriting.

Migration is over, congratulations!
Note
Even though Odyssey and Unreal Engine projects and assets are compatible, their might be some limitations. For instance, Odyssey is not allowed to create games and Unreal Engine is unable to read 2D Animation assets.
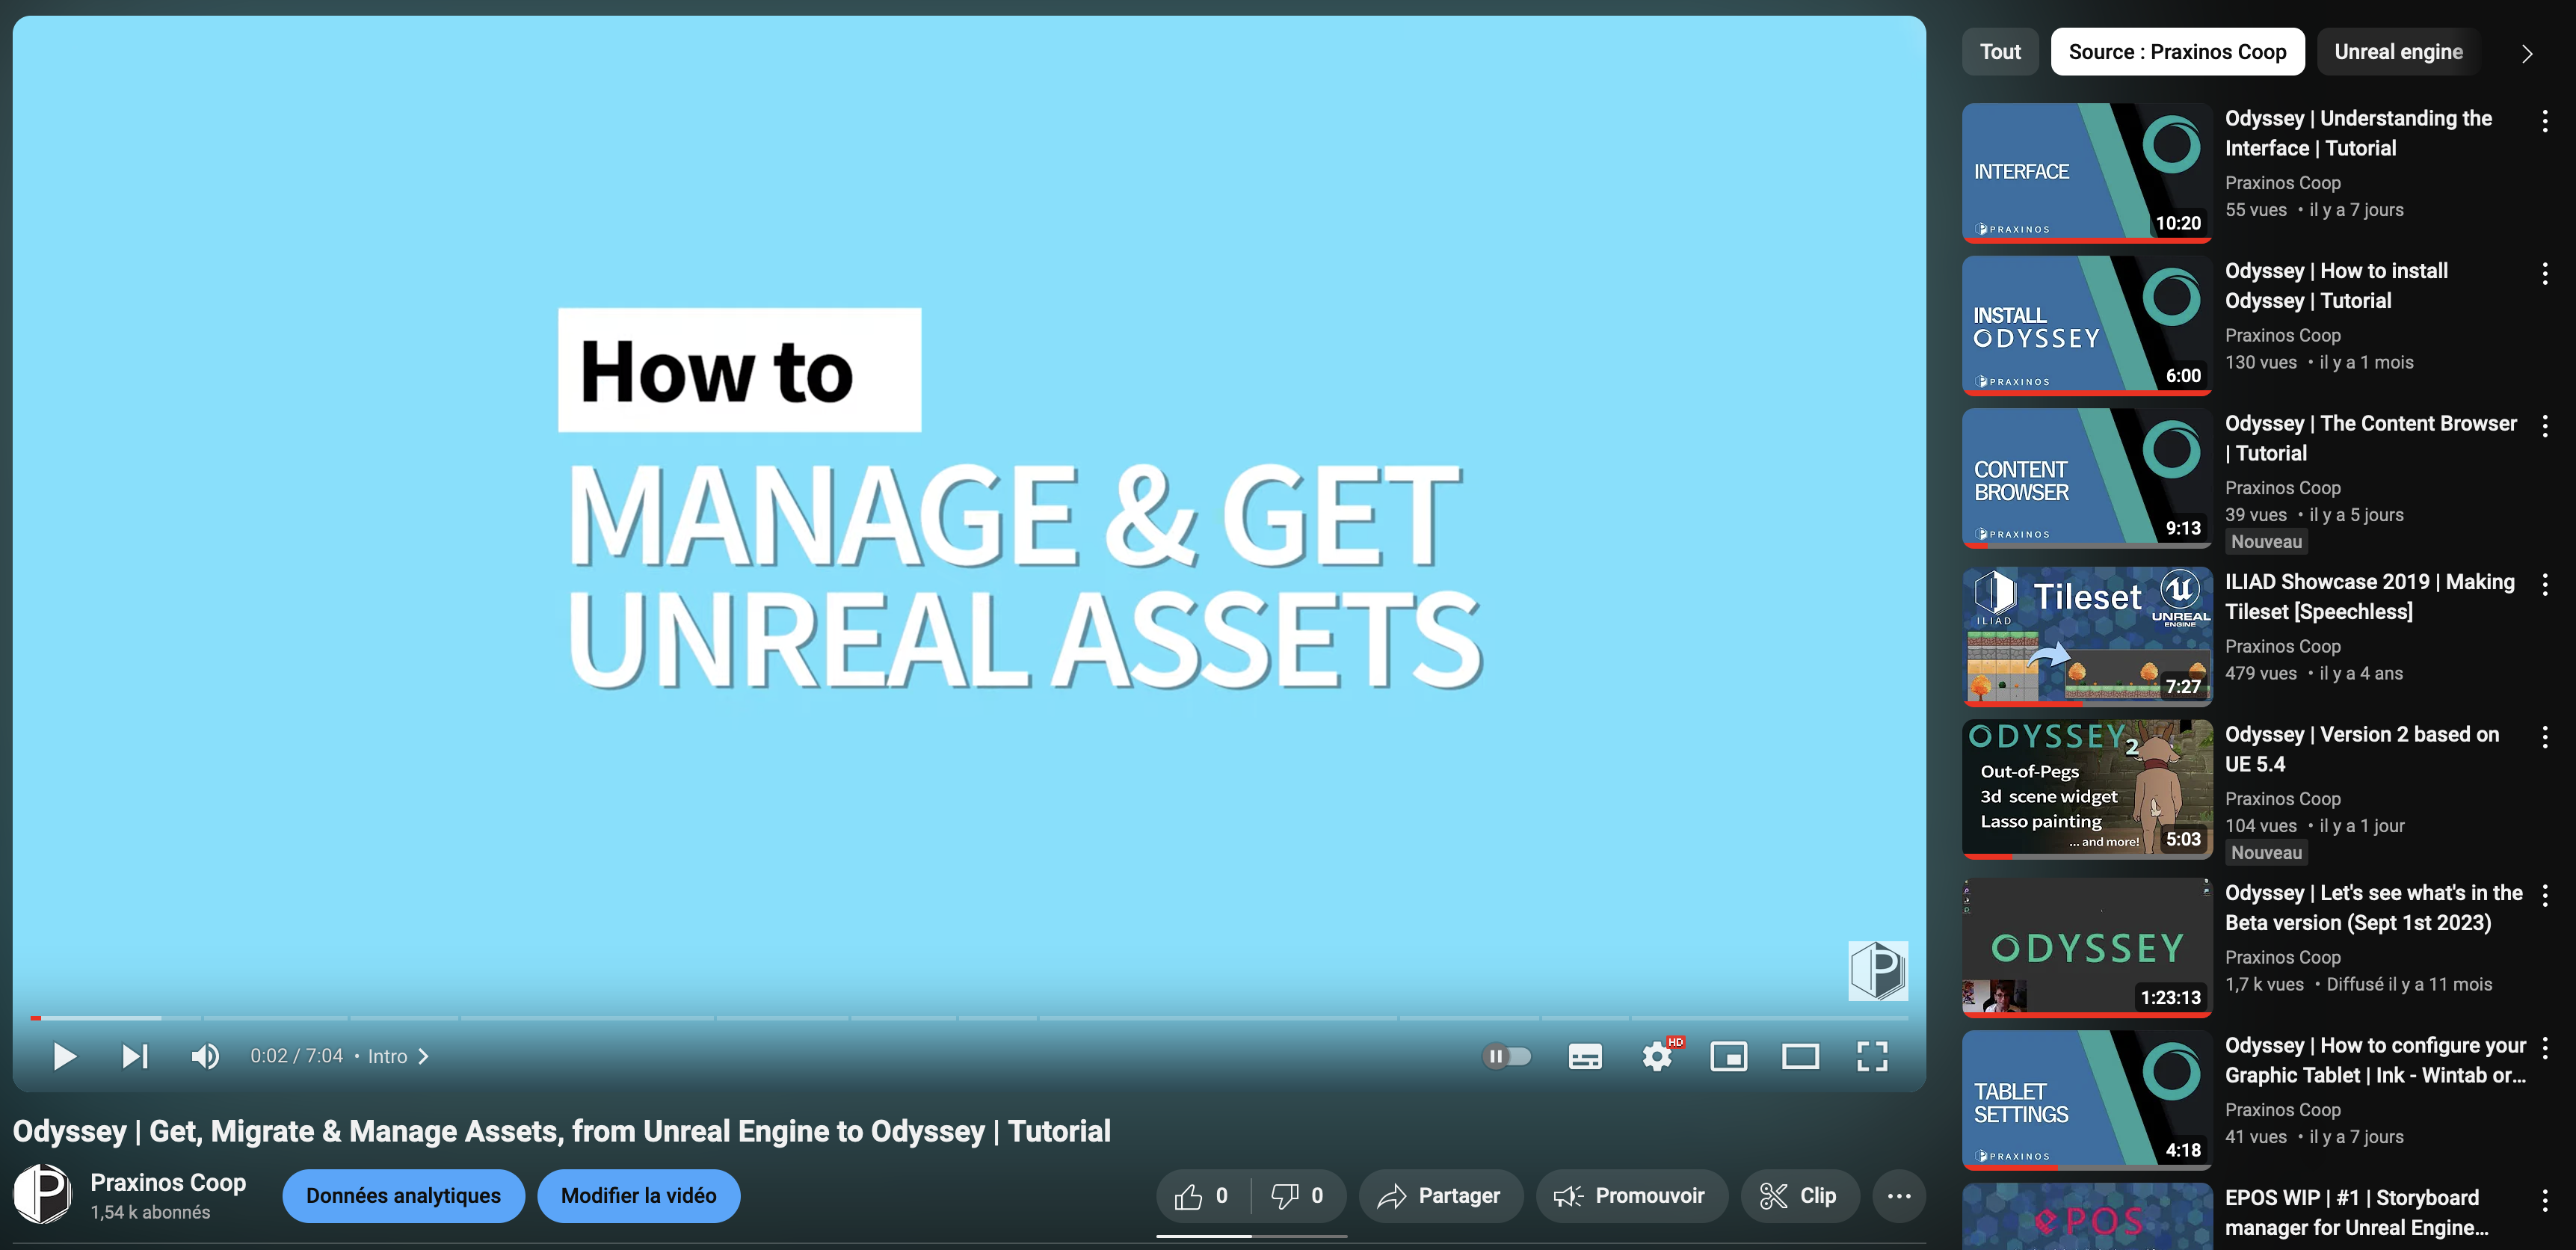
A video covers all the details to transition from Unreal Engine / Marketplace / Quixel Megascan to Odyssey. Click on the image below to watch it:
Add Feature or Content Pack
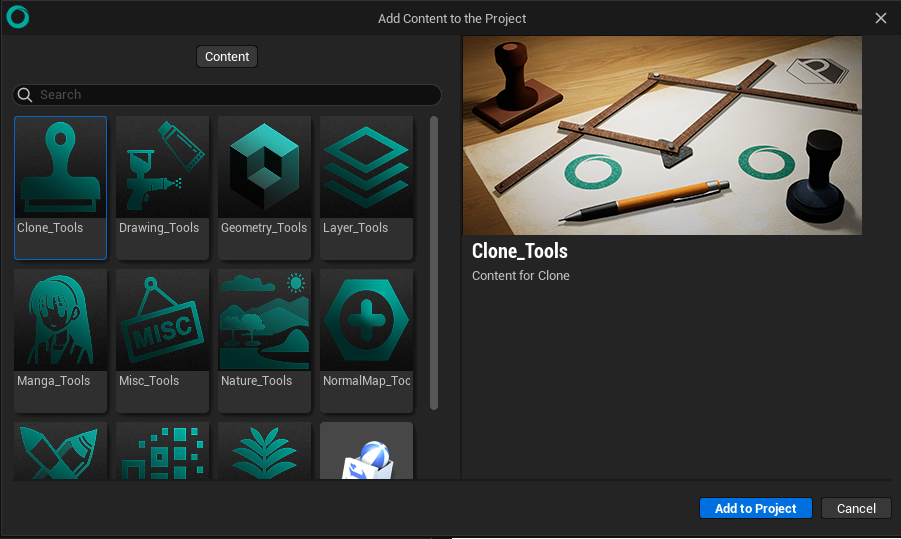
Odyssey includes many more brushes that are available from this option at the top left corner in the Content Browser:
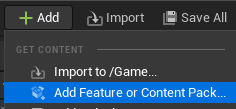
Select the brush pack you are interested in and add it to the current project.
