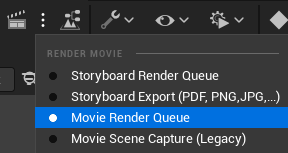
Movie Render Queue
After selecting Movie Render Queue in the dropdown menu, click on the clapperboard icon in the Sequencer tool bar.
You will be displayed this panel. Click again on “MPMC_Storyboard_Sequence” in the category “Settings” to display the Settings.
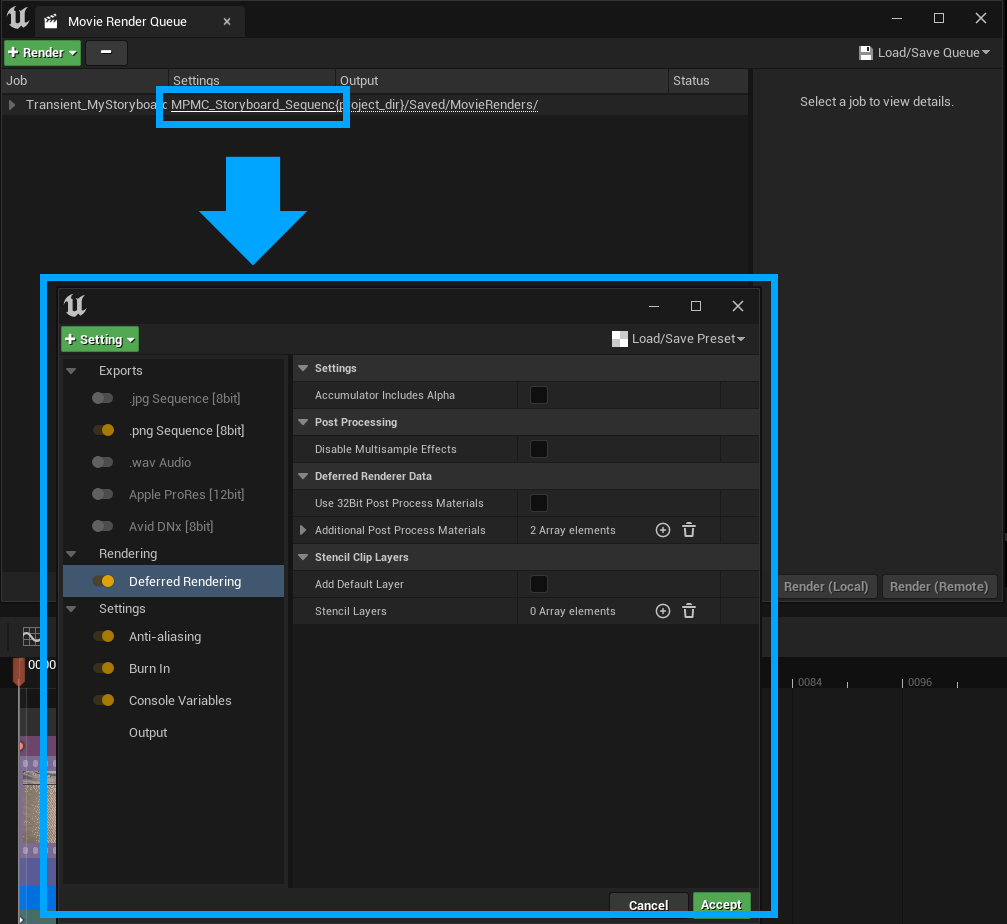
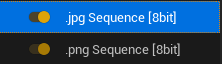
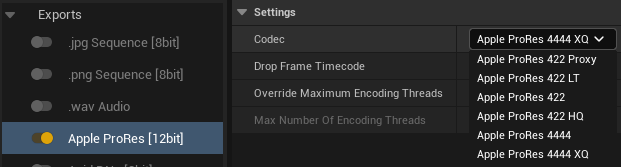
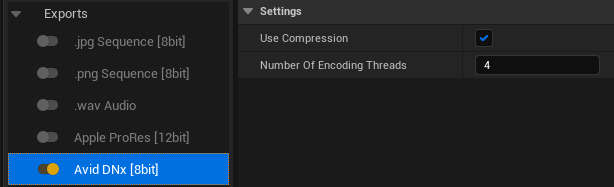
In these settings, you can enable one or several export file formats, such as:
JPG or PNG sequences
WAV audio
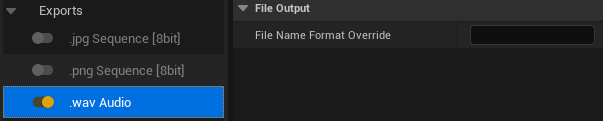
Note
Note that rendering the audio as WAV will litterally render a .wav file. There is no way to render a sequence with sound embedded.
Mov file formats using AppleProRes codecs (Windows only!)
Avi file formats using Avid codec (Windows only!)
You can also change Deferred Renderings :
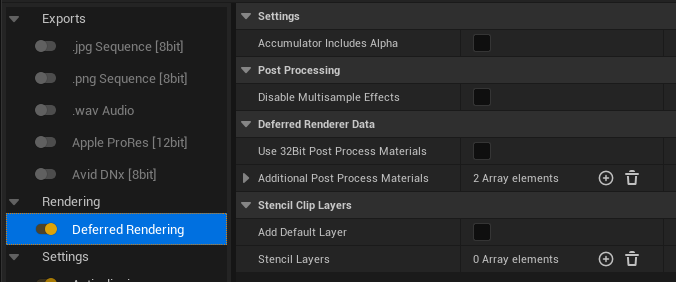
To know more about Deferred Renderings*, please read this documentation about Render Passes.
And you can also change a few parameters to manage :
Anti-aliasing
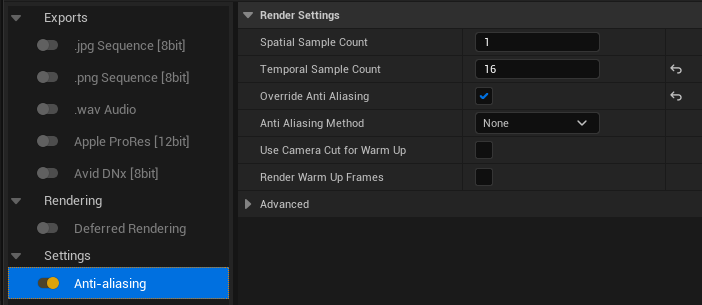
To know more about Anti-aliasing, please read this documentation on Unreal Engine website.
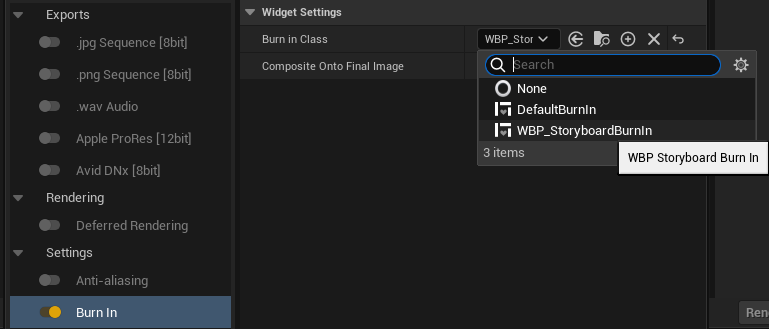
Burn in information to be displayed on the footage as an overlay.
More information to come later
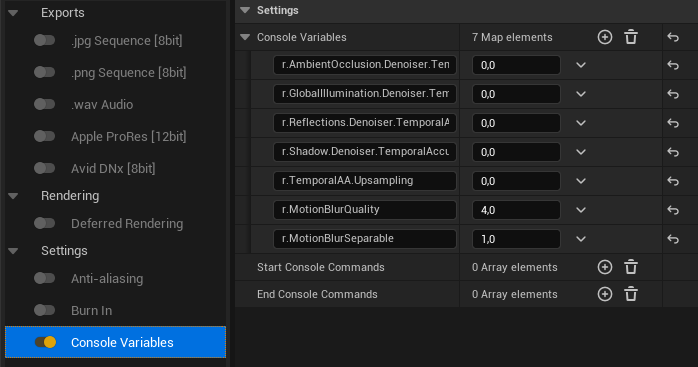
Console Variables to adjust some parameters.
To know more about Console Variables, please read this documentation Variables Editor.
In the end, you will just have to select the final Output of the rendered sequence.
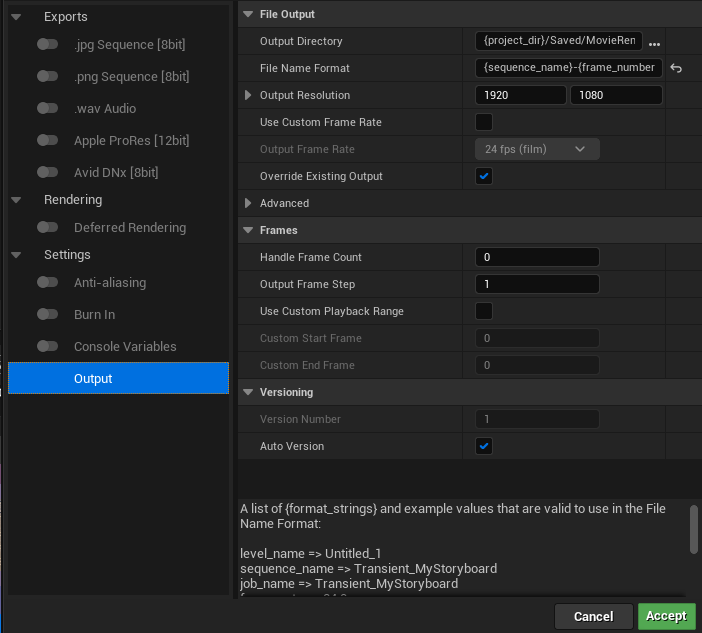
You can then hit “Accept” and hit “Render local” to export your animatic as a sequence.
If you need additional information, please read this documentation.