Export a 2D Animation
At the moment, contrary to Texture 2D that can directly be exported as images on your computer, it is not possible to do the same wih 2D animations. Since Odyssey inherits from Unreal Engine, 2D Animations are supposed to be used in a 3D environment, which implies a Level, Level Sequences with Media and Camera Tracks.
However, there is another way to do so if you just want to render an Animation done without 3D context. This will require many steps but it’s a possibility, until our developers find any easiest way to have the same result. Refer to the corresponding lessons if you need to remember how to proceed with each steps.
Create an empty Level, change its Viewmode to be “Unlit”, then save the Level in the Content Browser.
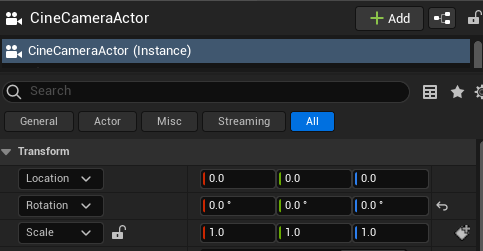
In that Empty Level, create a Cine Camera Actor. In the panel Details, make sure the Location and Rotation of the Actor all equal 0.
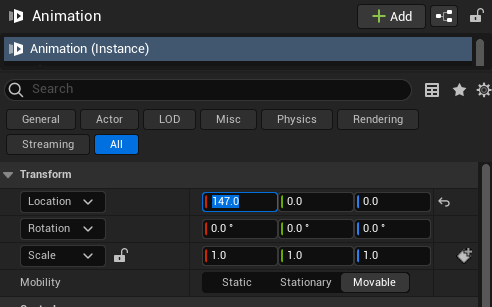
Drag and drop your Animation into the Level to make a Media Plate Actor. In the panel Details, make sure Location and Rotation all equal 0 too, but the X value of the Location that must be 147
Create a Level Sequence in the Content Browser and open it. Drag the Cine Camera Actor and the Media Plate Actor from the Outliner and drop them in the Level Sequence. Adjust the mark out if necessary.
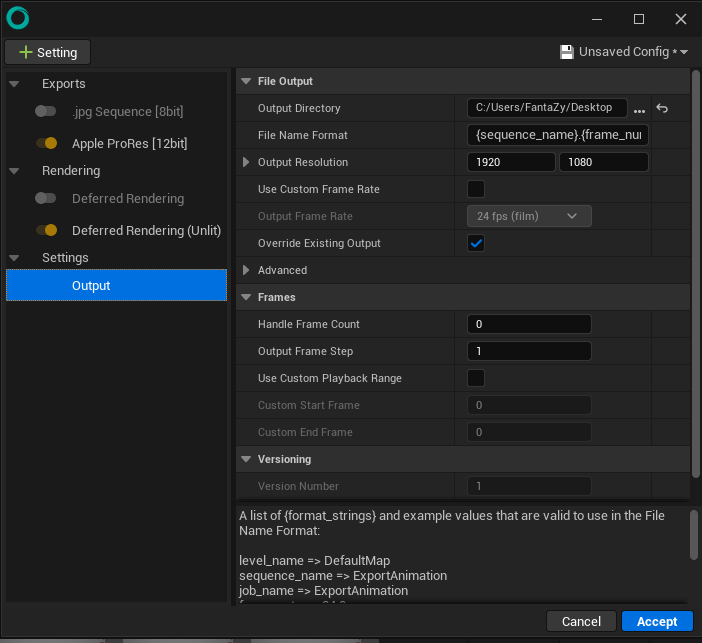
Use the Movie Render Queue and configure it as follow:
In “+ Setting”, add and enable the file format of your choice (PNG, AppleProRes…)
Add the option “Deferred Rendering (Unlit)” and uncheck the basic “Deferred Rendering”
Change the output directory.
Accept the configuration of the Movie Render Queue and then click on “Render (Local)”.
Your 2D Animation is now rendered as a footage.