Matrices & Macros
Matrices
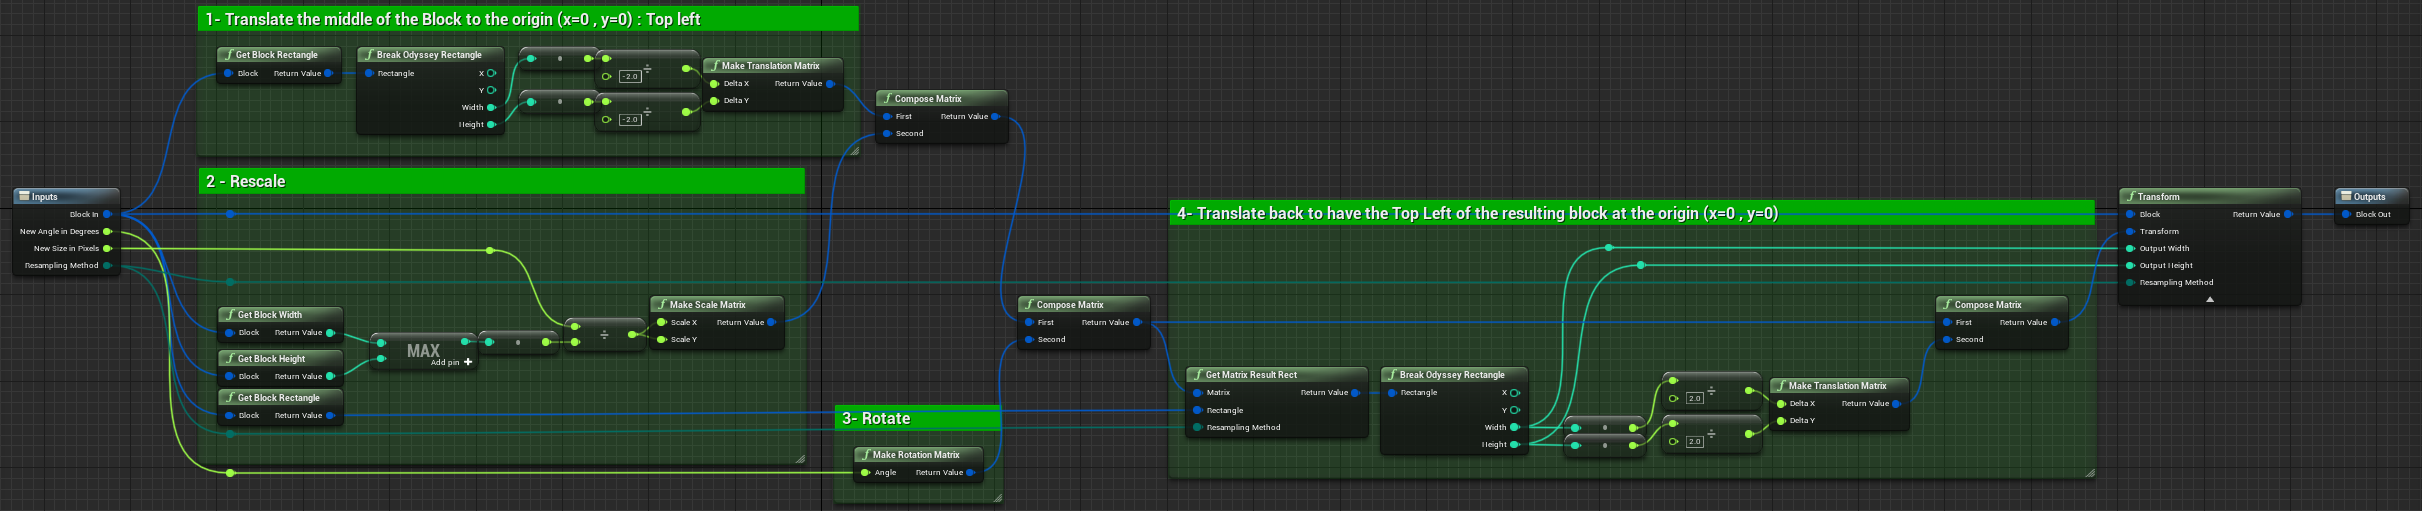
Transform nodes such as “Rotate” or “Resize Uniform” will be calculated separately and step by step. If this solution is alright for simple brushes, this can make the calculation process longer when the brush gets more and more complex.
Contrary to these nodes, Matrix nodes will proceed with all changes “at once”, thanks to a detailled list of actions. Thanks to matrices, you have then the possibility to create macros.
Note
Read the lesson about Matrix nodes to know more about them.
Macros
Using macros has two advantages:
they make Blueprints easier to read;
they can be re-used a multiple times, which makes the conception process faster.
If we look at the default brush “Cartoon Bush”, its blueprint uses two nodes “Stamp”, and both use the same macro “Resize and Rotate in One Transform”. Plus, other macros are in use to alter X / Y coordinates and convert Linear Color into Odyssey Color. (All macros are highlighted in the screenshot below.)
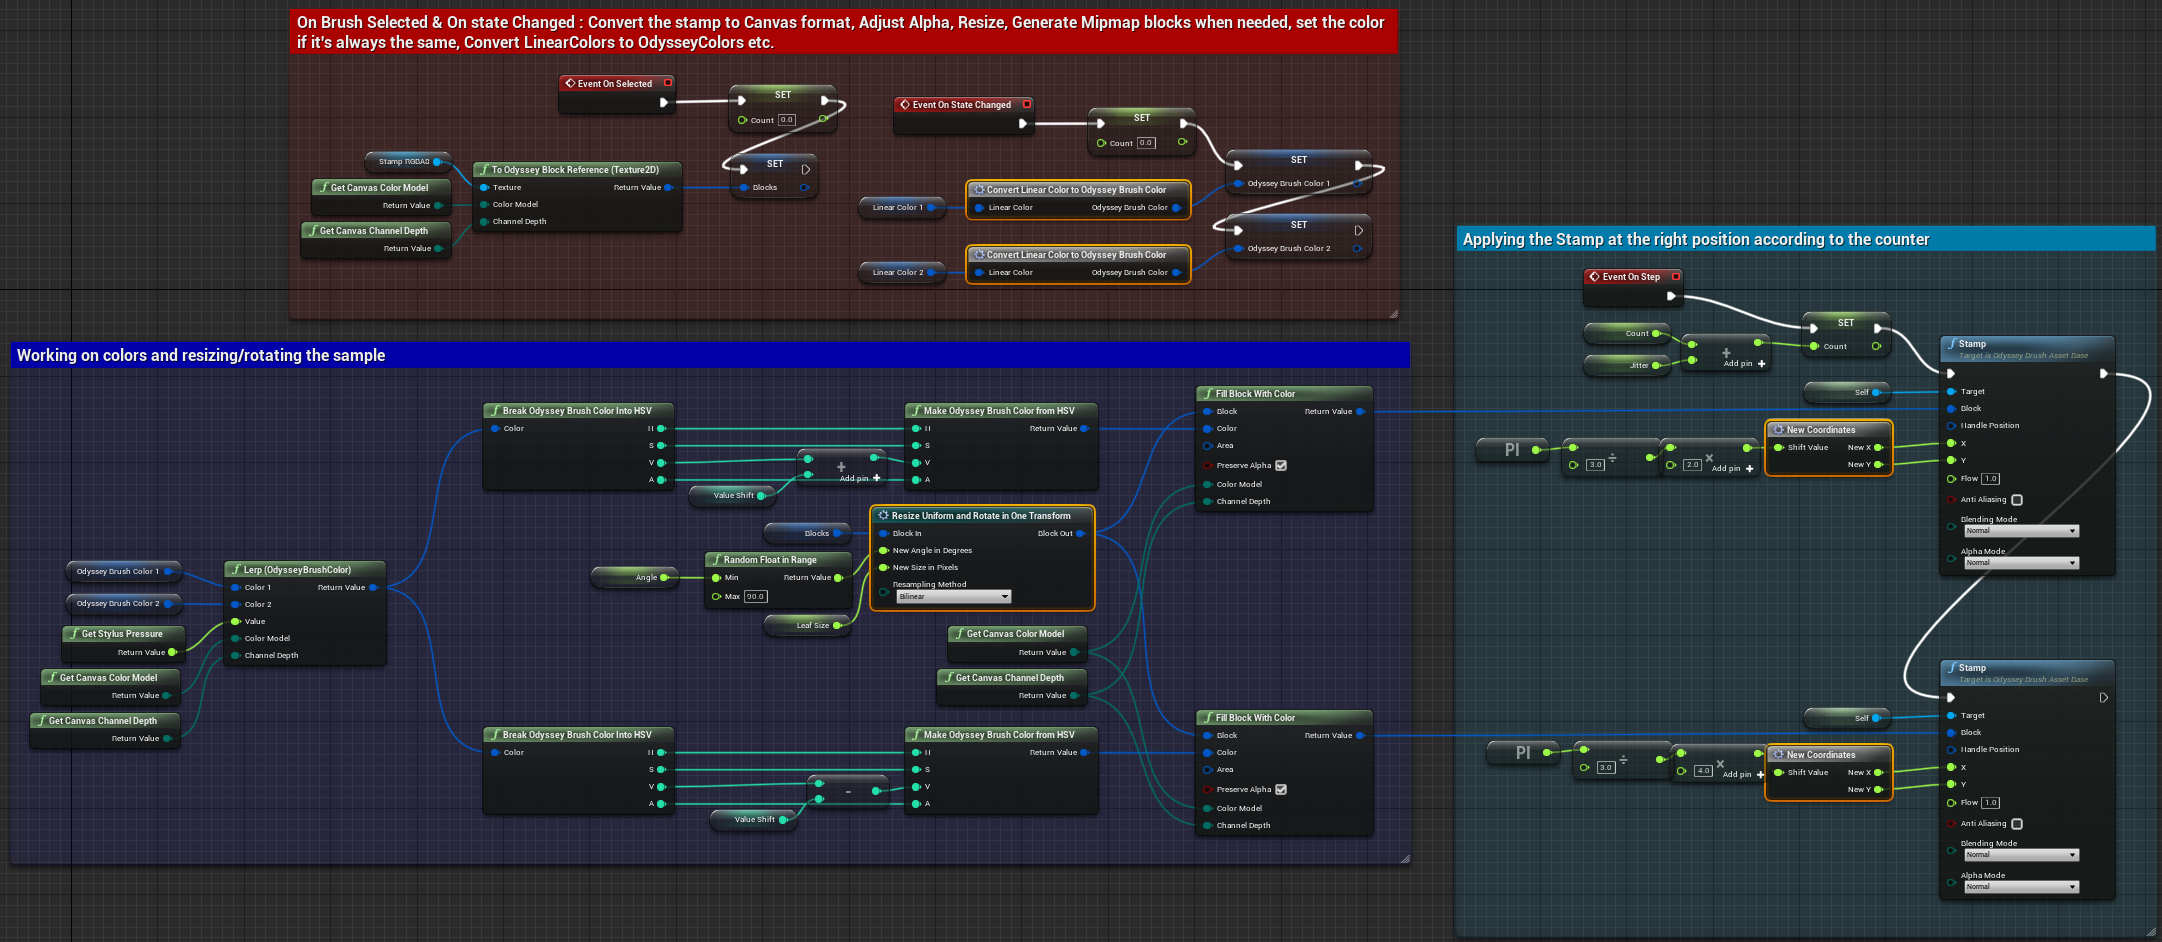
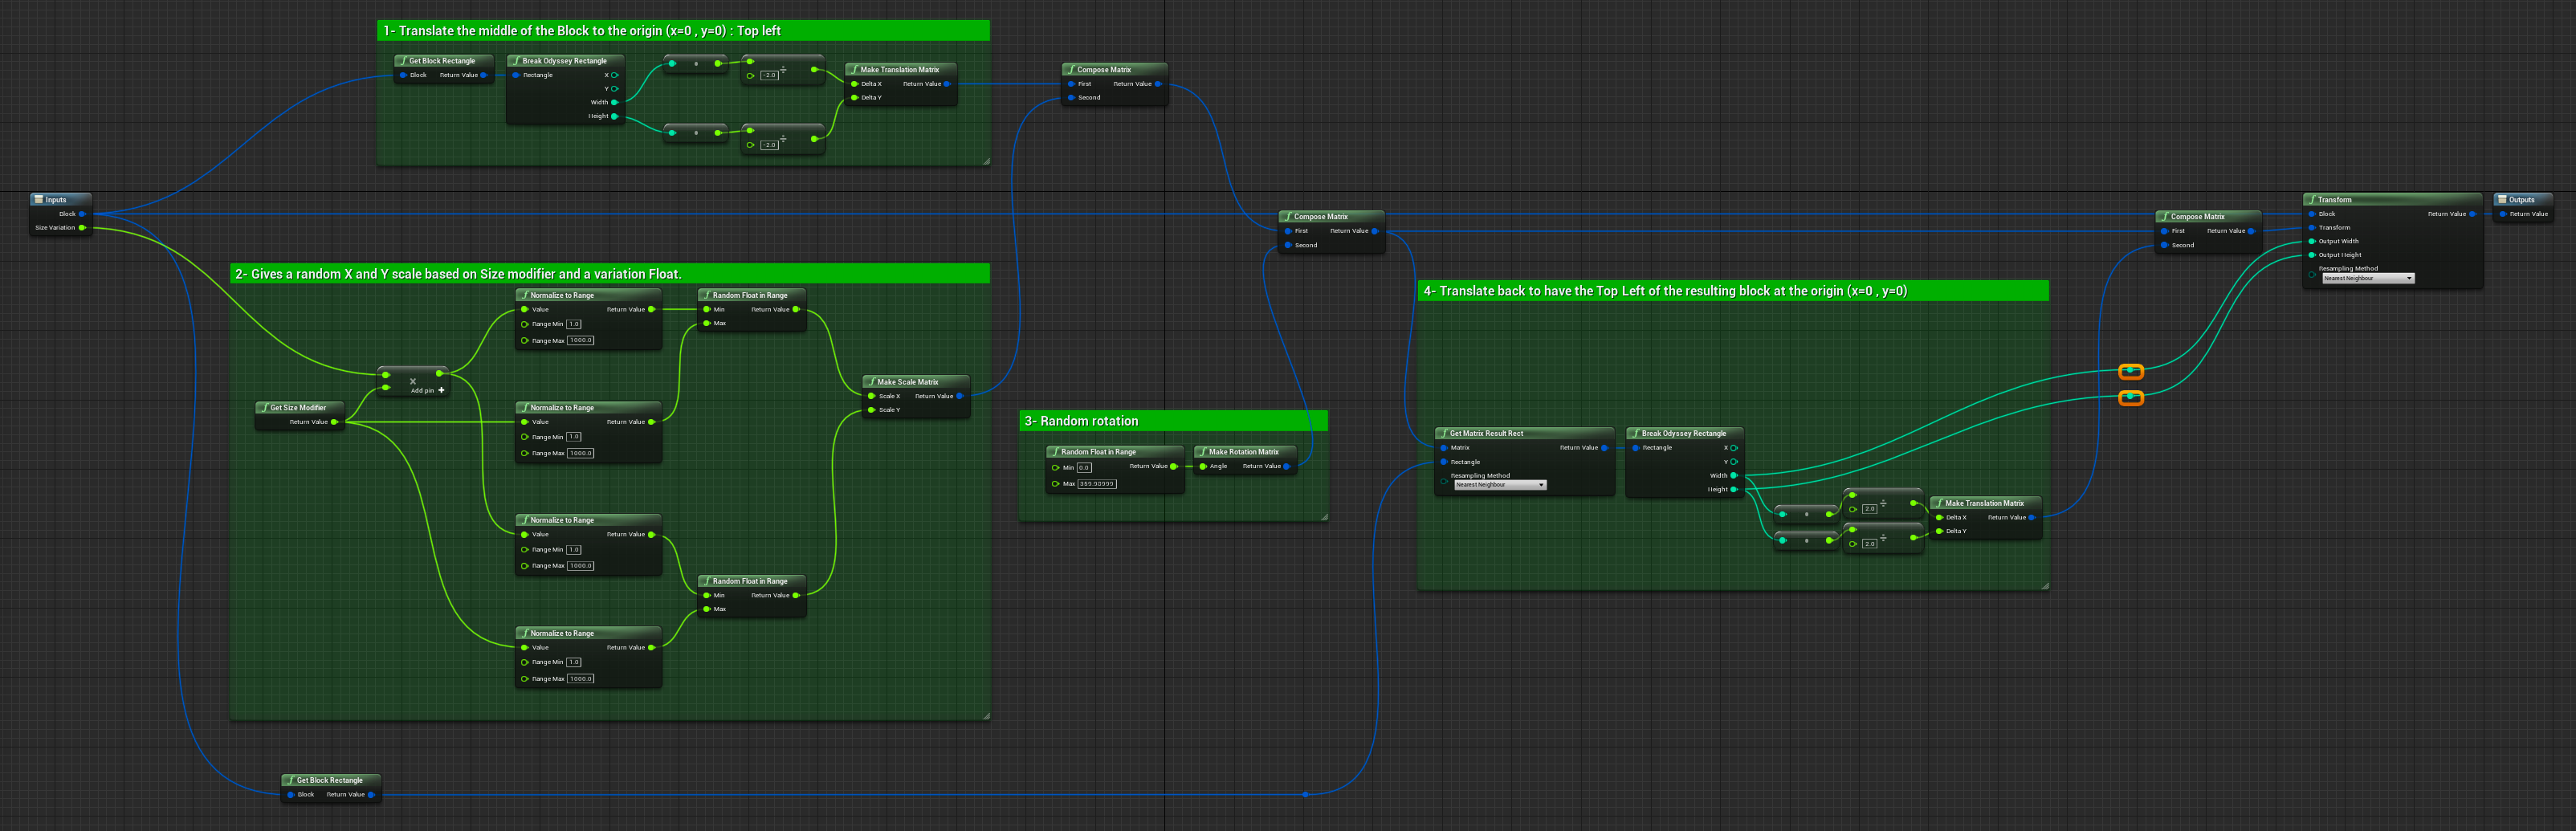
If we double click on the macro “Resize Uniform and Rotate in One Transform” to open it, we can see the brush requires several input, to be connected to “Make Rotation Matrix” and “Make Scale Matrix”.
Create a macro for Odyssey Brushes
In the Content Browser, make a right click and click on “Blueprint” ▸ “Blueprint Macro Library”. Then, look for “All classes” at the bottom, and search for “Odyssey Brush Asset Base”.

Give this asset a name and double click to open it.
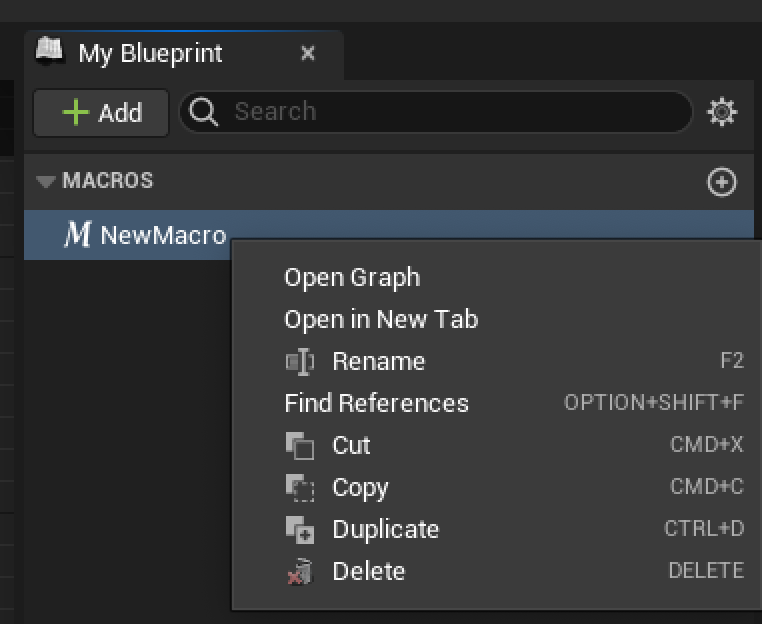
Once open, the Blueprint will only display these two nodes:

A Blueprint Macro Library can contains several Macro. In a panel (by default, it’s top right), you will be able to rename and even add more macros.
Add input and output
Depending on what your trying to achieve, you might need different input that will require either a variable or another node in the Odyssey Brush Blueprint, but in the case this macro will transform your sample, you will need an input and an output “Odyssey Block Reference”.
Click on the tiny “+” in the Detail panel, next to “Input”:
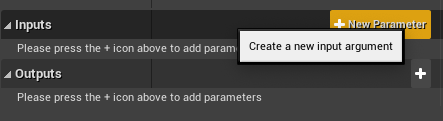
Just like you would proceed with variables, add an “Odyssey Block Reference”. Then, repeat the process on the output.

Create an input “Odyssey Brush Reference” to keep the context of the macro. You can now create as many nodes as you need to create your macro. If necessary, you can add other input and output to your macro.
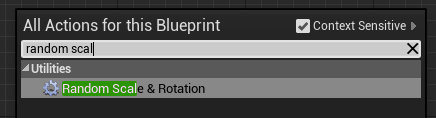
Once your macro is done, save it, go back the Odyssey Brush Blueprint, make a right click and enter the name of your macro to add it. In this example, our macro’s name is “Random Scale & Rotation” :
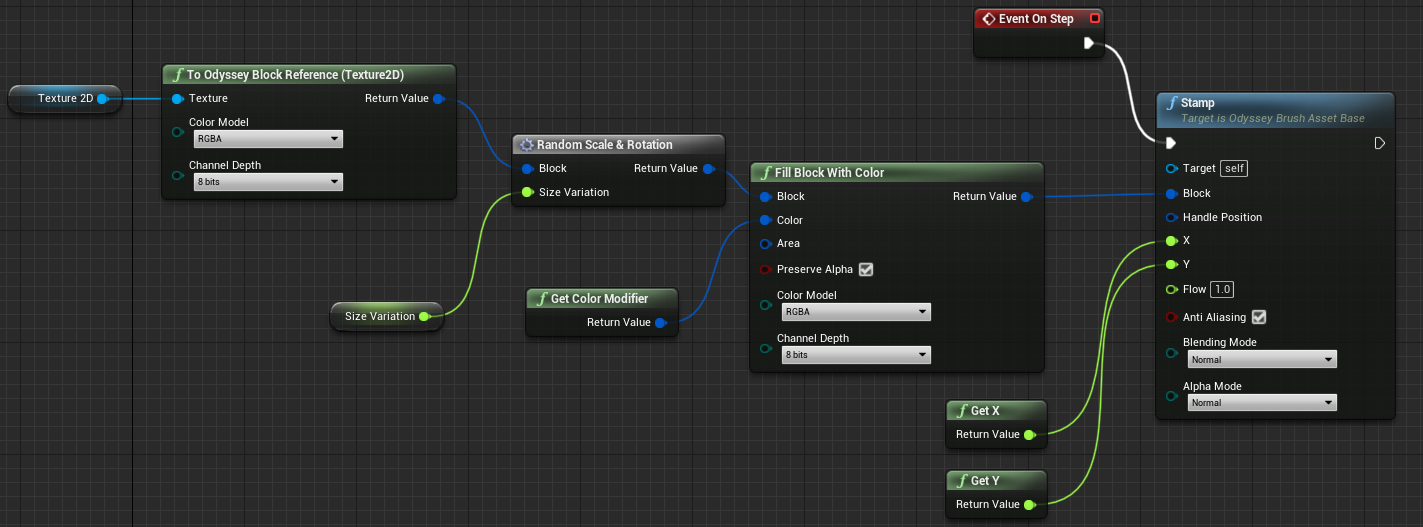
Connect your macro to the node Stamp (input Block) and, if necesary, add nodes and variables to be connected. In the example below, our macro requires a float “Size Variation” and its return value is connected to the node “Fill Block with Color”.
Compile the Blueprint and test your brush. In this example, the width and height of the stamp change randomly according to the Size modifier and a float value. Plus, the angle changes randomly on 360°.
If you edit your macro, do not forget to save and recompile the Odyssey Brush Blueprint to make sure all modifications have been taken into account.
In this example, we used a macro to proceed with several transforms in once, thanks to Matrix nodes. However, macros can also be used for other purposes without matrices, such as color changes, modifying the pivot point, etc. Feel free to study Odyssey default brushes to know more about the possibilities offered by macros.