Vector Tools
Here are the Tools available when working on Vector Layers:
Tool |
Description |
|---|---|
Path Drawing Tool to draw vector path on the canvas. |
|
Path Edit Tool to edit a path or a shape. |
|
Tool to create new vertices on a path or a shape. |
|
Primitive Shapes like circle or rectangle. |
|
Selection Tool to select vertices, paths or groups. |
|
Transform Tool to move, rotate and rescale objects and selections. |
|
Hand Tool to pan and zoom in / out your Scene. |
|
Push Tool pushes vertices and move them. |
|
Path Smooth Tool to make your path smoother or sharper. |
|
Stitch Tool to stitch two paths together. |
|
Paint Bucket to fill within a vector shape. |
|
Eraser to erase a part of the path. |
|
Eyedropper to pick up a color from the canvas. |
|
Grid warp. |
Path Drawing Tool
The Path Drawing Tool will be used to draw in vector. Every path added automatically belong to a native Scene as a Paint Group. All these Paths can be seen in the panel Vector Scene Tree View.
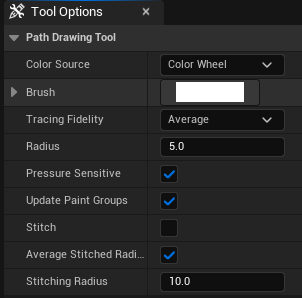
Using the Path Drawing Tool will display the following options in the Tool Options:
Color Source: choose between the Color Modifiers or the Palette.
Brush: choose a style to your brush to be applied on the path.
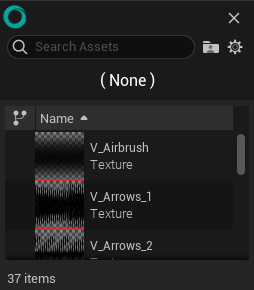
Select “None” if you prefer the classic penbrush style.
Tracing Fidelity: Choose the fidelity of the path when drawing with a stylus. There are 5 modes: “Lowest”, “Low”, “Average”, “High” and “Highest”. Obviously, “Lowest” requires less calculations, creates less vertices and provides a lowest fidelity than Highest, which requires more calculations for a better fidelity due to a higher quantity of vertices.
Radius: To change the radius size of the path (can also be found in the Top Bar).
Pressure Sensitive: Enable or not the pressure from your graphic tablet.
Update Paint Groups: Creates and updates Paint Groups, in order to easily use the Paint Bucket Tool.
Stitch: Connects new paths to existing paths. You can switch this mode by using Shift.
Average Stitched Radius: Average pressure value between the two paths to be stitched.
Stiching Radius: To increase or decrease the radius of the circle of influence to allow two paths to be stitched together.
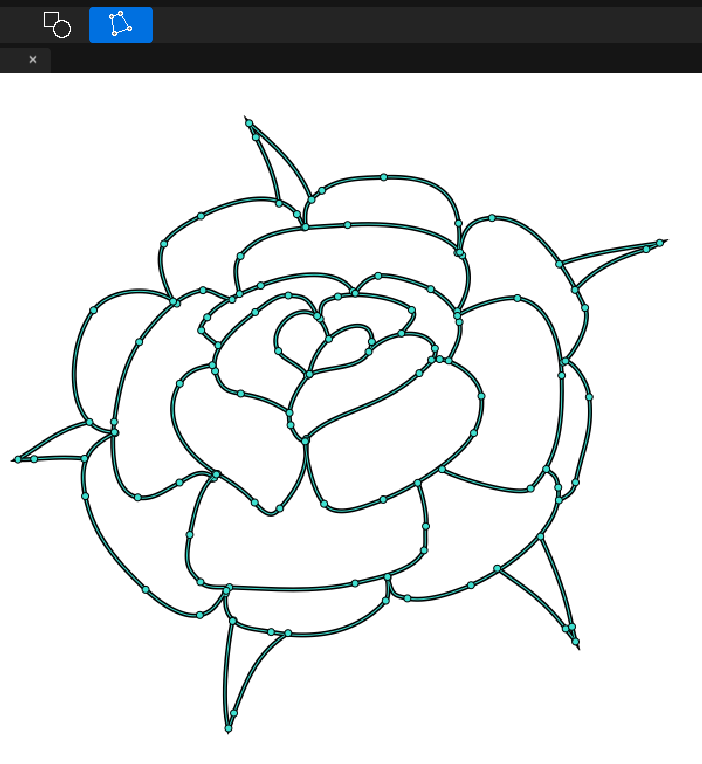
Path Edit Tool
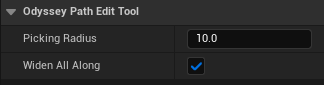
This tool allows you to modify path vertices, move, widen or delete them.
Move a vertex: This is the default behaviour. Select the path to be edited, then move the vertex represented with a green dot.
Edit Bezier curves: Hold Ctrl to display the handles and change the vertex curve. Click on the vertex to activate (green handles) or inactivate (white handles) the alignment of the handles.
Delete a vertex: Hold Alt and select the vertex to delete.

Widen: Hold Shift to widen the Path. This option will also depend from the option “Widen All Along”. When enabled, this tool will widen the entire path. When disabled, this tool widens one vertex and the neighboring segments.
Add Vertex
Creates new vertices by “cutting” a selected path or group at the desired place.
If you need to cut another path or group, use the Select Tool.
Primitive Shapes
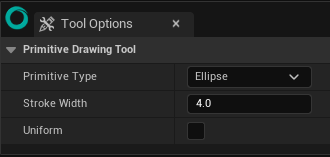
Primitive Type: Choose between ellipses, rectangles and lines.
Color Source: choose between the Color Modifiers or the Palette.
Brush: choose a style to your brush to be applied on the path.
Select “None” if you prefer the classic penbrush style.
Stroke Width: Choose the size of the stroke.
Uniform: Creates a primitive shape with a uniform proportion (ellipses become circles; rectangles become squares; lines will take the direction of the cardinal points). You can also hold Shift to activate the uniform mode.
Selection
Option

The Selection Tool will offer only one option in the Tool Options panel: the Selection Shape, where you can choose the Select Mode between Circle, Rectangle and Freehand (Lasso).
Object or Vertex
However, the Top Bar will give you the possibility to either work on objects or on vertices.
Object Selection Mode:
Vertex Selection Mode:
Hold the left click to select several vertices, which will turn them red:
Note
Hold Ctrl to add a new selection to the active selection.
Hit Delete to delete a selected group (only works in Selection Mode “Object”).
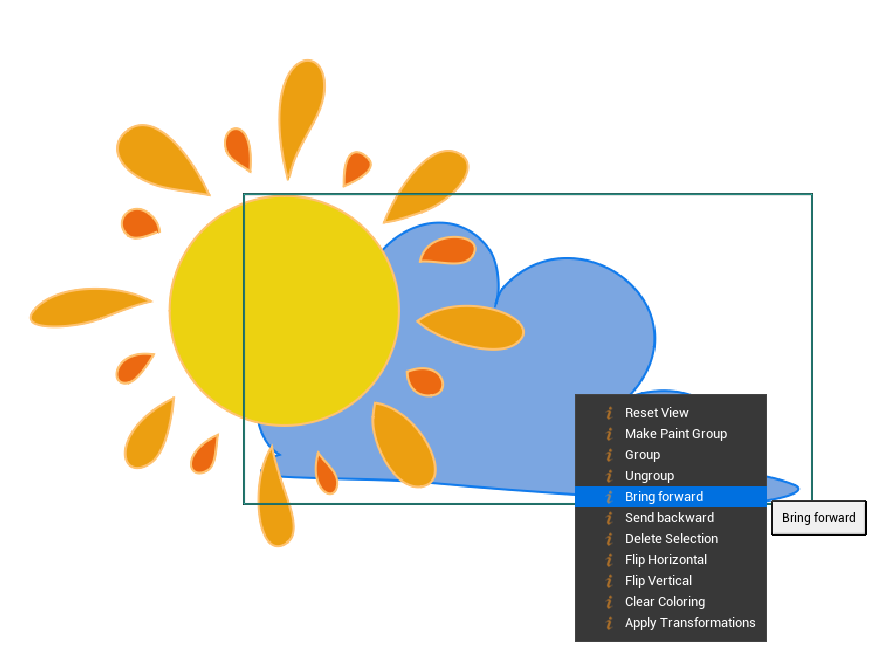
Contextual Menu
Object
When using the Selection Tool in Object Mode, you can display more options with a right click on the canvas.

Reset View: Resets the position and zoom of the Scene (which was modified with the Vector Pan / Zoom Tool).
Make Paint Group: Turns a specific area into a Paint Group to be filled with the Paint Bucket.
Group: Groups paths and shapes to form one object.
Ungroup: Breaks the group made previously into separated paths and shapes.
Bring Forward: Brings the Selection above other elements from the Scene.
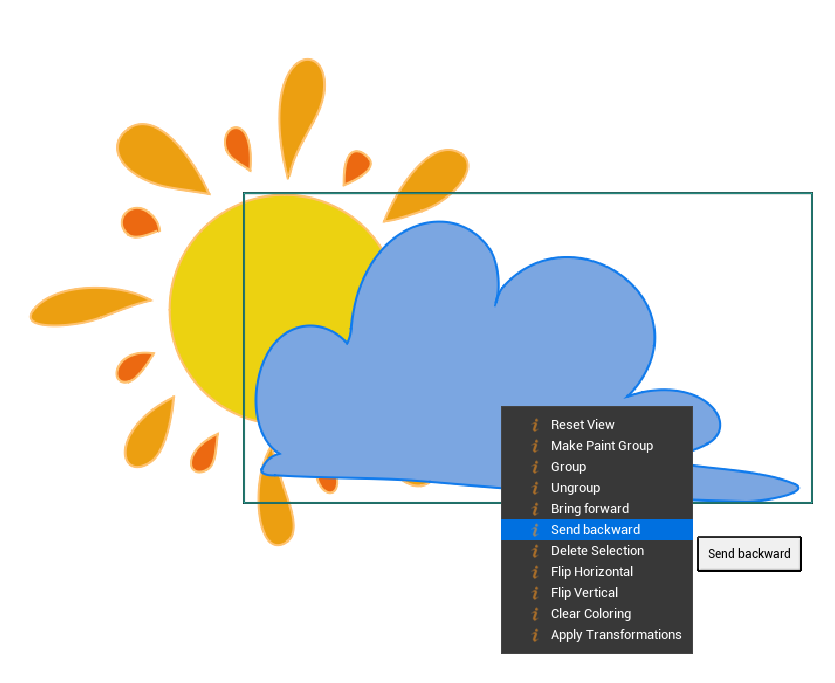
Send Backward: Sends the Selection under other elements from the Scene.
Delete Selection: Deletes the whole selection. You can also hit Delete to delete a selected group.
Flip Horizontal | Vertical: Flips the selection on the horizontal or vertical axis.
Clear Coloring: Clears the floodfill done with the Paint Bucket.
Apply Transformation: Applies transformations done with Transform Tool to a selected group, which resets values like Translation X & Y, Rotation and Scaling X & Y. To have more details about this values, please read the lesson about the panel Vector Selection.
Vertex
When using the Selection Tool in Vertex Mode, you can display more options with a right click on the canvas.
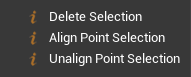
Delete Selection: delete a selection of vertices.
Align Point Selection: align the handles of a vertex
Unalign Point Selection: unalign the handles of a vertex (to be edited with Path Edit Tool)
Transform
Options
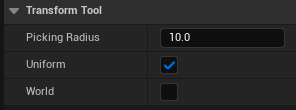
Picking Radius: To increase or decrease the radius of the circle of influence which allows to select handles.
Uniform: To rescale the selection uniformly. You can also toggle this mode by holding Shift.
World: Enable this mode to transform your selection according to the canvas (World). Disable it to transform your selection according to the selected object (will only work with a single shape or path, not on a group).

Object or Vertex
Using Transform in Object mode:
In Object Mode, Transform will affect objects that were selected beforehand. If no object was selected, depending on the context, Transform will either move a single path or shape detected, or the whole Scene if nothing else was detected.
Using Transform with selected vertices:
Using Transform
Use the green dots outside the Transform HUD and hold the click to resize the selection. Click in the middle of the selection and hold the click to move it around. Use the big green dot in the middle and hold the click to move the pivot for the rotation. Click outside the selection HUD to rotate the selection.
Hand Tool
Hold LMB to pan your Scene up, down, left and right.
Hold RMB with a mouse or RMB+LMB with a stylus and move to the right to zoom in or to the left to zoom out your Scene.
Push
Radius: To change the size of the circle of influence.
Restrict to Selection: Enable this option to affect selected objects.
Path Smooth Tool
This tool can be used to either smooth sharp paths, or to sharp smooth paths.
Smoothing Mode: Sharp or Round
Picking Radius: Change the size of the circle of influence.
Preserve Handle Length: Preserve the length of the vertices’ handles.
Restrict to Selected Object: Apply the tool on selected objects when enabled.
Stitch
Picking Radius: To change the size of the circle of influence.
Eraser
Allows you to erase part of a path, and recreate vertices on either side of the erased part.
Split Path: when erasing, it splits the erased path into two paths.
Radius: size of the eraser.
Note
Hold Shift to delete large strokes and easily clean up your drawings.
Paint Bucket
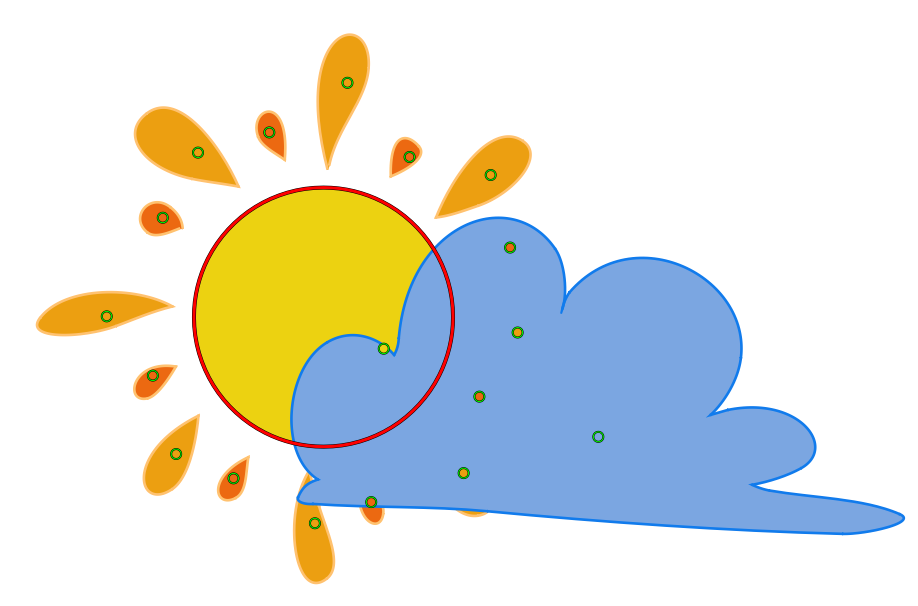
This tool detects areas with closed lines (which are outlined in red). Click on these areas to add a dot (which symbolizes the Paint Bucket) and fill in the area. The image below shows both a closed shape with a red circle and the Paint Bucket dots:
Each dot can be moved with a click on it. If another closed area is detected, it will be filled in.
If you make any change on the shapes, the Paint Bucket will adapt to the modification.
Options
Propagate
When enabled, this option will propagate the floodfill beyond the closed area in red detected by the Paint Bucket.
Color Source
Solid Color: will use a color from the Wheel or the Sliders.
Linear Gradient: will display 2 color field in the Tool Options panel. Click on the default white rectangle to change the nuance. Use Ctrl to change the direction of the gradient.
Radial Gradient: will also display 2d color field in the Tool Options panel. Use Ctrl to change the spread.
Palette: use the color selected in a Palette.
Opacity
To lower the opacity of a Paint Bucket.
Picking Radius
Change the size of the circle of influence to move the Paint Bucket.
Contextual Menu
You can also display more options with a right click on the canvas.
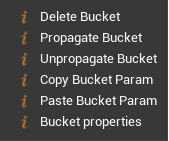
Delete Bucket: Deletes the Selected Bucket.
Propagate Bucket: Propagates the floodfill beyond the closed area.
Unpropagate Bucket: Limits the floodfill to the closed area.
Copy Bucket Param: Copies the settings of the Paint Bucket in order to paste this attributes to another existing Paint Bucket.
Paster Bucket Param: Paste the copied settings to replace the attributes of an existing Paint Bucket.
Bucket Properties: To check and modify the properties of the current Paint Bucket (color, opacity…).
Eyedropper
Click on the Eyedropper to pick up a color from the canvas. Then, do not forget to select the Path Drawing Tool, the Paint Bucket or the Primitive Shapes Tool to use the color.
Grid
Grid is a warp tool to deform objects or selected vertices.
Divisions X | Y: To choose the number of divisions in the grid.
Radius: To change the size of the circle of influence when selecting a handle.
World: Enable this mode to deform your selection according to the canvas (World). Disable it to deform your selection according to the selected object. The difference makes more sens on rotated objects.
Note
You can use Shift to select several points from the grid and move them.
