Add Camera & Plane
Click on the icon below to be displayed a panel to configure your Camera, the Plane and the Texture 2D.
Note
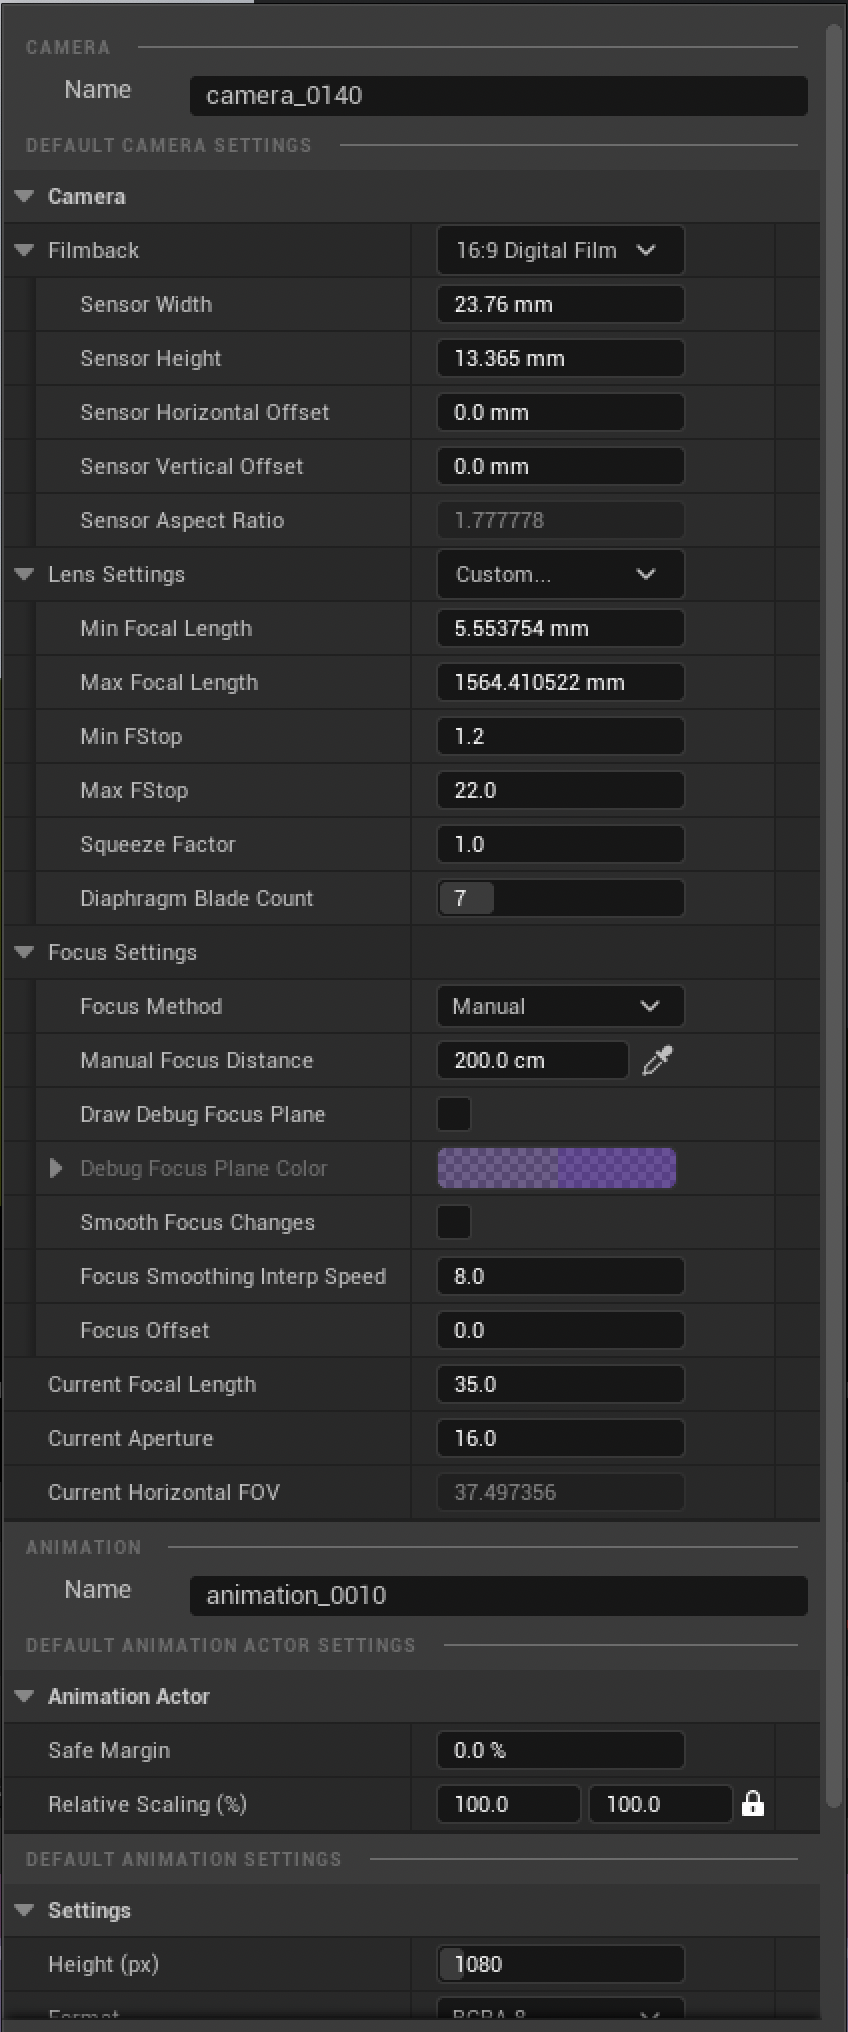
If this menu displays much more settings (like in the image below), you can reduce the number of categories in the settings “Epos Track Editor”
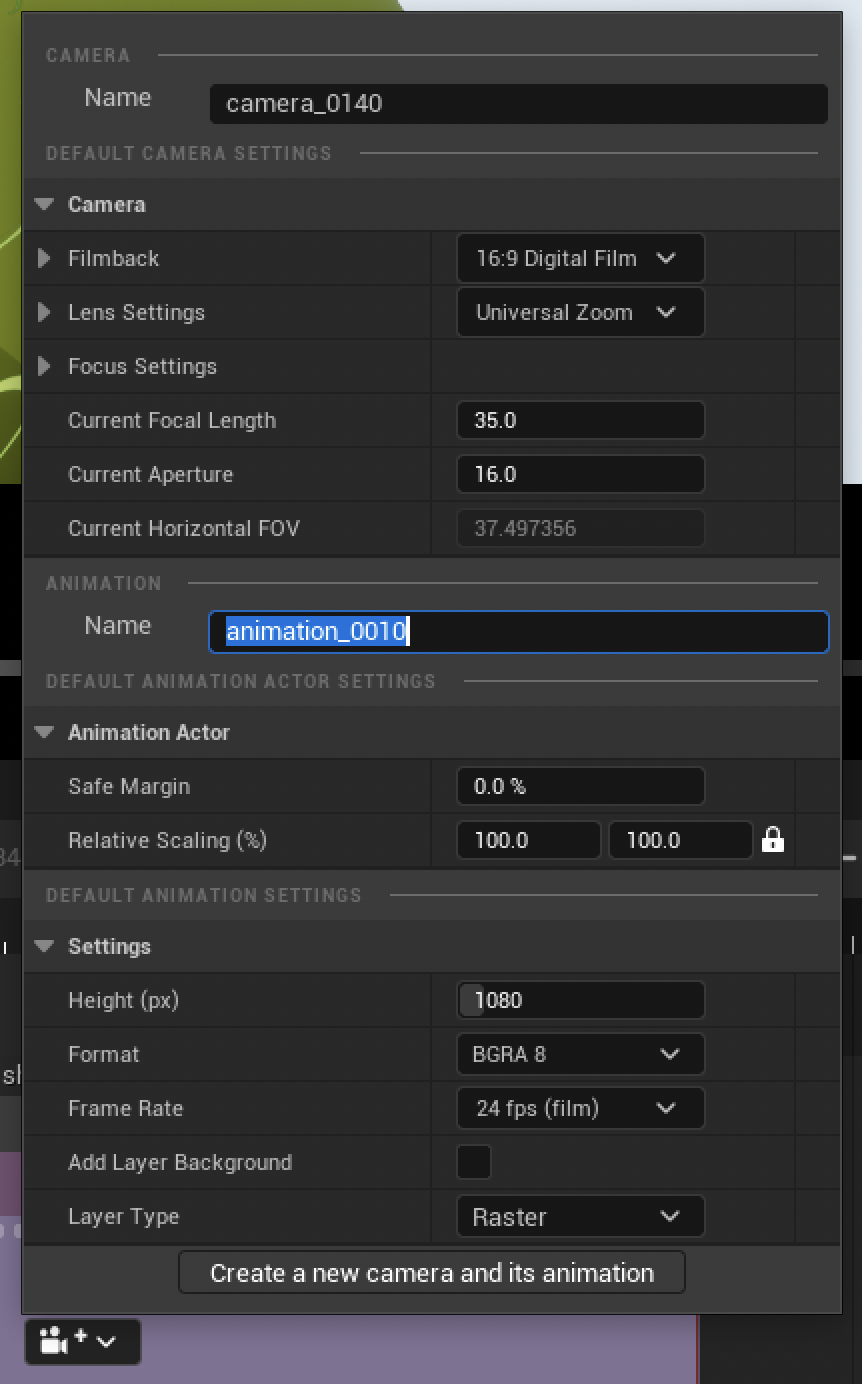
Camera Settings
Camera options will allow you to change:
the Film ratio
the Lens Settings (like a real camera)
the Focal Length
the Aperture
Animation Settings
There are two sub-categories: the settings of the Actor and the settings of the Asset.
Actor settings
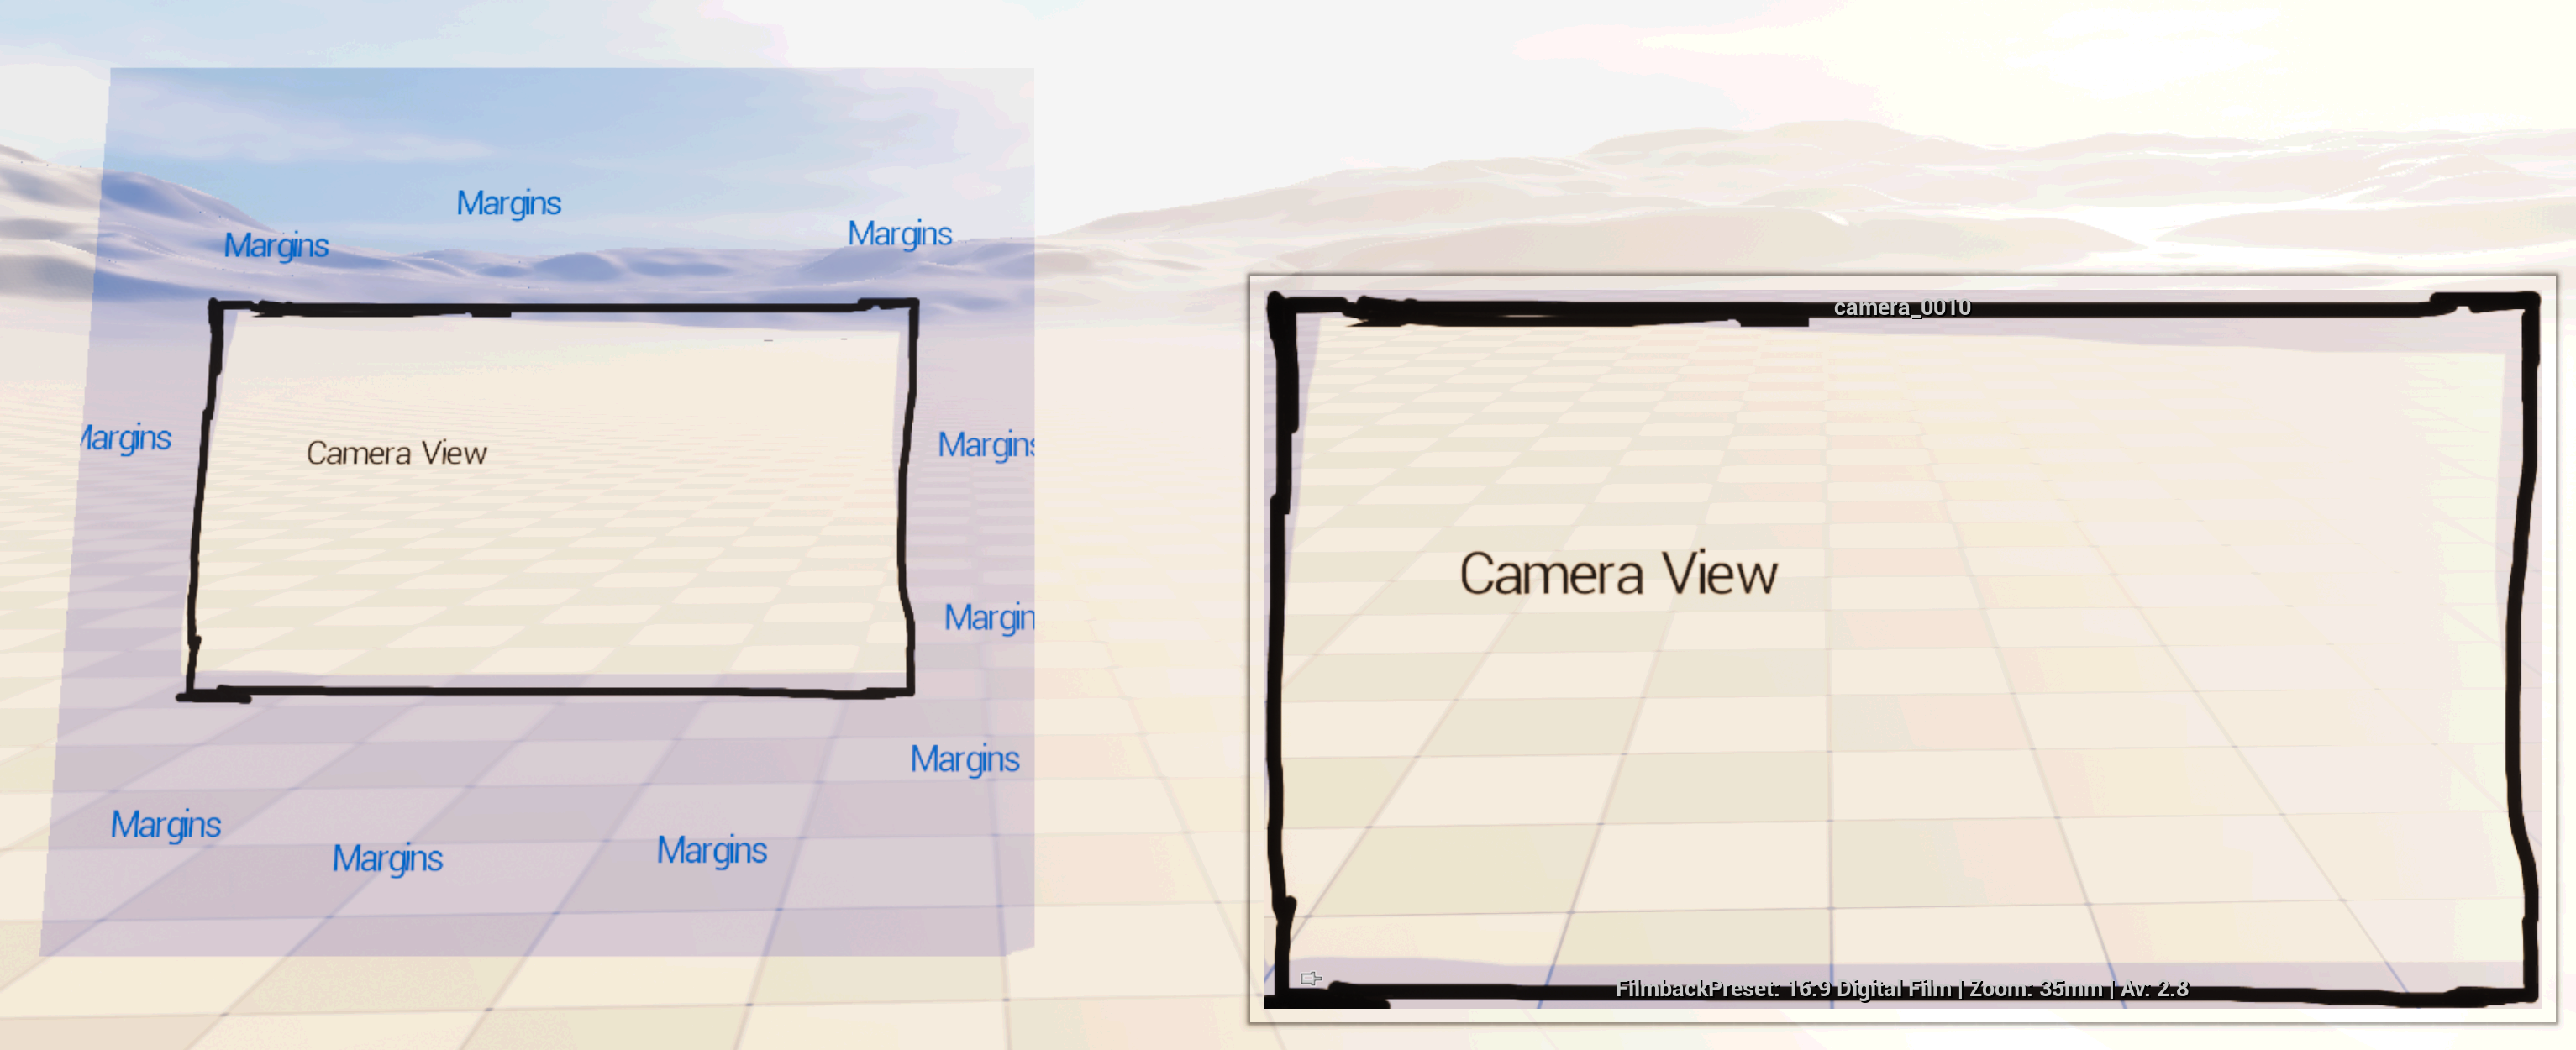
The Animation Actor is a specific object made of a flat Static Mesh (Plane), a Material and an Animation asset. By default, the Static Meash will have the same ratio as the camera’s and its size will fit the camera view.
The option Safe Margins can be used to add extra margins outside the Camera view.
Tip
We advise you to add additional margins, at least 10% for more comfort.

The option Relative Scaling will allow you to make the Animation Actor bigger or smaller than the Camera view. You can even unlock the Relative Scaling to have a ratio different from the camera’s.

Default Animation Settings
In this area, you can change the Texture’s height in pixels (width will be automatically calculated depending on the actor’s properties) For instance: with a 16/9 ratio Camera, a Texture with a height of 1080px will have a width of 1920px.
The rest of the settings are the same as when creating an Animation asset.
World Outliner
After hitting the Camera button, you will add an Animatio Actor and a Camera Actor in your Level. Both will be then visible in the panel World Outliner.

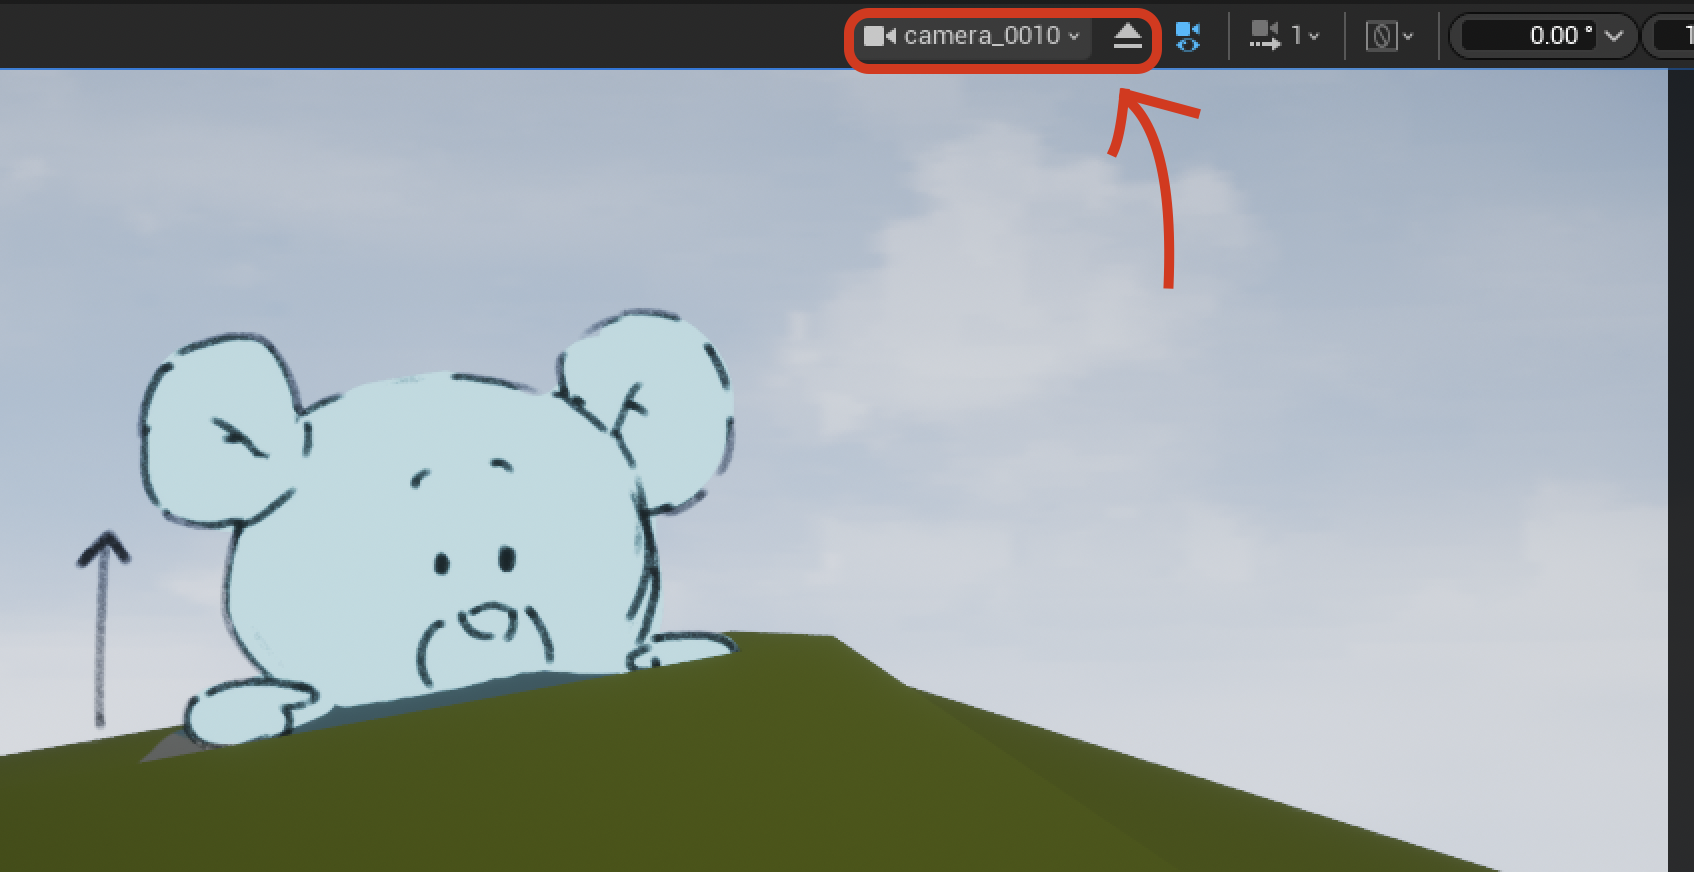
Storyboard Viewport and piloting Camera
When adding a new Animation + Camera, you will automatically pilot the Camera Actor and move the Plane simultaneously.
The shortcuts used to pilot the camera will be the same as the ones used to move within the Viewport (see this lesson).
When you don’t want to pilot the Camera anymore, click on the Eject button to stop piloting the Camera.
Tip
You can also eject or pilot a camera from the Board View when hovering the Shot section: