Start Drawing
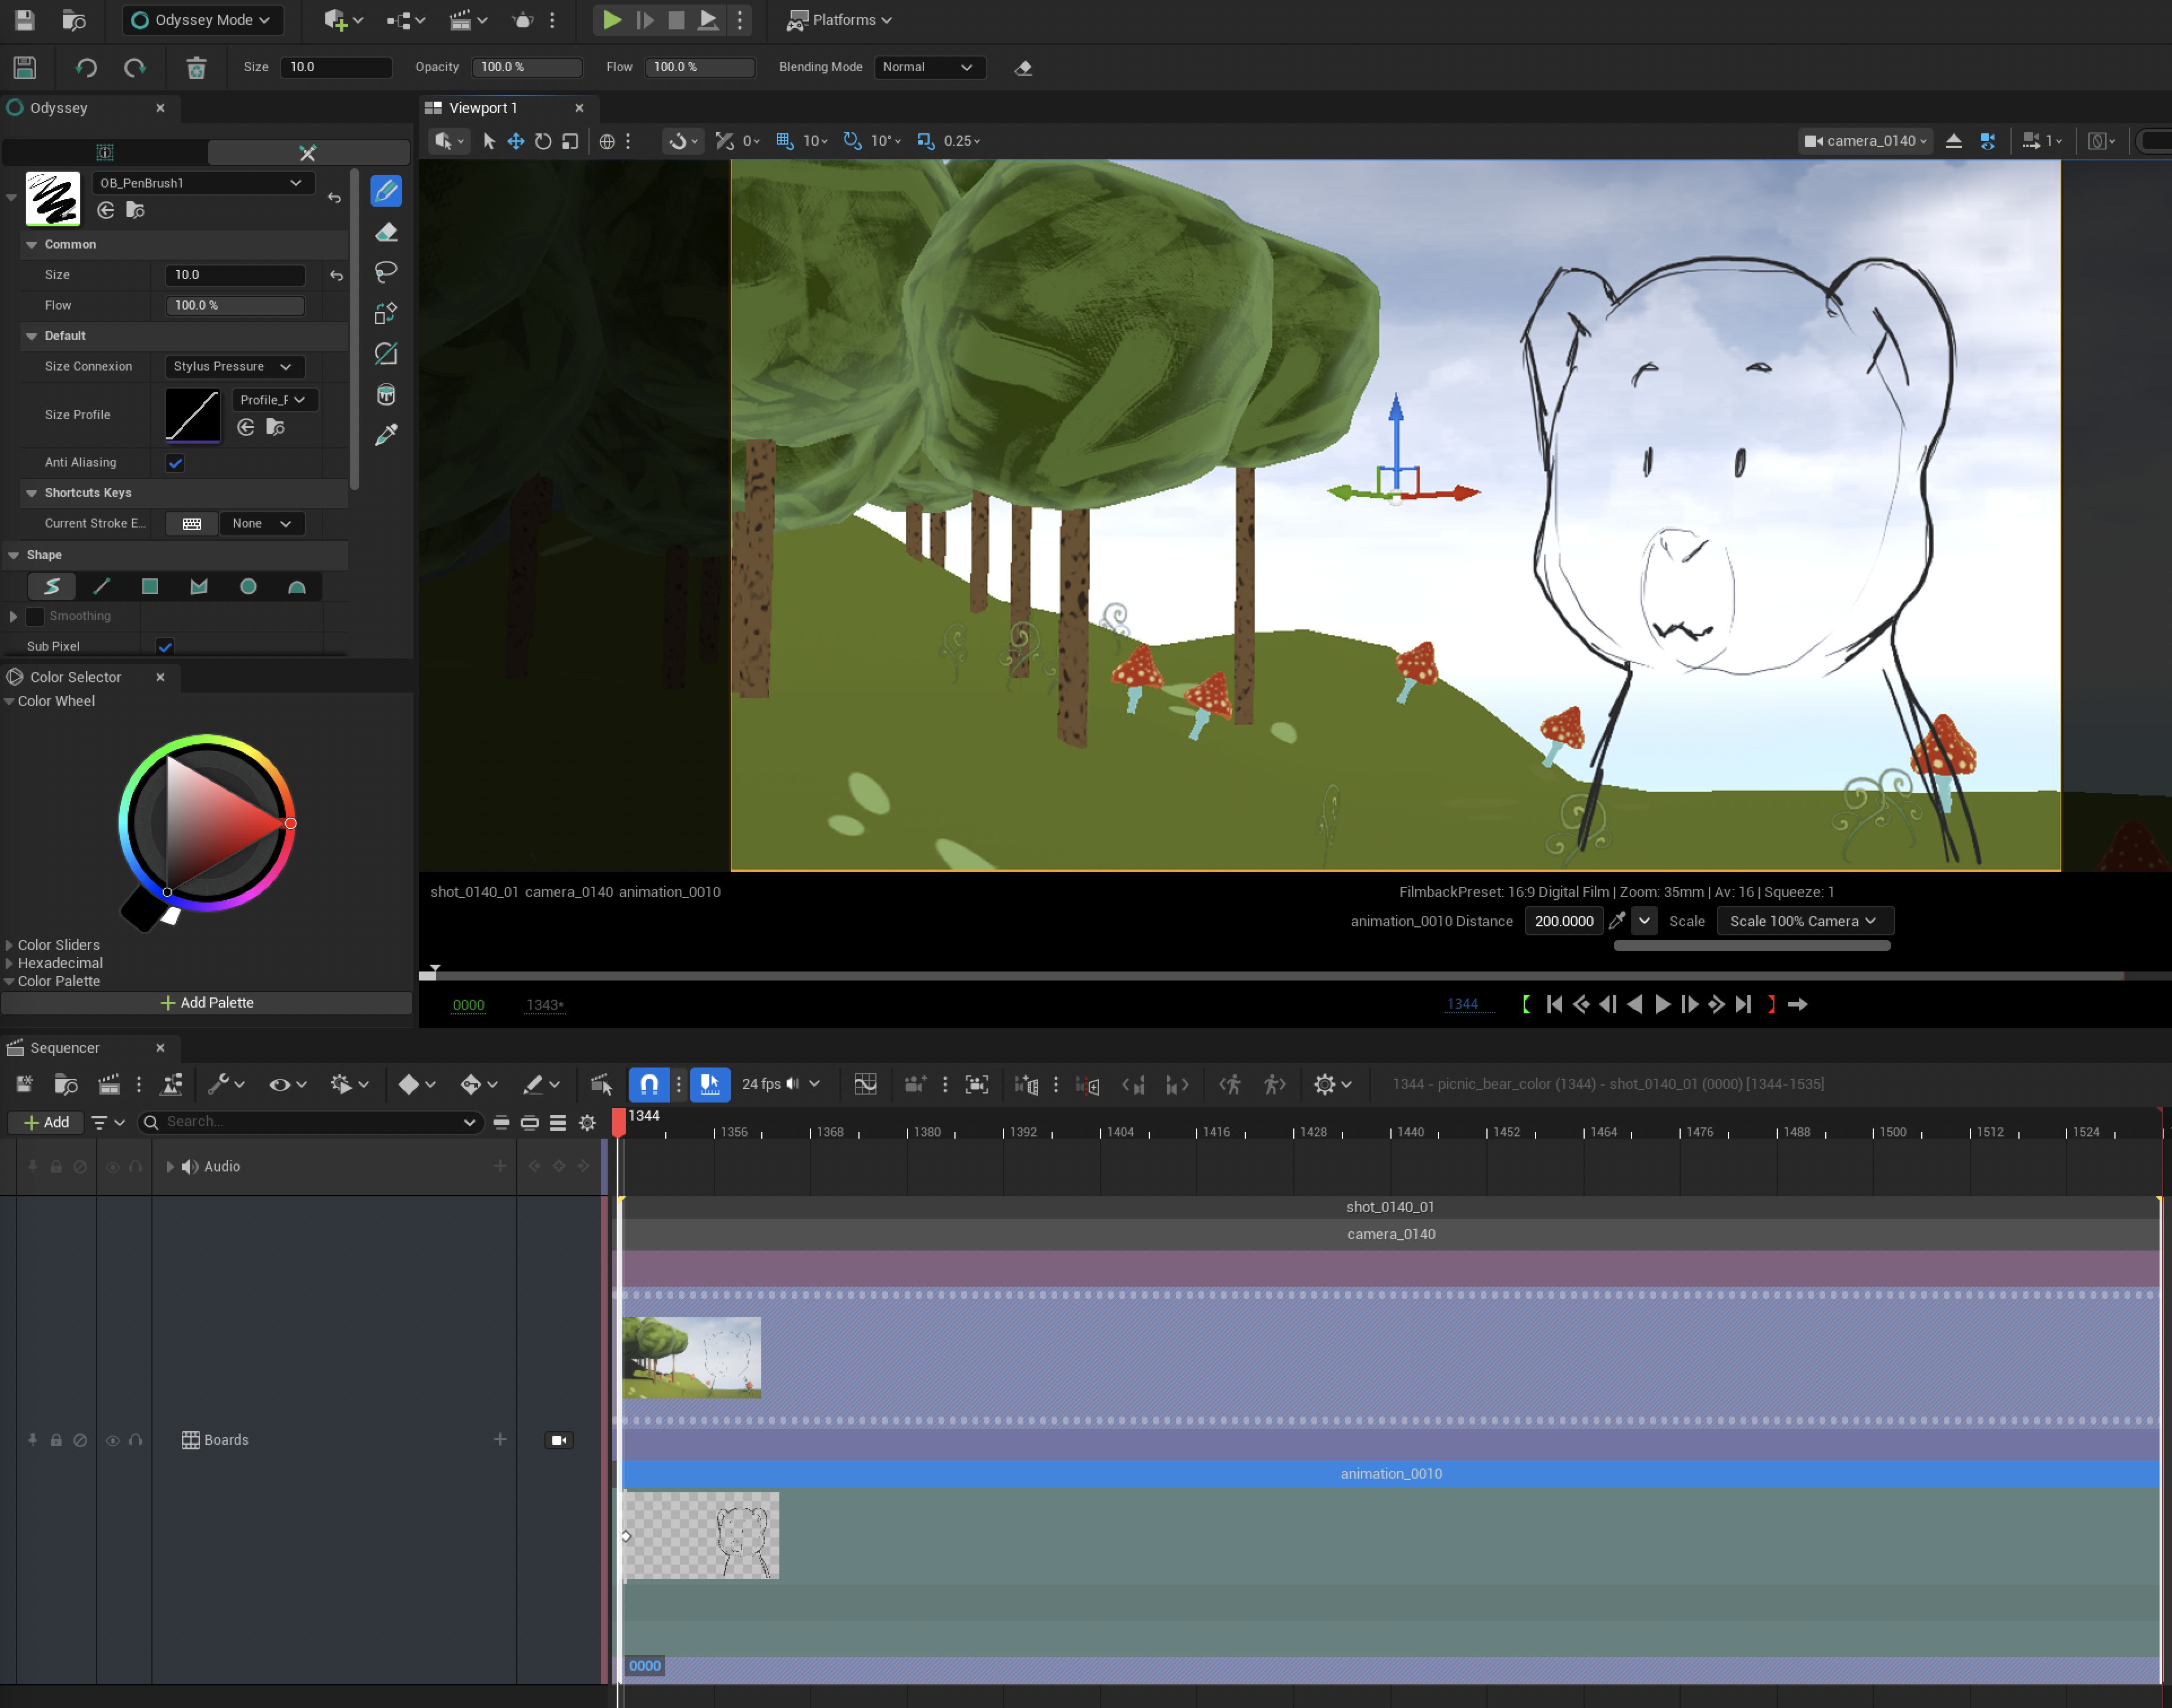
After creating your first Camera and Animation Actor, you will be able to enable the Odyssey Editor Mode to draw something:
Tip
Before starting to draw something, don’t forget to select the Animation Actor first (it must be highlighted in blue).
Add new Cells
In the context of storyboard, Animation Actors will contain at least 1 layer with a post-behavior “Hold”. Tha means that as soon as you scrub in the Sequencer and draw, you will automatically create a new Cell, which will generate a new thumbnail in the Board view:
If you want to insert another Cell between 2 Cells, you can hit this button to break the current Cell and generate a new empty Cell:
Cells exposure
There are 3 ways to adjust the timing of the Cells:
From the Board View, by moving the tiny diamond-shaped keys.
Warning
If you are having trouble to adjust the timing between two Cells, this might come from the final key that represents the last Cell’s exposure. To fix this, move the final key:
From the Timeline panel
From within the Shot Sequence
Delete Cells
This can only be achieved from the Timeline panel or within the Shot Sequence:
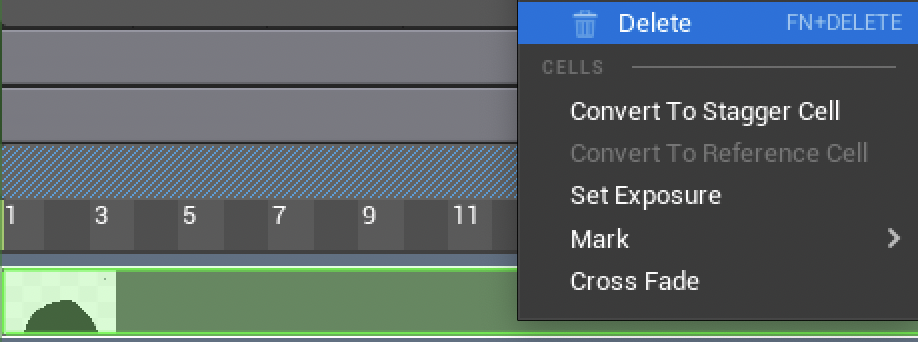
Warning
Never, ever, use Delete or Backspace or you might delete the Animation Actors and its reference to the Level and Sequence, which can cause a crash.
The Light Table
The Light Table can be enabled from the Timeline panel or within the Shot Sequence, as it is enabled per Layer.
Add Layers
Additional Layers shall be created from the Timeline panel or within the Shot Sequence.