Raster Tools
Here are the Tools available when using Raster Layers:
Tool |
Description |
|---|---|
Drawing Tool that uses Odyssey Brushes to draw strokes on the canvas. |
|
Smooth eraser with its own size. |
|
To select areas on the canvas. |
|
Tool to select an area then transform it. |
|
To add shapes, to be filled or not. |
|
Paint Bucket to fill in shapes drawn on the canvas. |
|
To pick up a color from the canvas. |
Tip
Even the video was recorded using Odyssey 1.1, you will find many good examples in this tutorial:
Drawing Tool
Its shortcut is B. Using the Drawing Tool will display all the following options in the panel Tool Options:
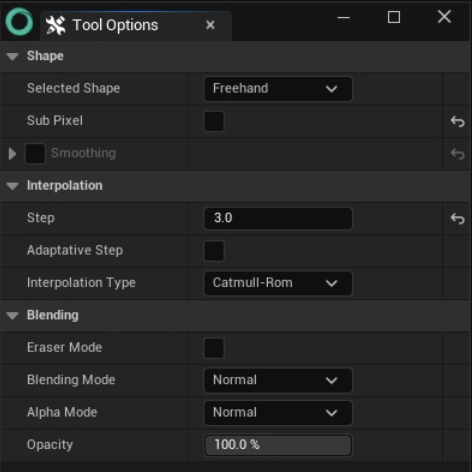
Shape
Selected Shape
The dropdown menu will allow you to select a drawing shape: Freehand, Line, Rectangle, Polygon, Ellipse and Bezier. The shape is then associated with the chosen Odyssey Brush.
Tip
With the shape Polygon, you can use Enter to close the shape.
Sub pixels
This option takes in consideration the resolution of the tablet for a better result.
Uniform / Snap Angle
The option Uniform / Snap Angle will only be used with the follwing shapes:
Shape |
Uniform Action |
|---|---|
Line |
Draw lines at 0° or 90° degrees |
Rectangle |
Draw squares |
Polygon |
Draw polygon shapes with lines at 0° or 90° |
Ellipse |
Draw circles |
Tip
You can also use Shift to toggle the Uniform / Snap Angle boolean on and off.
Smoothing
Note
Smoothing is available only with the shape “Freehand”.
Method: “Average” will calculate the average of your steps to smooth the line. “Pull” will make your edges sharper.
Strength: The higher, the stronger the Method used.
Method |
Result |
|---|---|
Average |
|
Pull |
|
Real time: It will smooth the stroke in real-time if enabled, which will create an offset between the cursor and the line, depending on the Strength. If disabled, the smooth is applied when you drop your stylus.
Catch up: It will catch up the cursor as long as stylus / mouse left button is down. Note that it only works with “Average” Method.
Interpolation
Step
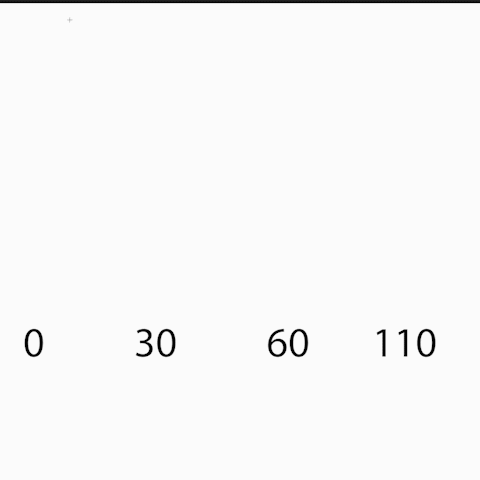
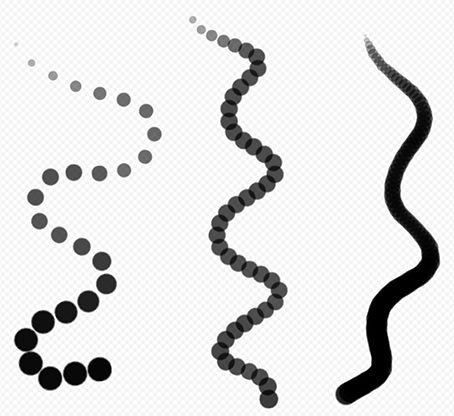
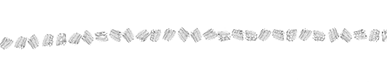
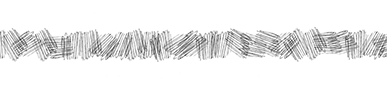
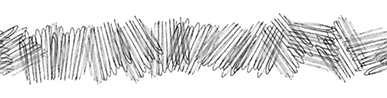
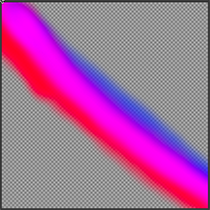
Brushes are made of stamps and a stroke is a continuous line of stamps. Step is the distance between two stamps. (Example below shows various steps : 25, 15, 0)
Warning
With the default Odyssey Brushes “Penbrush 1, 2 and 3”, you cannot change the Step. It must be 1.
Adaptative Step
Size Adaptative Unticked
If the option is unchecked, step will keep the same value in pixels.
Result |
Size |
|---|---|
|
50px |

|
100px |
|
200px |
Size Adaptative Ticked
If the option is checked, the Step value will be in %. Your brush step will be calculated that way:
Brush Size * Step %
So, if your Brush is 50 pixels and your Step is 10%, the gap between two stamps will be of 5 pixels.
Result |
Size |
|---|---|

|
50px |
|
100px |
|
200px |
Interpolation Type
Calculate the best way to display a stroke, based on information sent by your mouse / graphic tablet.
Blending
Eraser Mode
This boolean toggles an eraser mode: it keeps all of the specifications of your current used brush and apply it as an eraser. This mode is really useful when you paint with specific brushes and want to erase with the very aspect of the brush.
The eraser can also be found in the Top Bar, with this icon:
Icon |
Description |
|---|---|

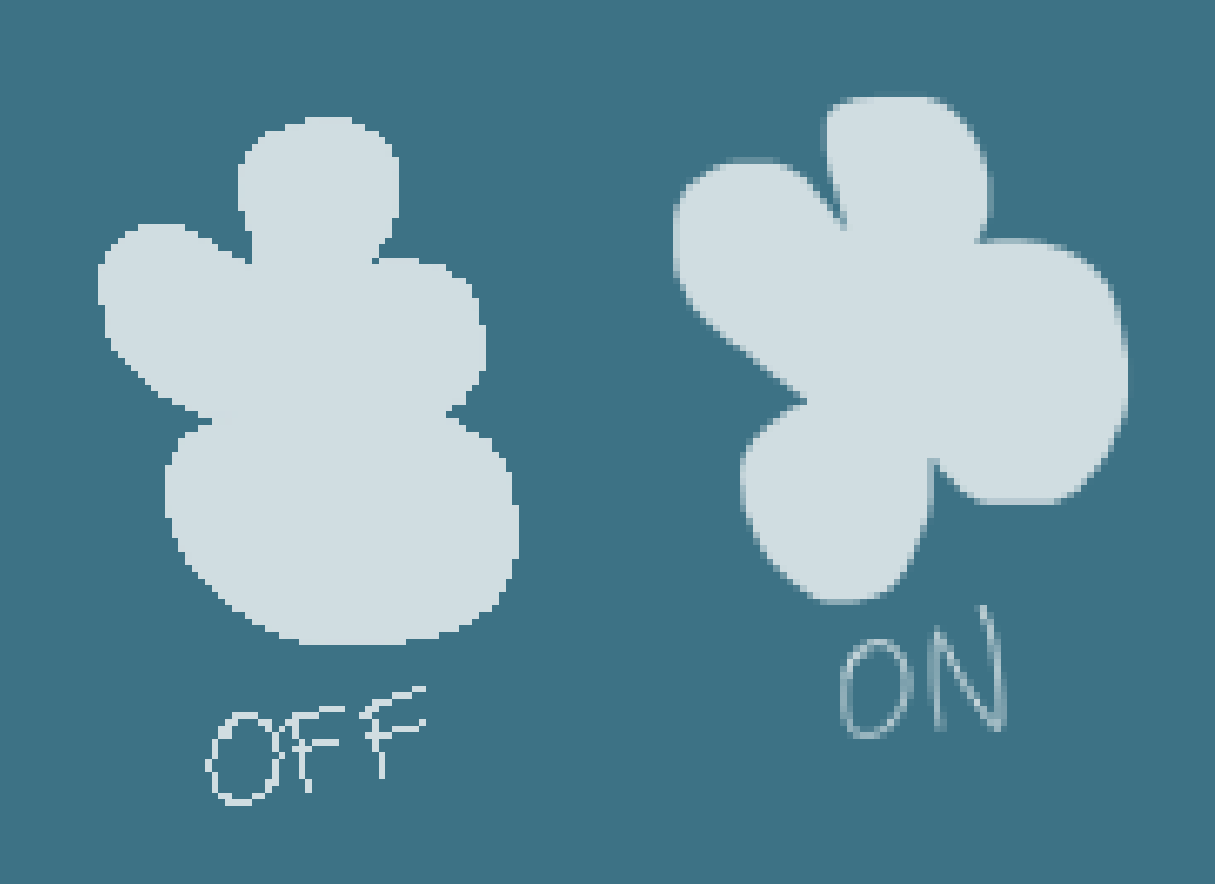
|
Erase mode off |

|
Erase mode on |
Blending Mode
This mode is used to blend pixels on the canvas with pixels applied with your Odyssey Brush.
Example |
Blending Mode |
|---|---|
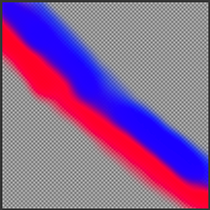
|
Normal Blend Mode |
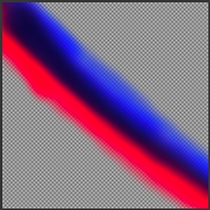
|
Multiply Blend Mode |
|
Add Blend Mode |
Alpha Mode
This mode affects the Alpha channel of your brush (which means the opacity / transparency of the stamp used in your brush) and gives it a specific property.
Example |
Alpha Mode |
|---|---|
|
Normal Alpha Mode |

|
Erase Alpha Mode |
|
Back Alpha Mode |
Warning
Most Alpha modes only makes sense when making Odyssey Brushes.
Opacity
Opacity is the global transparency limit within the same stroke. Its value is a % (from 1 to 100). With a low Opacity, if you paint at the same place with the exact same stroke, the line will not be more opaque.
Opacity shall not be confused with Flow, which is another option available in the Top Bar. With a low Flow (whose the value also is a % between 1 and 100), a same stroke paint at the same place will get more and more opaque.
Note
If Opacity is automatically connected to your stamp, this is not the case of Flow. Make sure the nodes “Get Flow” is connected to your stamp (see the Odyssey Brush section).
Eraser
Its shortcut is E. Allows you to erase a stroke with a smooth eraser.
The options are the same as Drawing Tool.
Selection Tool
This tool is used to select a part from a drawing or give a limit when painting.
Actions are available when you do a right click in the canvas or when you click on the top menu “Edit”
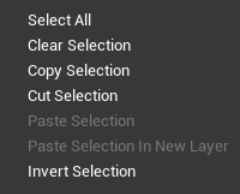
Action |
Description |
|---|---|
Select All |
Select the entire canvas |
Clear Selection |
Remove the current selection |
Copy Selection |
Copy the current selection in order to paste it somewhere else (Texture 2D, Animation) |
Cut Selection |
Cut the current selection in order to paste it somewhere else (Texture 2D, Animation) |
Paste Selection |
Paste the copied or cut selection to the current Layer, to the current Cell (if Animation), using the same coordinates |
Paste Selection in New Layer |
Paste the copied or cut selection in the current Layer (works only with Texture 2D), using the same coordinates |
Invert Selection |
Invert the selection to select the “outside” |
Warning
Selection cannot be undone, you can only clear the selection.
When working in a 2D Editor, you can combine the selected area with the following shortcuts:
Keyboard Shortcut |
Description |
|---|---|
Ctrl+C |
Copy the selected area |
Ctrl+X |
Cut the selected area |
Ctrl+V |
Paste the copied selection into a new Raster Layer |
Ctrl+D |
Deselect the area |
Ctrl |
Add new selected area to the current selection |
Alt |
Remove area from the the current selection |
Warning
The following shortcuts: Ctrl+C, Ctrl+X, Ctrl+V, and Ctrl+D will not work when Selection Tool is used in the 3D context, through the “Iliad” Editor Mode. Unfortunately, in the 3D context, these shortcuts are overriden by native functions from Unreal Engine (copy / cut / paste / duplicate 3D actors).
You will have to use the menu “Edit” instead to access Selection Tool’s functions.
Shape
Just like in Drawing Tool, you can change the Shape of the Selection Tool and use some features like Smoothing, Uniform and Snap Angle accordingly.
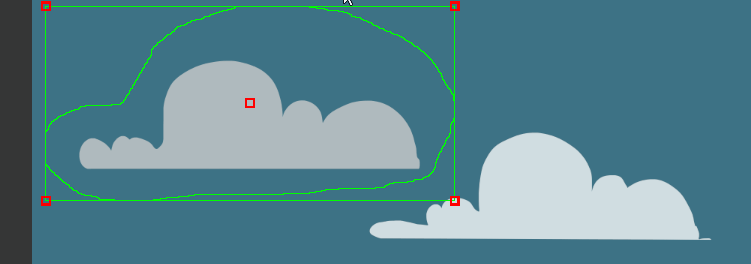
Transform Tool
Its shortcut is Ctrl+T
This tool is made to transform an area selected beforehand by the Selection Tool. If no selection was made, Transform Tool will affect the entire canvas.
Click within the Transform HUD to pan the selected area. Use the different corner handle to resize the selected area. Click outside of the Transform HUD to rotate the selected area. The pivot point can be moved by clicking on it.
This Tool only has 2 options:
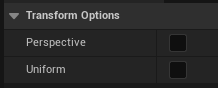
Perspective: when enabled, the corner handles will allow you to modify the perspective or the selected area
Uniform: will force the corner handle to rescale uniformly the selected area. You can also toggle on and off Uniform using Shift. Note that this will not work if Perspective is enabled too.


Warning
Transform cannot be undone while being used. You can only undo the result after hitting Enter or after switching for a different Tool.
Primitive Drawing Tool
Its shortcut is U This tool is used to paint shapes, that can be filled or not.
Shape
Just like in Drawing Tool, you can change the Shape of the Selection Tool and use some features like Smoothing, Uniform and Snap Angle accordingly.
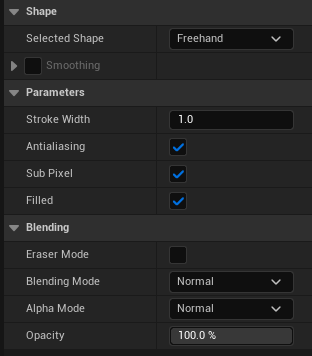
Parameters
Additional settings to draw a primitive.
Parameter |
Description |
|---|---|
Stroke Width |
Choose the thickness of the stroke (works only if the option “Filled” in unchecked). |
Antialiasing |
Add antialiasing to the shape¶ |
Subpixel |
Take in consideration the resolution of the tablet for a better result¶ |
Filled |
Fill the shape with a color chosen in the a Color Modifier Panel |
Blending
Works exactly like the Drawing Tool’s Blending options.
Paint Bucket Tool
Its shortcut is G This tool will apply a color chosen in Color Wheel or Color Selector, within a shape (or the whole layer if it’s empty).
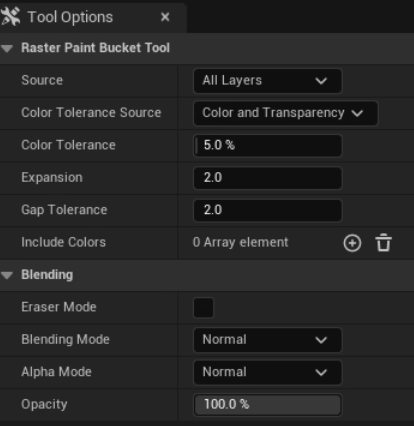
Note
If the Alpha channel of the layer is locked, the Raster Paint Bucket Tool will be sensitive.
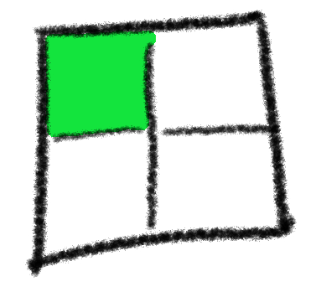
Source
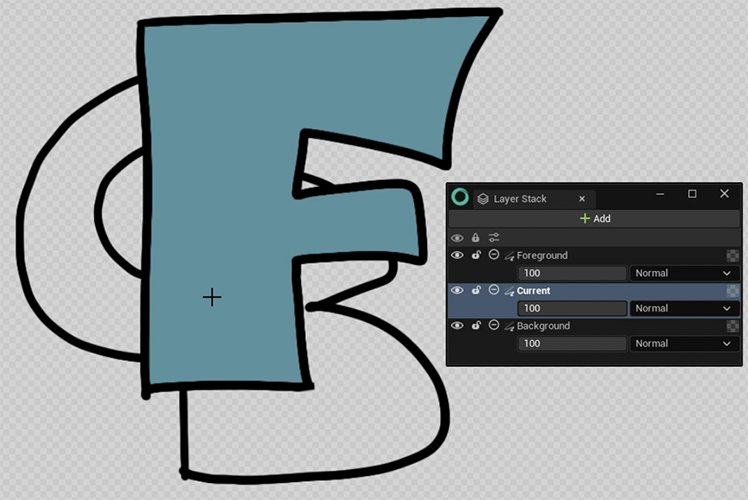
In this dropdown menu, you can select between 4 modes: Current, Foregroung, Background and All Layers.
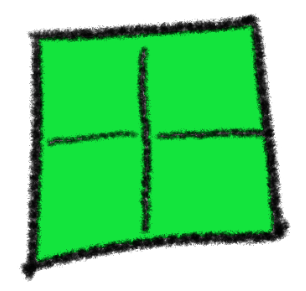
To explain these modes, we will be using this configuration:
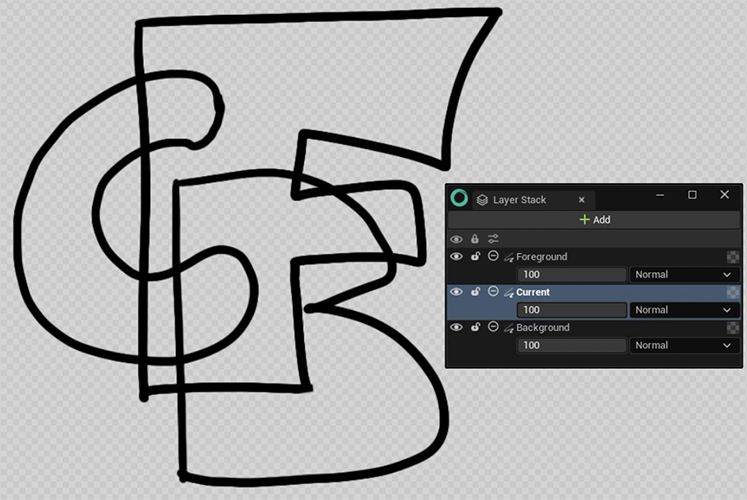
The Letter C corresponds to the current Layer, F is for the Layer above (Foreground) and B is for the Layer below (Background). We will apply the Paint Bucket Tool on the current Layer by clicking in the same area.
Source |
Description |
Example |
|---|---|---|
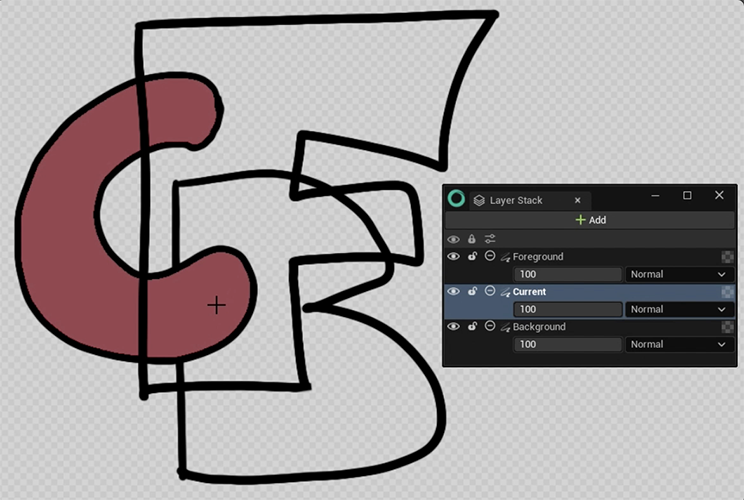
Current Layer |
Depend on the content of the current Layer. |
|
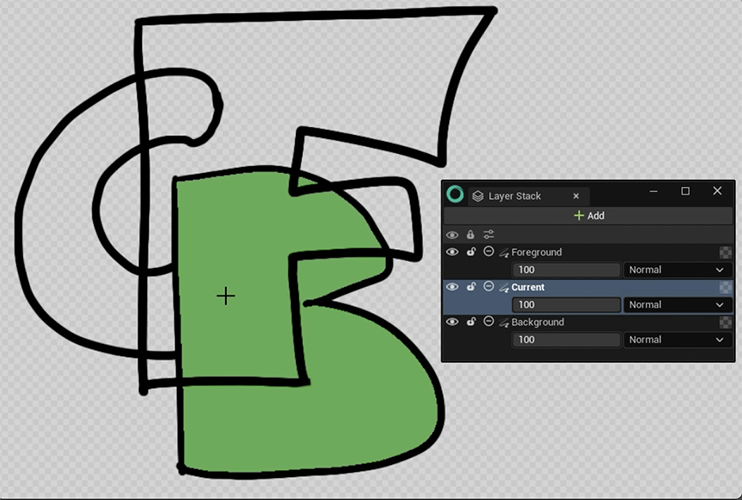
Foreground Layer |
Depend on the content of the Layers above the current one. |
|
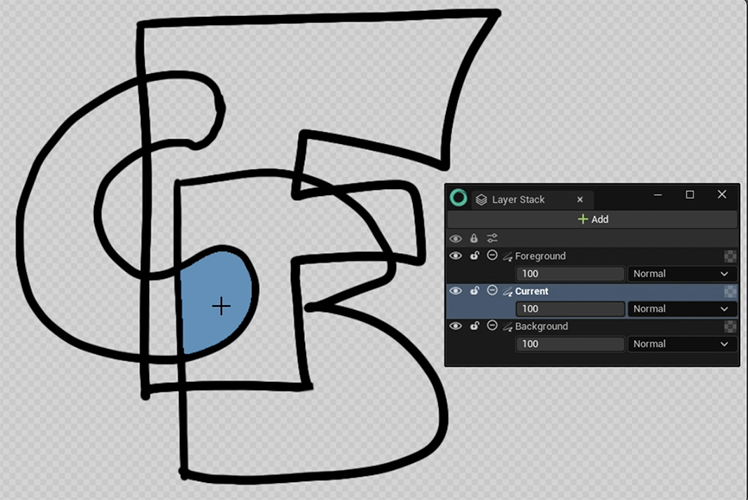
Backgroud Layer |
Depend on the content of the Layer under the current one. |
|
All Layers |
Take in account everything visible on the canvas. |
|
Tolerance
Color Tolerance Source
This setting allow you to select the type of tolerance to be used as a limit for the Paint Bucket.
Color Tolerance Source |
Description |
|---|---|
Color |
Tolerance is only based on the colors detected from the Layers used as source. |
Transparency |
Tolerance is only based on the nuances of opacity detected from the Layers used as source. |
Color and Transparency |
Tolerance is based on the colors and nuances of opacity detected from the Layers used as source. |
Luminosity |
Tolerance is based on the luminosity (how close the color is to white) detected from the Layers used as a source. |
Color Tolerance
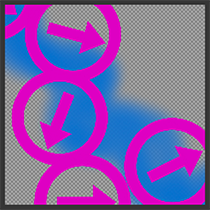
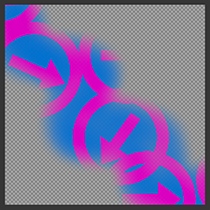
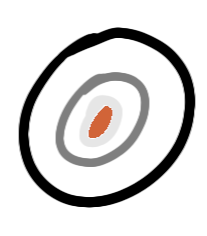
Color Tolerance is used to tolerate more or less subtle levels of opacity, color or luminosity (depending on what you chose inthe Color Tolerance Source), from Layers used as source. In the table below, you will see 3 circles made of different opacities, using the Transparency mode. Changing the Color Tolerance value will expand the filling.
Example |
Tolerance value |
|---|---|
|
0 |

|
50 |
|
150 |
If the Color Tolerance equals 255, it will fill the entire layer.
Since the Paint Bucket Tool is Alpha sensitive, make sure the right options are activated.
Example |
Tolerance value |
Alpha Lock |
|---|---|---|
|
0 |
Off |
|
0 |
On |

|
255 |
Off |
|
255 |
On |
Expansion
Expands the flood fill beyond the limits defined with the tolerance settings.
Example |
Expansion value (pixels) |
|---|---|
|
0 |
|
3 |
|
15 |
Tip
You can also enter negatives values if you need the flood fill not to touch the lines at all.
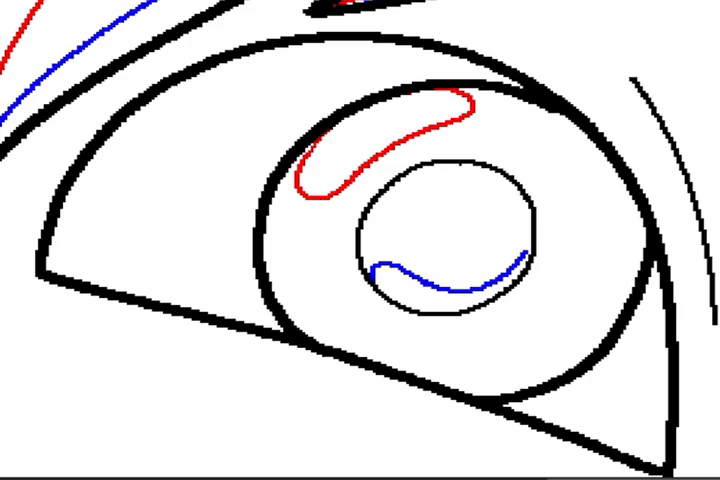
Gap Tolerance
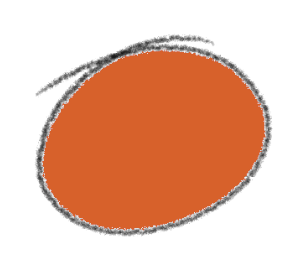
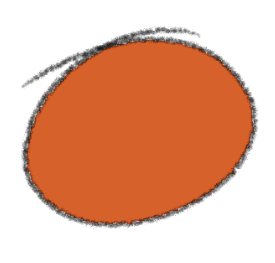
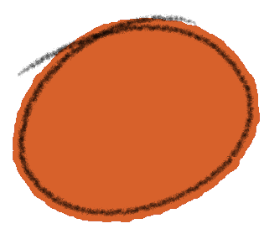
Ignore gaps in the shape. In the example below, the shape is filled is applied at the top-left corner.
Example |
Gap value (pixels) |
|---|---|
|
0 |

|
2 |
|
5 |
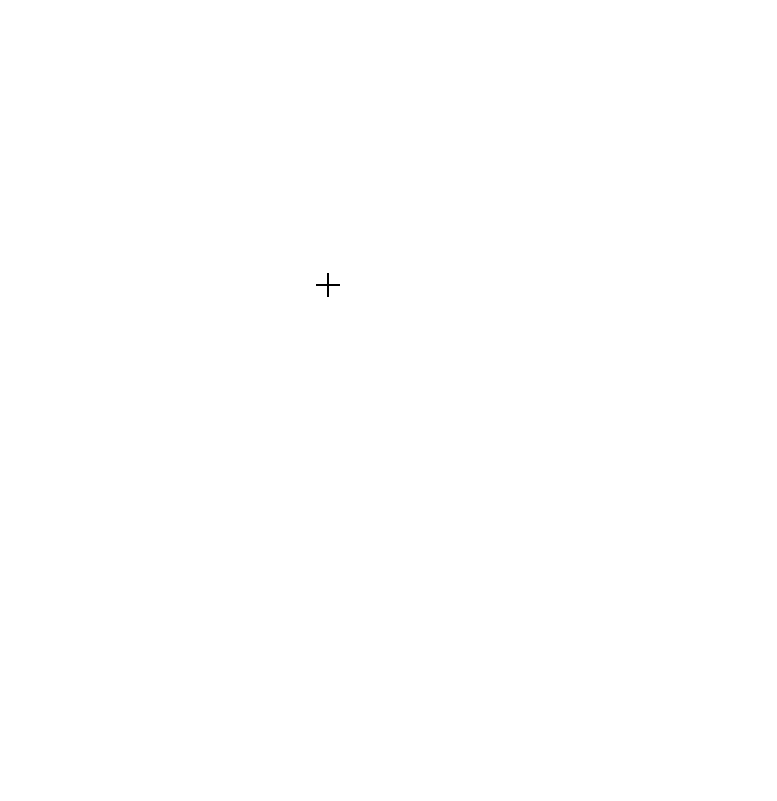
Include Colors
This features is requested especially in the Japanese animation industry. It allow the artist to include the color of a line when using the Paint Bucket tool.
Note
This feature will only work with aliased lined (pixel-art lines) and a list of solid colours.
Click on the + to add a colour:

Then click on the colour to configure it:

And choose the color to included in the list.
You can also just click on the tiny triangle to directly enter the RGB value.
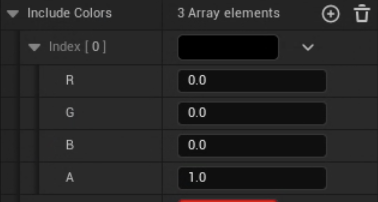
If you want to remove a color from the list, click on the tiny bin icon.
Blending
Works exactly like the Drawing Tool’s Blending options.
Color Picker Tool (Eye Dropper)
This tool can be used to pick a color from the canvas. It also works in a 3D context, on the current Texture or Animation only.
Note
If you have the focus on the canvas / viewport, hold I to toggle temporarily the color picker. If the canvas / viewport is not focus, this will not work.