Top Bar
Top Bar gives a quick access to common actions. It is split into 2 parts:
Actions to be used anytime, without context (like Save or Undo/Redo)

Icon |
Description |
|---|---|

|
Save (diskette icon) to save your current file. |

|
Undo Redo (left-pointing arrow icon and right-pointing arrow icon). These arrows will undo / redo your actions. Shorcuts are Ctrl+Z and Ctrl+Shit+Z on Windows. Replace Ctrl by Cmd on Mac. |

|
Trash Bin clears everything in the current layer of your frame (but it keeps the layer in the Layer Stack). |
Actions which depend on the context of use. For instance, Raster layers and Vector layers will provide different features.
Raster Context
Note
For more details about all settings and tools available with Raster Layers, please read the lesson about Raster Tools’ Options and Brush Selector.
Drawing Tool

When using the Drawing Tool with a Raster Layer, you will see 4 Modifiers and an Eraser Mode:
Action |
Description |
|---|---|
Size |
Give a diameter in pixels to the stroke. The node to use to connect the size to an Odyssey Brush is “Get Size Modifier”. |
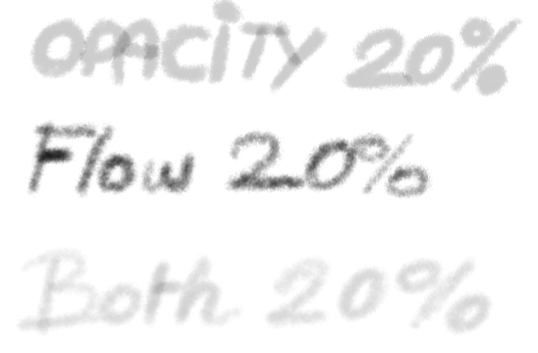
Opacity |
Gives a max value to the opacity of one stroke. Opacity will be multiplied at each new stroke. |
Flow |
Gives a max value to the flow of the stamps that makes the Odyssey Brush. The node to use to connect the flow to an Odyssey Brush is “Get Flow Modifier”. |
Blending Mode |
Changes the Blending Mode of the brush. |
Eraser Mode |
To turn your Odyssey Brush into an eraser by changing its Blending and Alpha modes. |
Tip
Opacity and Flow are 2 different settings, they are not the same! You can read about it in the page Raster Tools’.
Eraser Tool

When using the Eraser Tool, you will have the same optins as the Drawing Tool, except there is no “Eraser Mode” icon.
Transform Tool
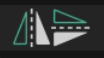
When using the Transform Tool, you can find these two icons to flip the selection horizontally and vertically.
Vector Context
When working on a Vector Layer, the Top Bar will always display these icons to choose between objects and vertices:
Icon |
Description |
|---|---|

|
Select or edit a group of objects |

|
Select or edit vertices |
Other options will be available depending on the tool.
Note
For more details about all settings and tools available with Vector Layers, please read the lesson about Vector Tools’ Options.
Path Drawing Tool

Radius: change the thickness of the Path Drawing Tool.
Tracing Fidelity: make the line more or less fidel to the gesture done with your stylus.
Path Editor

Picking Radius: change the radius of the tool’s circle of influence.
Widen All Along: when enabled, changing the line thickness with Shift will affect selected objects or group.
Primitive Shapes

Stroke Width: change the thickness of the shape’s outline.
Primitive Type: change the type of shape (Ellipse, Rectangle or Line).
Selection Tool

Choose here the shape of the Selection Tool (Freehand, Circle or Rectangle)
Push
Change here the size of the Push Tool’s circle of influence.
Path Stitch Tool

Change here the size of the Path Stitch Tool’s circle of influence.
Eraser

Split Path: when enabled, the eraser will cut a path into two paths.
Radius: change the size of the eraser.
Paint Bucket

Change the opacity of a Paint Bucket, before applying it.
Grid Tool

Increase or decrease the number of divisions on the horizontal and vertical axis.