Network License
Network Licenses can only be available for companies like studios and schools. Before proceeding with an installation, make sure that:
You created a User Account as a Legal Entity Representative
Make sure with your administration that you are authorized to get License information
If you have any questions or trouble on these two points, contact your Praxinos agent or use this form.
A. Installation process on the server
The server will manage the license for the whole network. Obviously, it must be opened all the time, or client machines won’t be allowed to run Odyssey.
Step A1: Download the Praxinos Launcher
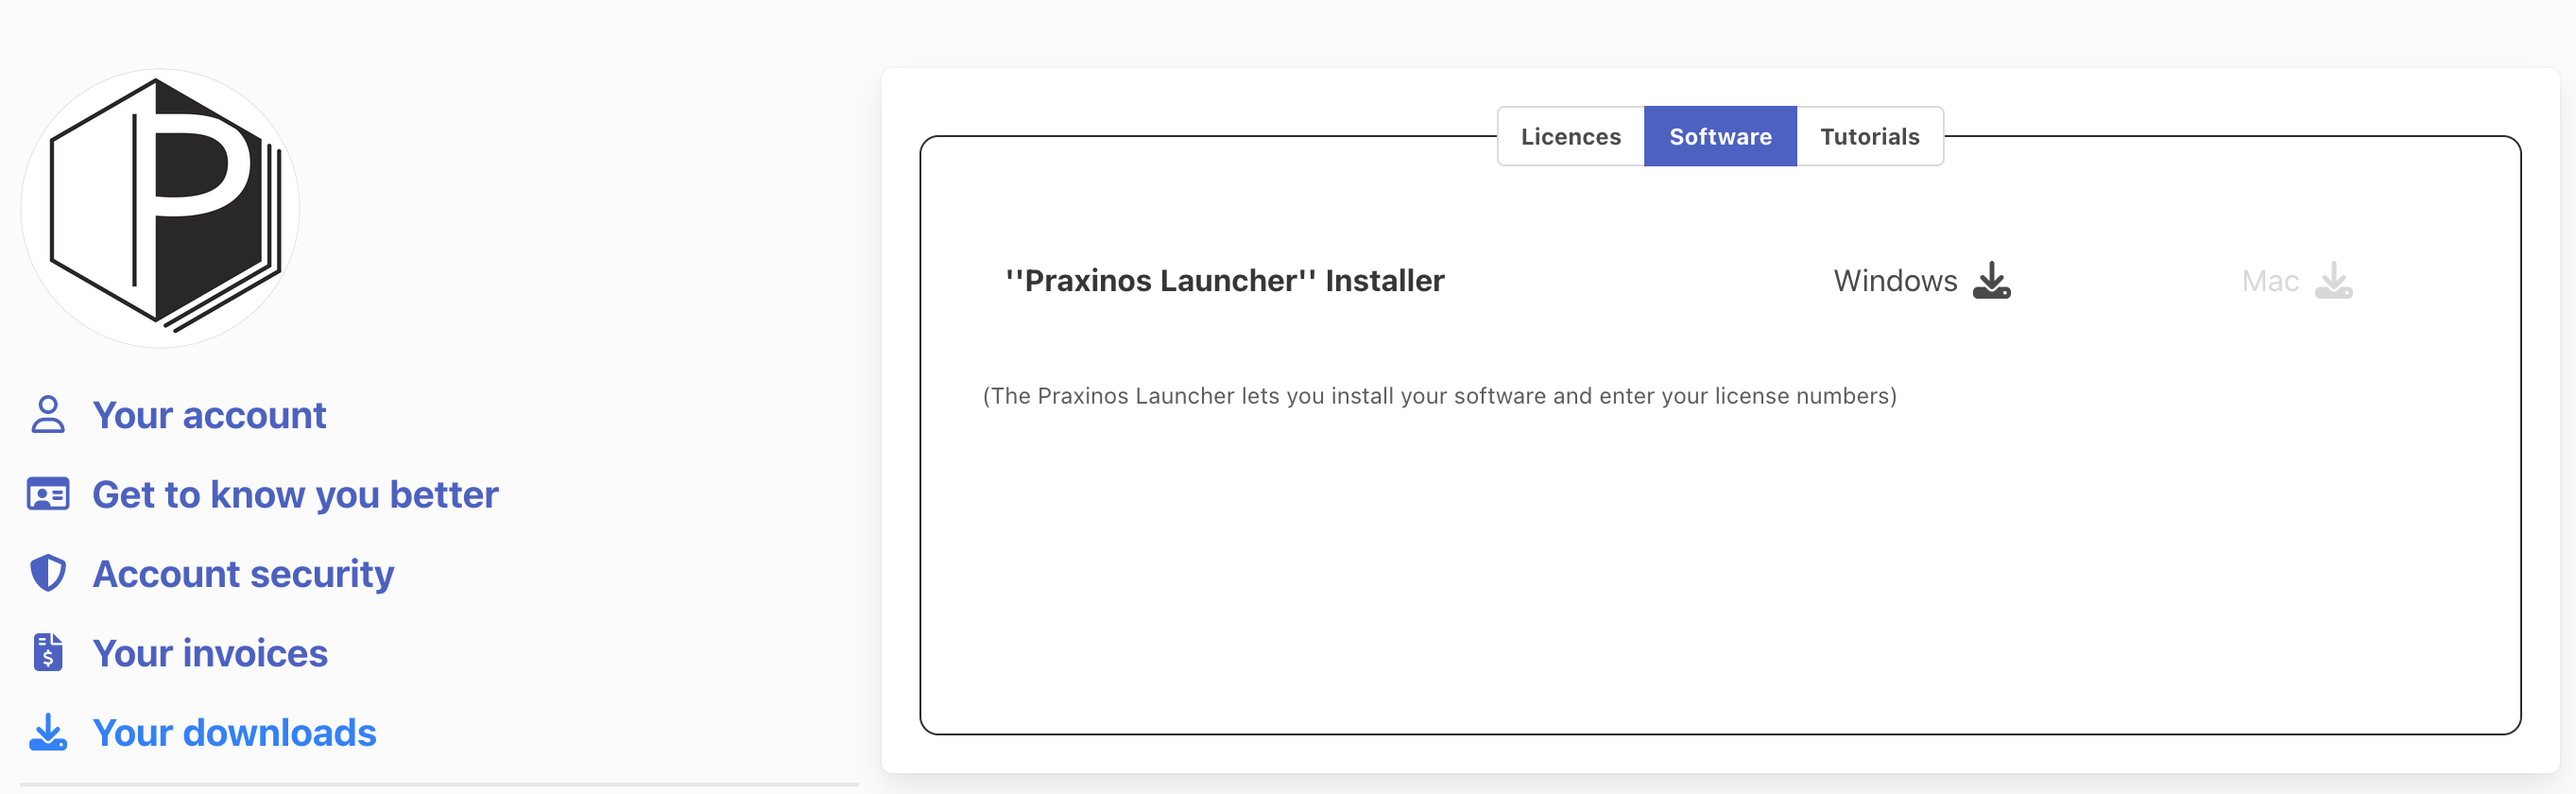
Connect to your User Account and go to “Your Downloads”, in the tab “Software”. Click on the link to install the Praxinos Launcher.
Step A2: Install the Praxinos Launcher
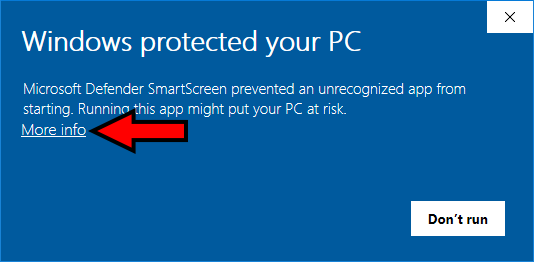
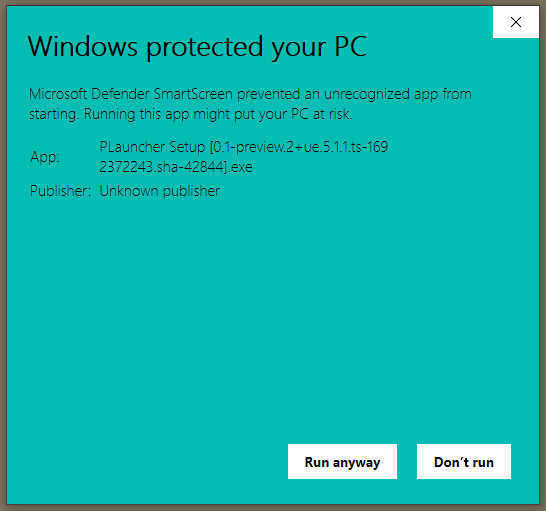
Install the Praxinos Launcher. At the moment, the application is not authenticated yet by Microsoft, so Windows might block the installation process. In this situation, please click on “More info”, then “Run Anyway”.
The installation will start. Do not forget to activate the third-party software “Codemeter”, or the Launcher won’t install.

Step A3: Enable Network Server
During the installation of Codemeter, you will have to enable the Network Server kit.

This absolutely madatory if you want client machines to be allowed to run Odyssey.
Step A4: Activate the License
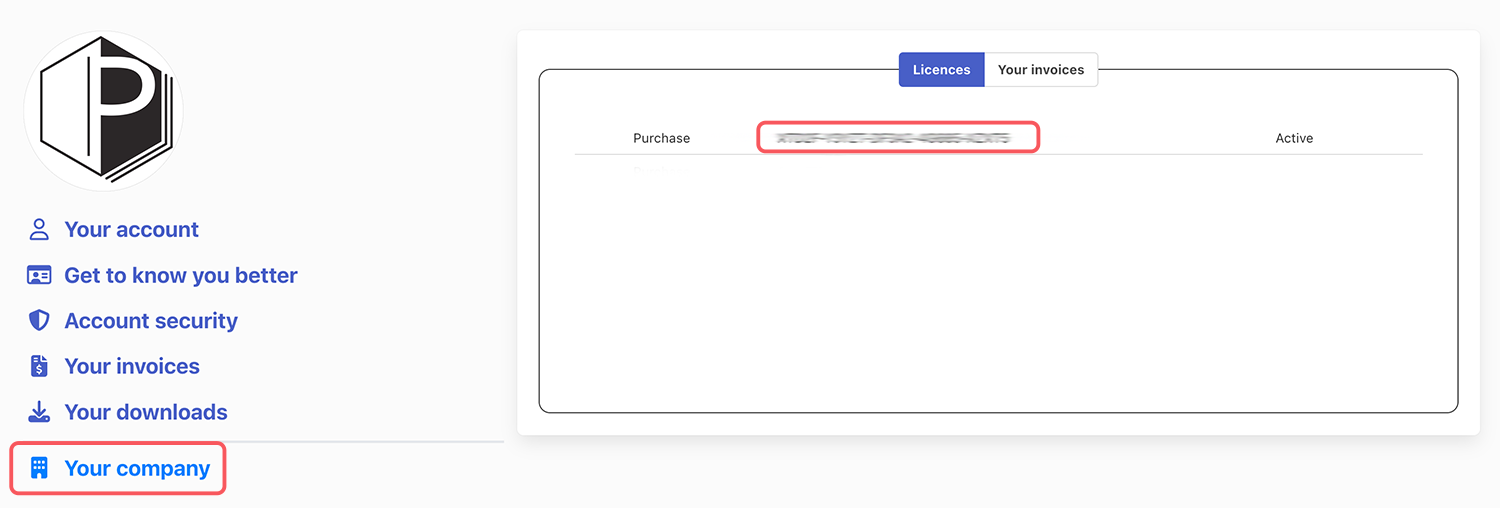
Once the Launcher and Codemeter are both installed, go back to the User Account and copy the license key in the category “Your company”, tab “Licenses”.
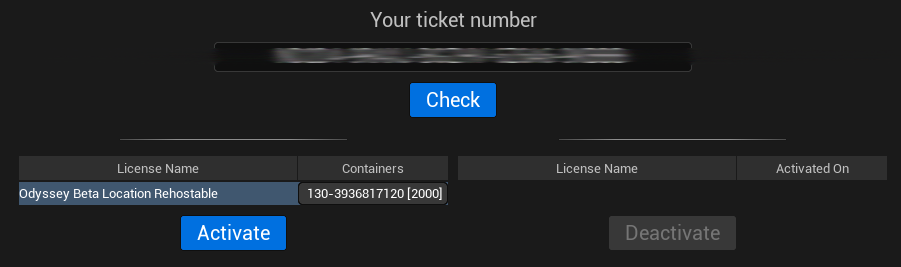
Then, go to the Praxinos Launcher, into the tab “Licenses” and paste the ticket number here:
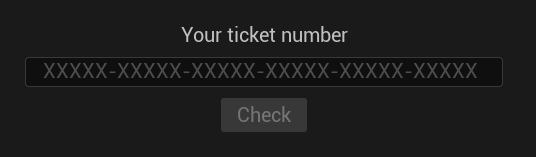
Click on “Check”, then on “Activate”.
If you do not activate the network license, Odyssey will run as a demo for 30 days on client machines.
Network licenses are not rehostable. If you need to change your server, please contact us.
B. Installation process on client computers
Step B1: Install Praxinos Launcher
Repeat exactly the same steps as in Step A2, but for the Client machines. Step A3 must be ignored for Client machines.
Step B2: Download Odyssey
Click here to download Odyssey. Once the green bar in the Odyssey (Beta) field is full, the installation will start.
[IMAGE TO BE ADDED LATER]
Again, since the application is not authenticated yet by Microsoft, it might be blocked by Windows. If you’ve got this message, click on “More info”, then “Run Anyway”. (just like the Praxinos Launcher).
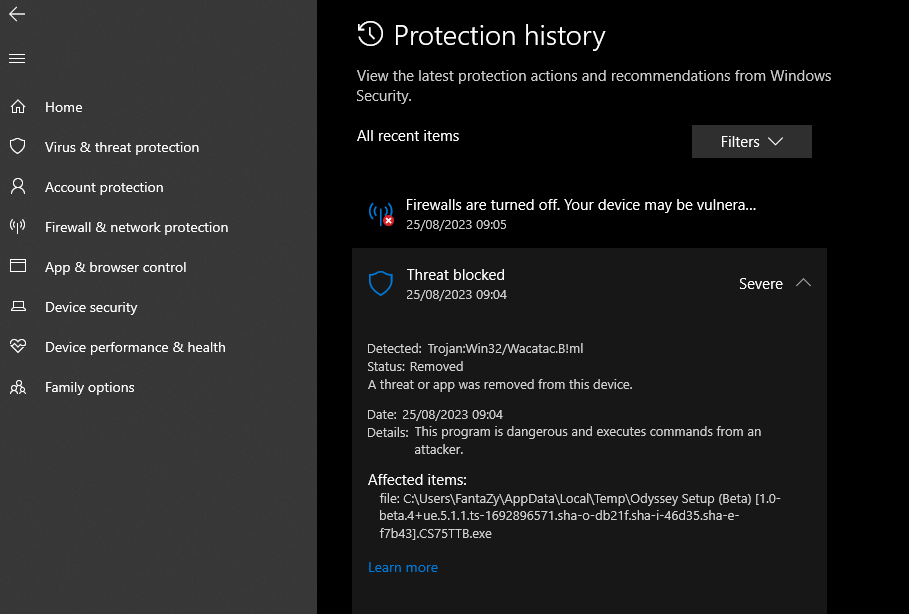
Sometimes, the installation may even be placed in quarantine by Windows:
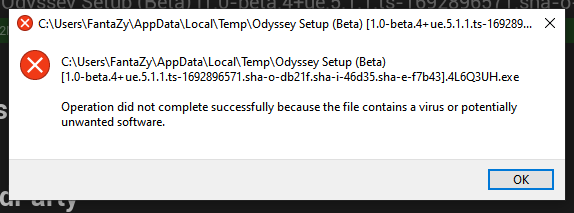
In this situation, go to “Virus & Threat protection” in Windows Parameters, then allow Odyssey to be installed.
The installation process will start. The whole package to download is about 12GB, so depending on your internet connection, it can take a moment. Make sure your internet connection is stable, as there is no way to pause and resume the download at the moment.
Step B3: Run Odyssey
Once the activation is complete, you can launch Odyssey, either from the Launcher or from the Desktop.
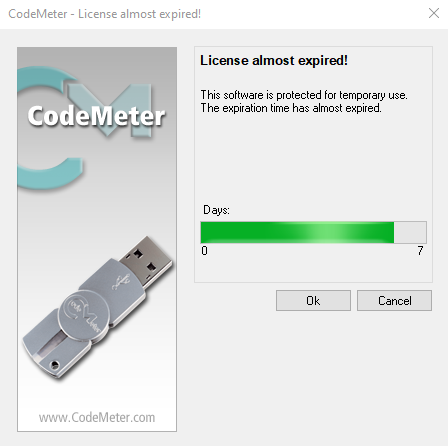
If a user from a client computer get a message telling him/her the license has almost expired, it means the Launcher must be started (one client using the Launcher is enough for the whole network). It may also mean that the subscription must be extended. In that situation, please contact us.