Inbetweener
The Inbetweener is born from MoStyle, a collaborative project between the team Manao (Pierre Bénard, Pascal Barlat) from INRIA de Bordeaux and Praxinos.
Its purpose is to help the process of creating inbetweens in traditional 2D animation. Based on powerful algorithms, the tools is a true ally for the animator who needs to quickly generate inbetweens, without replacing his/her skills or vision.
The Inbetweener can work at any step of the production: rough, tie-down or clean. Even though you cannot draw while using the Inbetweener, you can go back to drawing mode any time.
Because it works with vector objects, it can only be enabled with Vector Layers, in an Animation asset, with this mode activated in the Top Bar:
To understand this lesson, you must know first how to use the following features:
Grouping Paths
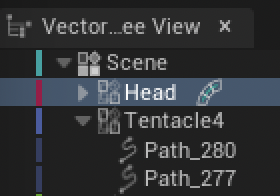
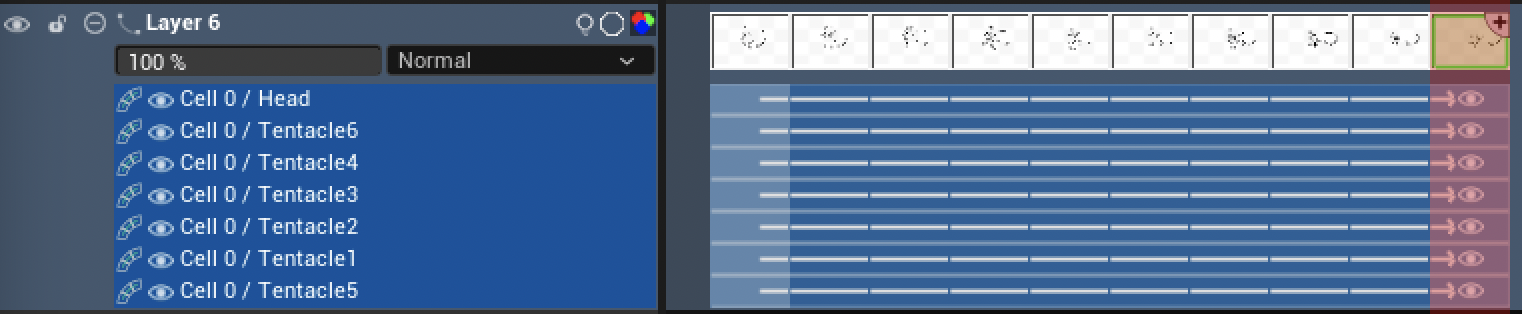
Unless you animate a very simple object, you will need to group path together. To do so, use the Vector Scene Tree View and / or the Selection Tool and group paths together with a right click.
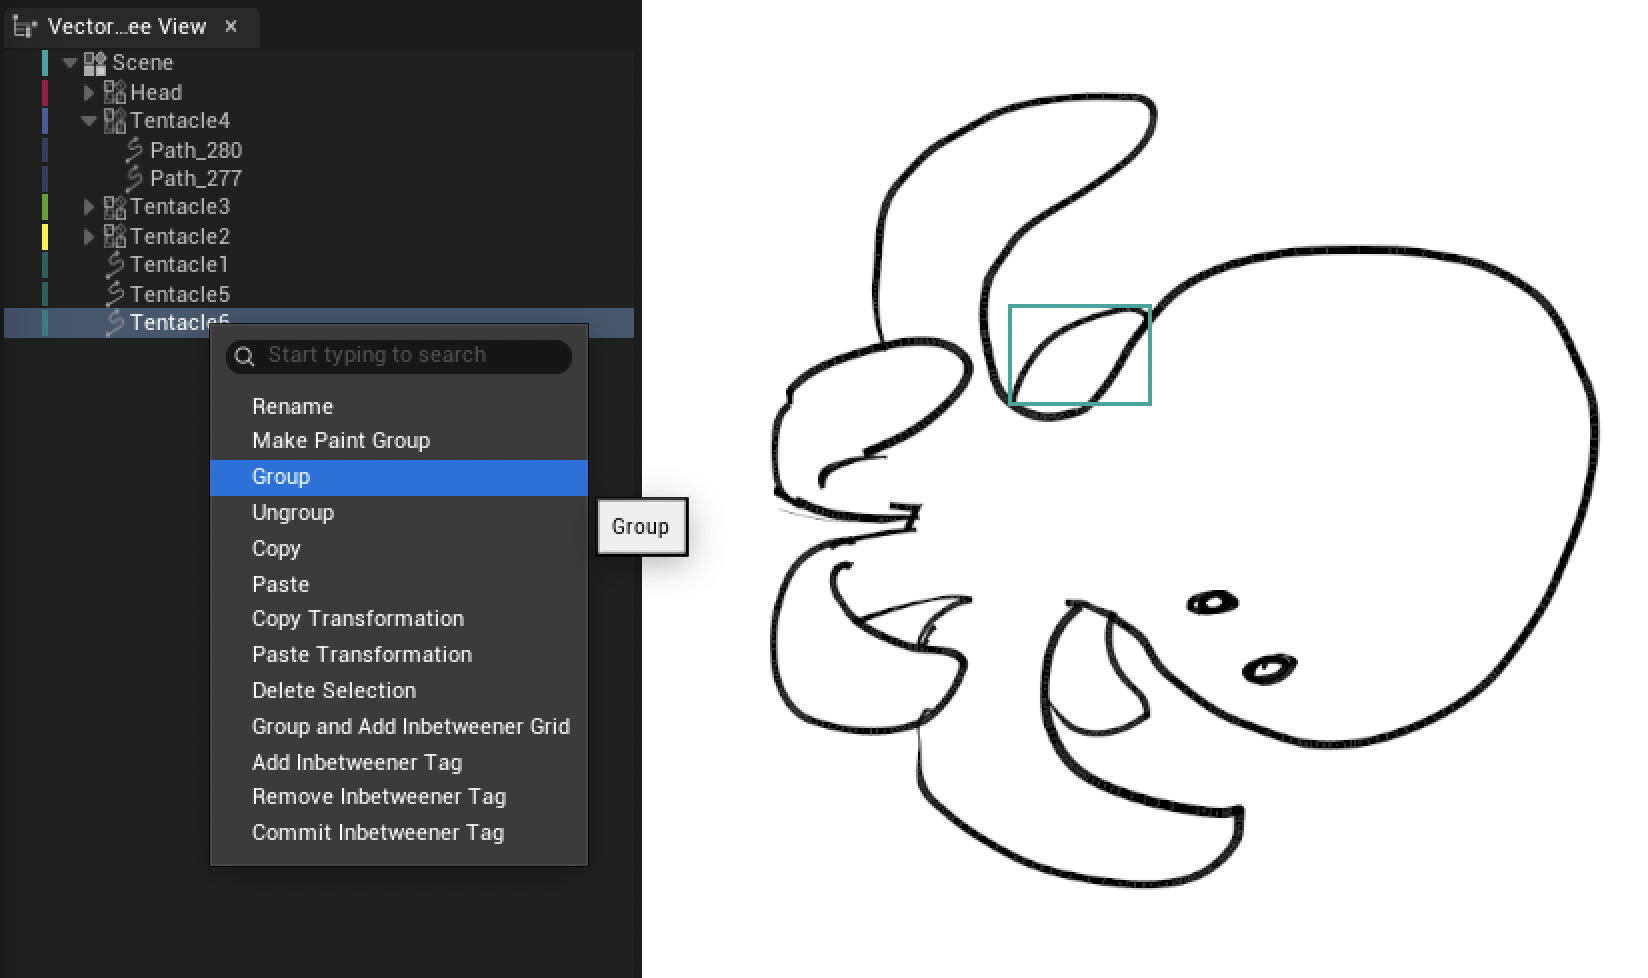
In the image above, the octopus is made of various objects for the head and the tentacles: some are groups, some are single paths.
Warning
Choose the right type of group - at the moment, it is not possible to convert a Group into a Paint Group without losing the Inbetweener Tag.
Inbetweener Tag
Managing Tags
The Inbetweener Tag is used to set an input keyframe in the animation. You can add Inbetweener Tags on each group or each single path visible in the Vector Scene Tree View
Choose group or a single path, do a right click on it and select “Add an Inbetweener Tag”.
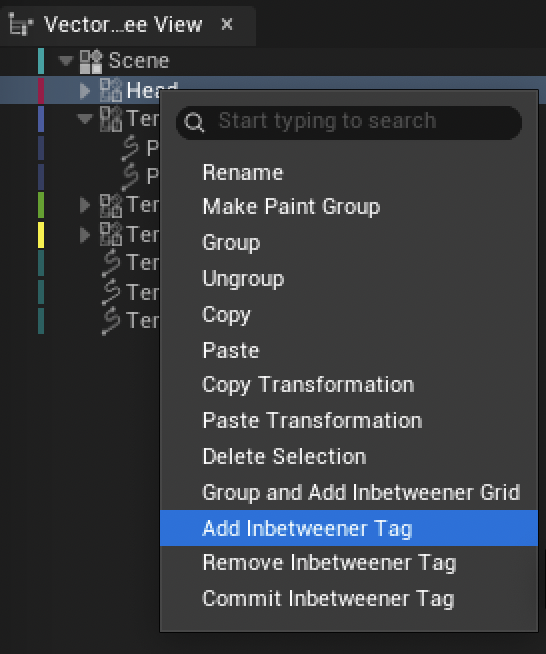
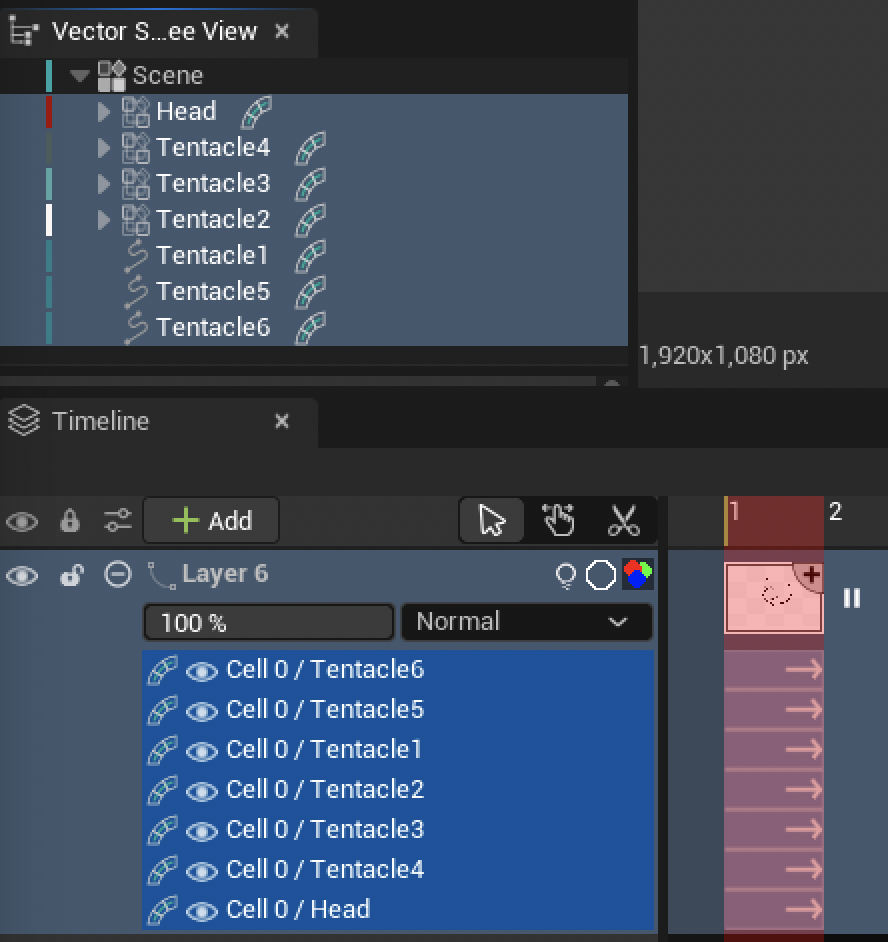
An icon with a curved warp grid will be visible next to the group or the path name:
In the Timeline, you can also see an extra row was added with the name of the group:

If several objects will be animated, create as many Inbetweener Tags as necessary.
Tip
Work faster by selecting multiple groups and paths before adding Inbetweener Tags.
If you created an Inbetweener Tag by mistake, do a right click and select “Remove Inbetweener Tag”.
Tag configuration
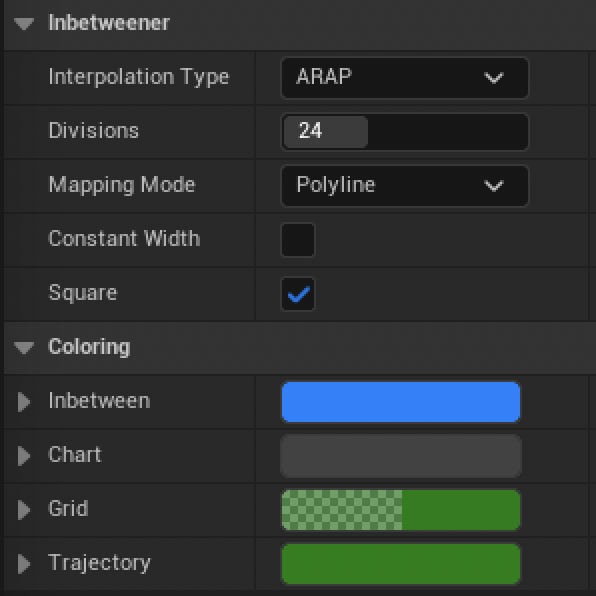
After setting up your Tags, additional parameters will be visible at the lower part of the Vector Scene Tree View.
Category |
Description |
|---|---|
Interpolation Type |
Choose the type of interpolation between ARAP or Linear (which will prevent the use of the Trajectory Tool). |
Divisions |
Number of divisions in the Grid Tool. |
Mapping Mode |
Will affect the commit of the Inbetweener. Polyline will force any segments to be analysed as a polyline even if they are cubic, meaning that the topology will change. Use Kepp Topology to prevent this. |
Constant Width |
When active, this option makes sure the thickness of the paths is respected. |
Square |
Display squares when using Grid Tool and Trajectory Tool. Disable it to get rectangles instead. |
Category |
Description |
|---|---|
Inbetween |
Change the color of the inbetweens |
Chart |
Change the color of the Chart Tool |
Grid |
Change the color of the Grid Tool |
Trajectory |
Change the color of the Trajectory Tool |
Generating inbetweens
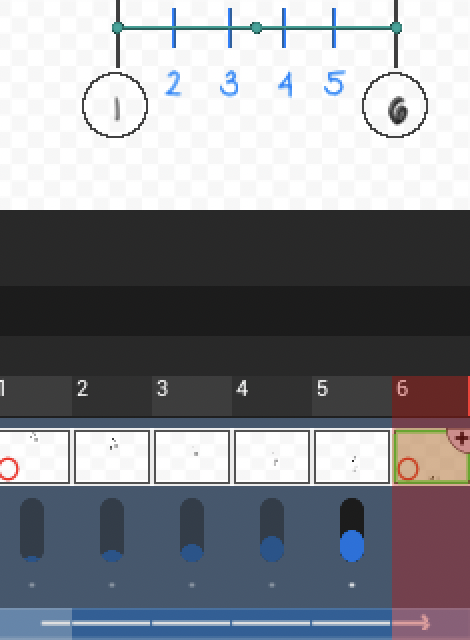
The number of inbetweens relies on the number of Cells generated in the Layer and the extension of the arrow visible under the Cells.
After adding several Cells, drag the arrow for each Inbetweener Tag to determine the output keyframe and generate inbetweens.
If you right click on the arrow, you will see different options:

Add Breakdown: to add a breakdown (an intermediate keyframe), that can be either drawn or generated by the Inbetweener
Remove Breakdown: to remove an existing breakdown
Show/Hide Target: to make visible the keyframe generated by the Inbetweener
Change direction: to make the arrow goes from right to left
In this lesson, the destination of the Inbetweener for the octopus’ head is empty, so it will be necessary to make the keyframe generated by the Inbetweener visible:
Note
You can change the exposure of each Cells without affecting the number of inbetweens generated:

Tools
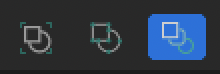
Contrary to the other modes Object and Vertex available in the Top Bar, the Inbetweener mode only gets 5 tools: Selection, Transform, Matching, Chart and Trajectory.
Except the Selection Tool, all the other ones are used to manipulate the output keyframe, which will affect the inbetweens.
Icon |
Description |
|---|---|

|
Selection Tool to select paths or groups from the scene (exactly the same as the Vector Selection Tool) |

|
Transform Tool to move, rescale and rotate the selected Inbetweener Tag. |

|
Matching Tool that displays a warping grid and match the input Keyframe to the output keyframe. |

|
Chart Tool to manage the spacing of the generated inbetweens. |

|
Trajectory tool to play with curves and distorsions. |
Transform Tool
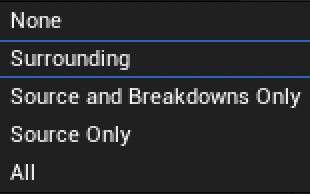
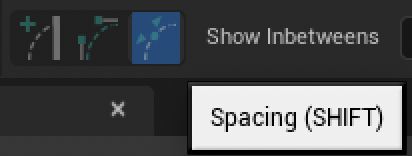
Even though the Transform Tool works like the basic Vector Transform Tool, in the context of the Inbetweener you will see the categroy “Show Inbetween” with this dropdown menu:
Type |
Description |
|---|---|
None |
Shows no inbetweens or keyframes, but the output keyframe. |
Surrounding |
Shows inbetweens generated between the previous and next keyframe or breakdown. |
Source and Breakdown |
Shows the input keyframe and the breakdowns, not the other inbetweens. |
Source Only |
Only shows the input keyframe. |
All |
Shows all the inbetweens. |
The default setting with Transform Tool is “Surrounding”. Let’s proceed with a few changes on the octopus’ head:
Tip
Use Shift to toggle off the uniform rescale.
Tip
If you need to Transform multiple tags at the same time, select them all in the Layer Stack with Shift before hand
Matching Tool
This tool is interesting when we need the input keyframe to match a drawn output keyframe.
As an example, let’s imagine we need to create inbetweens for the animation of this mouth:

Input keyframe

Output keyframe
Using the Matching Tool will allow us to tell the Inbetweener how the inbetweens should be generated between the input and the output:
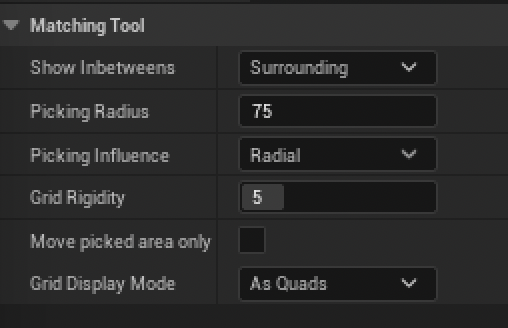
To control the Matching Tool, we will need to work with its settings and some parameters from the Vector Scene Tree View.
Type |
Description |
|---|---|
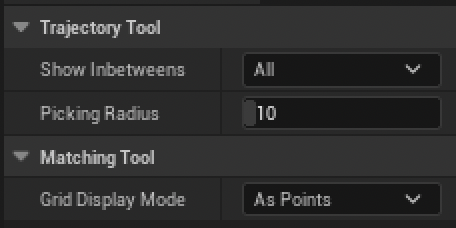
Show Inbetweens |
As explained above in Transform Tools. |
Picking Radius |
Increase or decrease the zone of influence of the cursor when moving the grid. |
Picking Influence |
Choose between Radial and Linear. Radial will gradually warp the grid around the picking zone. Linear will generate a regular warp around the picking zone. |
Grid Rigidity |
Affects the flexitibility of the grid. The lower the value, the more flexible it gets (grid will move like a thread). |
Move Picked Area Only |
It moves the grid in the zone of influence only, in accordance with the other parameters (rigidity, influence type). |
Grid Display Mode |
2 modes are possible: As Quads or As Points. |
Tip
When using the Matching Tool, the number of divisions in the Vector Scene Tree View does matter! The bigger the value, the more flexible!
Example of the Matching Tool applied on the mouth, jaw and tongue.
Chart Tool
The Chart Tool takes its origins to the fishbones drawn by traditional animators on paper. It is made to manage the physical spacing between the generated inbetweens. In the example below, “fishbones” correspond the inbetweens, which are determined by the number of Cells in the Timeline.
The Chart Tool only has 2 settings:
Picking Radius to increase or decrease the zone of influence of the cursor.
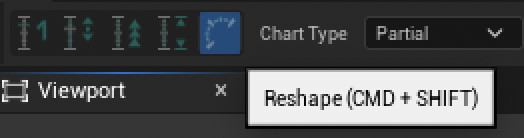
Chart Type to show only a part of the chart between two keyframes / breakdowns (Partial) or the entire chart (Full).
In the example below, we can see the inbetweens have been generated in a linear and relugar way:
To modify the spacing between the inbetweens, we can hold modifiers like Shift, Ctrl`(or :kbd:`Cmd on Mac) and Alt while dragging the “fishbones” from the chart to affect the spacing.
Key |
Description |
Example |
|---|---|---|
None |
Move each inbetween individually |
|
Ctrl / Cmd |
Move the inbetween and affect the neighbors relatively. |

|
Shift |
Ease In / Out automatically the inbetweens. |
|
Alt |
Magnet mode that attracts or repels neighboring inbetweens. |
|
Additionally, you can use the shortcut Ctrl+Shift (Cmd+Shift on Mac) to move or curve the chart:
Here is a simple example of the use of the Chart Tool combined with the Transform Tool:
Trajectory Tool
Trajectory Tool is used to convert a linear move into a curved one. This tool only has these settings:
Show Inbetweens is the same as Transform and Grid Tools
Picking Radius is to increase or decrease the zone of influence
Grid Display Mode is the same as Grid Tool (to display the grid as Points or Quads)
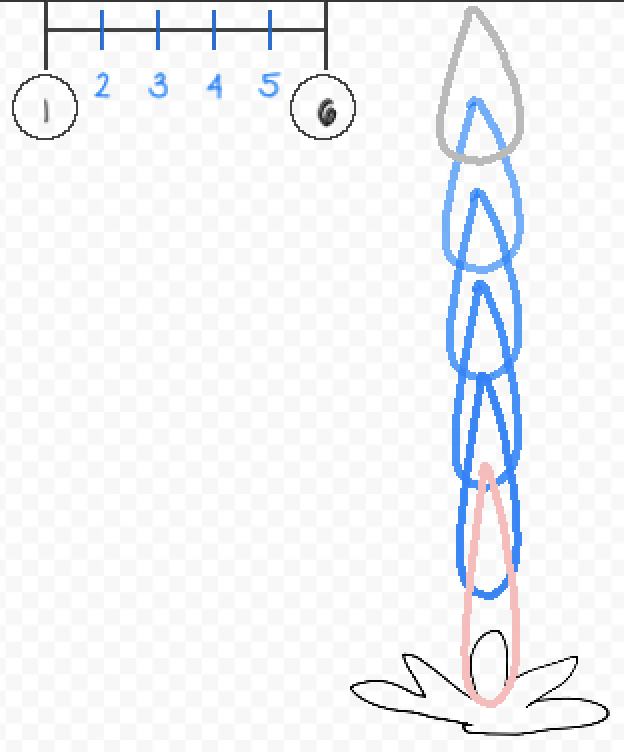
Let’s imagine we need these music notes to move in a curvy way:
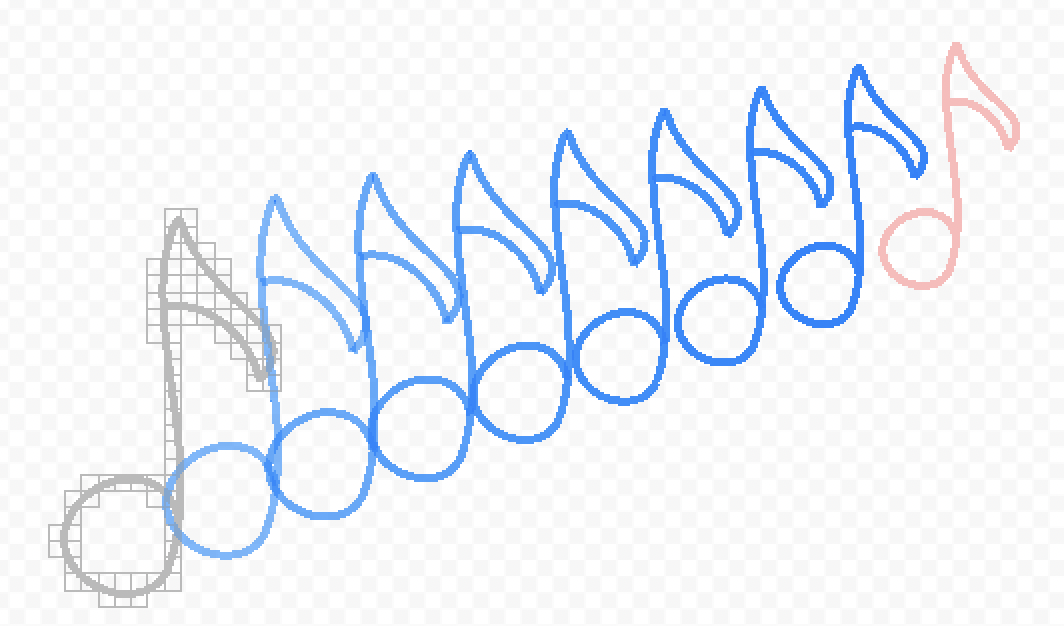
You can now create a trajectory by clicking on the grid and use the modifiers Ctrl (Cmd on Mac) or Shift to edit the trajectory and turn it into a curve:
Key |
Description |
Example |
|---|---|---|
None |
Add a trajectory. Each trajectory added will be based on coordinates from the grid in order find a correspondance on all the generated keyframes. |
|
Ctrl / Cmd |
To display handles to curve the trajectory. |
|
Shift |
To modify the position and skew of the inbetween (makes more sense when several trajectories have been added) |
|
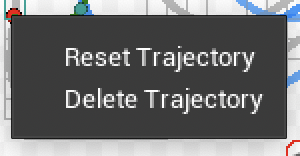
If you need to reset or remove a trajectory, do a right-click on a trajectory to display a contextual menu:
Here is the result of the use of the Trajectory Tool combined with the Transform Tool:

Contextual Menu
The Contextual Menu can be called with a right-click.
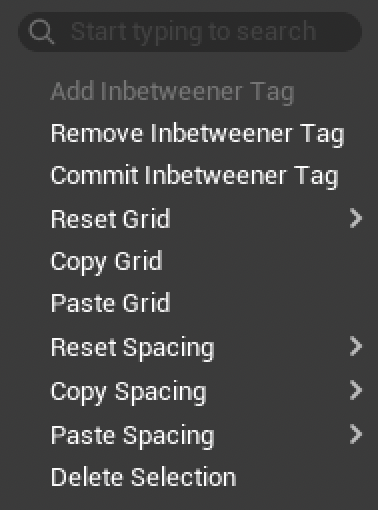
In this menu, you can:
Commit or Remove the Inbetweener Tag (explained below)
Reset the Grid (Transformation and / or Deformation)
Copy / Paste the Grid to apply it on a different Inbetweener Tag
Reset Spacing fromt the Chart Tool (between 2 keyframes / breakdowns or all the entire section)
Copy / Paste Spacing from the Chart Tool (in order to apply the same chart to other elements)
Delete Selection (which will work only on the input keyframe)
Commit Inbetweener Tag
Commiting validates once and for all the animation generated with the Inbetweener. You can commit it with a right-click in the canvas or in the Vector Scene Tree View. If you have several Inbetweener Tags, they can be commited separately or all together (in this case, use Shift for multiple selection).
Note
When commiting, there is no turning back! Apply only if you’re sure you will not need to change it.
Tip
When working with a Paint Group, commiting will also apply the Paint Buckets to your animation!