Color Selector
Color Selector is used to select and modify colors for drawings or animations. It aids in creating color harmony, make incremental adjustments and maintain consistency on a project.
Color Wheel
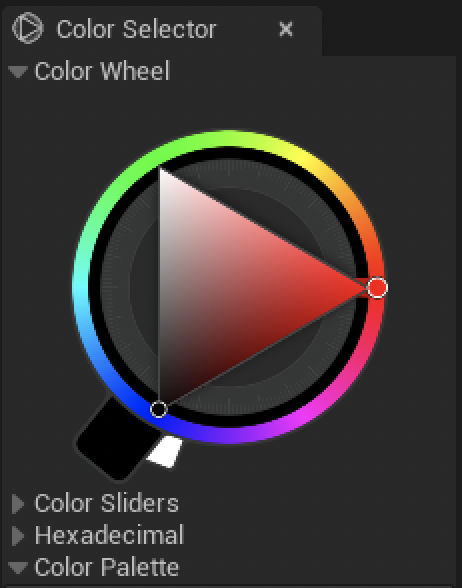
The chromatic wheel, also known as a color wheel, is a circular diagram that displays the relationship between colors. It consists of primary and secondary colors arranged in a circle. Users can select and manipulate colors by choosing positions on the wheel or by rotating it to create harmonious color schemes.
Color Sliders
Uncollapse Color Sliders to display its settings below Color Wheel.
The Color Slider is a graphical tool that allows users to adjust specific color properties, such as hue, saturation, brightness, or transparency, by sliding a control element along the linear tracks. It provides precise control over individual color components. You can slide the value or enter a precise numeric value in the dedicated area.
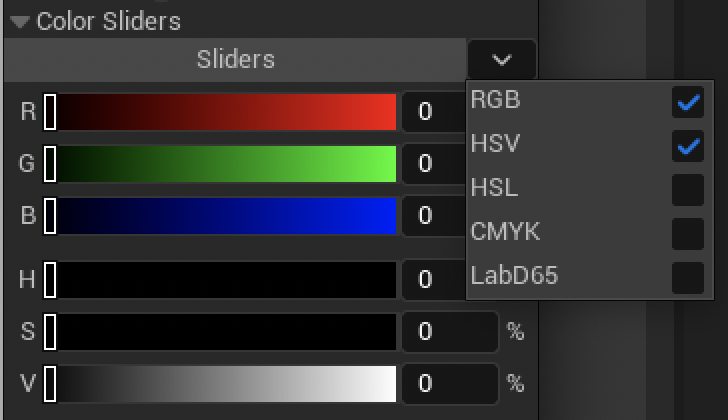
By default, there are 3 sliders (just like in the image above):
RGB: Red, Green, Blue
HSL: Hue, Saturation, Luminosity
Other sliders are available by clicking on the upside down arrow:
HSV: Hue, Saturation, Value
CMYK: Cyan, Magenta, Yellow and Black (which is used for printers)
LabD65: or CIELAB color space, is designed to approximate human vision
Hexadecimal
Uncollapse Hexadecimal to display its settings below Color Sliders.
This mode is helpful for web designers. Use this field to copy or paste a hex color.

Palette
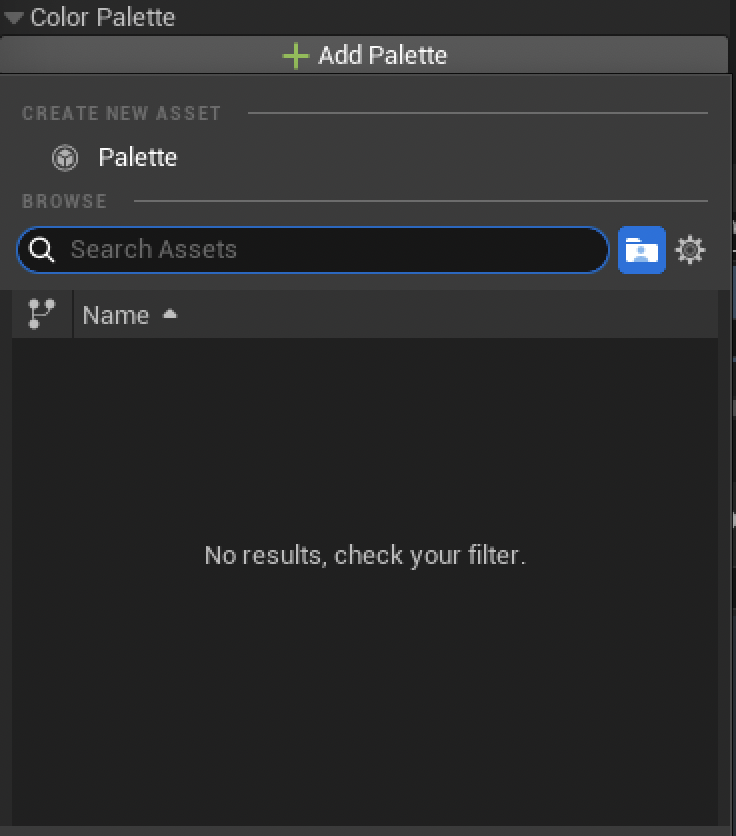
Uncollapse Color Palette to display its settings below Hexadecimal.
A palette is a collection of predefined colors or swatches that users can easily access and apply within the software. Palettes can be organized into categories, making it convenient to choose colors for various elements in a project.
But to use this part properly, let’s firt see how to create a Palette Asset.
Note
Palettes can be used both with Raster and Vector layers. However, the behavior will be different. With Raster layers, the colors from the Palette will be simply used as a collection of nuances. But if the Palette changes, it will not affect colors applied in the canvas. With Vector layers, Palette can be used as Indexed Colors, meaning that any change in the Palette content will affect the colors applied in the canvas. This topic will be explained at the very end of this lesson.
Create a Palette
From the Color Selector
After uncollapsing the category Palette from the Color Selector, click on Add Palette ▸ Create New Asset ▸ Palette.
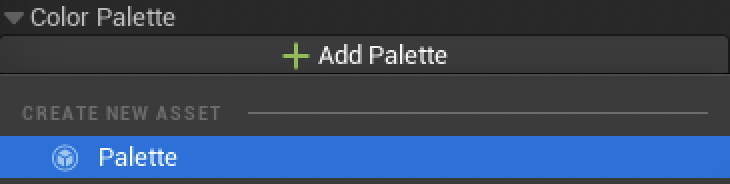
A new window will appear to save the Palette as an asset in the Content Browser.
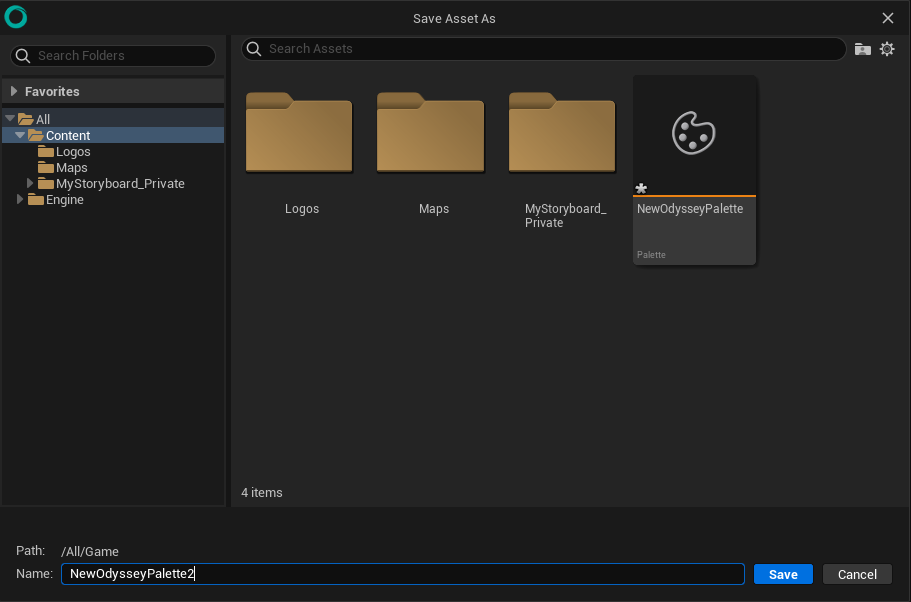
The Palette newly created will be automatically loaded afterwards.

However, its content will be empty by default and will need to be opened from the Content Browser to be edited.
From Content Browser
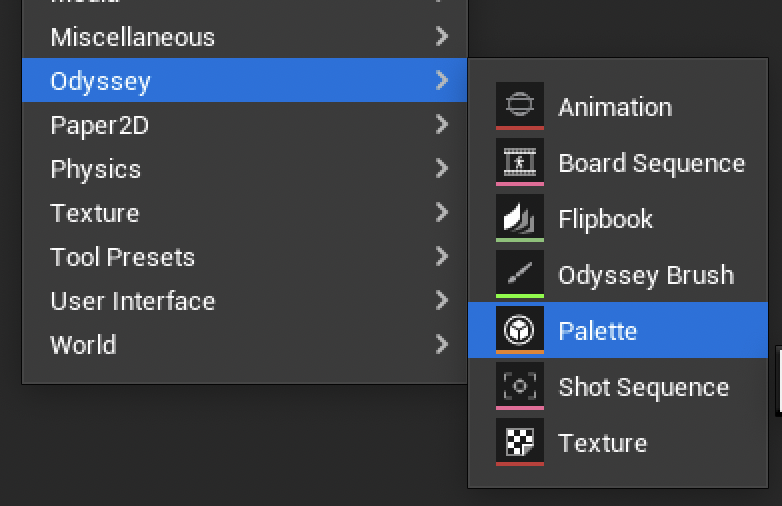
You can also create a Palette directly in the Content Browser. Make a right click in the empty area to display a pop-up menu. Then, go to the sub-menu “Odyssey” and click on “Palette”. It will create a new Palette asset.
Modify a Palette
Go to the Content Browser and double click to open a Palette. In the example below, the Palette is empty.
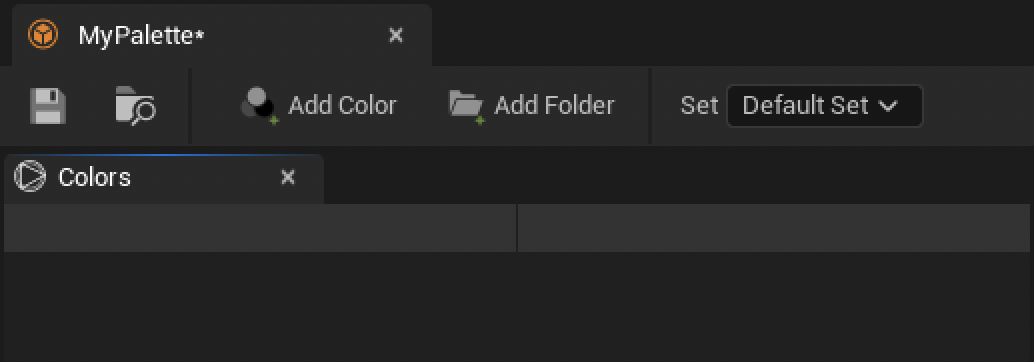
Add & modify colors
Click on this icon to create a Color.

By default, you will get a black rectangle.

Click then on the black rectangle. A new window is going to pop up with a wheel, sliders, and an eyedropper you can use to choose a new color.
Tip
Use RMB on this color wheel to display a histogram instead.
Choose you color and click on “OK” to confirm your choice.
Contextual Menu
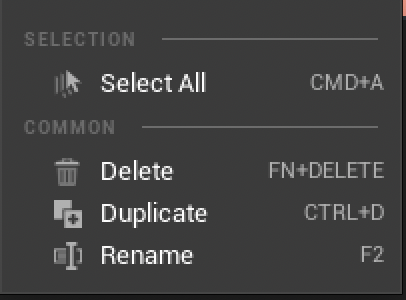
If you do a right click on the color entry, you a Contextual Menu will show up:
Warning
The menu is currently faulty and options there will not work. It will be fixed, thank you for your patience!
Add a folder
As in the layer stack, you can create folders and rearange your colors inside.
To create a new folder, click on this icon:

Use this folder then to organize your colors.

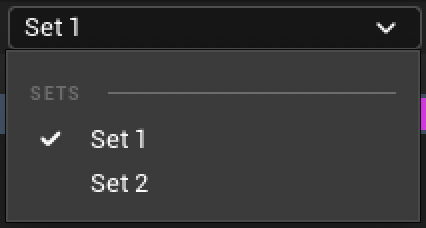
Sets
Sets are a useful feature to have several variations from the same Palette. For instance, you can create a Set for day time and a set for dawn and another one for night.
To manage Sets, click here at the top right corner:
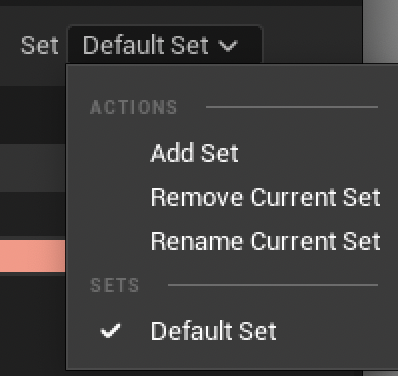
Here you can:
Add a new Set (when clicking here, you will have to enter the name of that new Set)
Remove the Current Set
Rename the Current Set
Or load the Current Set
Save a Palette
To save a Palette, hit he Save Disk icon if the Palette is opened in its own editor or use Ctrl+S.
Load a Palette
Click in the dropdown menu of the Palette panel and browse among the created Palettes, then select the one you want to load.
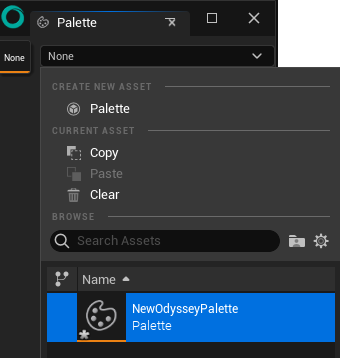
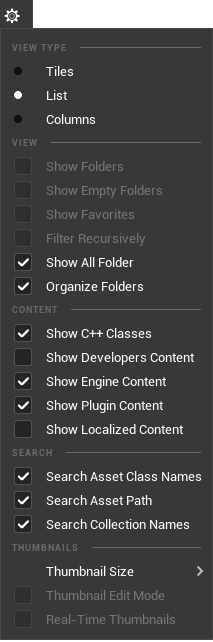
To change the Browse settings, click on the gear icon.
Note
Contrary to older versions of Odyssey, the Palette must be opened from the Content Browser to get modified.
After loading a Palette, you can change the Set to be used.
Click then on the color of your choice and start painting with it.
Note
You can load several Palettes at the same time!
Remove a Palette
Click on the Bin to remove a Palette from the Color Selector.

Indexed Colors (Vector Only)
Indexed Colors only appear in the Color Selector panel if you are working on a Vector Layer.

When you load a Palette here, there will be a dynamic link between the color used and the tool using that color. Said differently: if you change the nuance of that color, it will update all the objects using that color.
Warning
The refresh is faulty in the current version. This will be fixed in a next version.