Getting Started
Minimal Requirements
Install Git
Install Python 3.9+
Install CMake 3.19+
Install Unreal Engine
To install Unreal Engine, you need to :
Install Epic Game’s Launcher
Create an account with you e-mail address (if not yet created)
Log in Epic Game’s Launcher
Click on the “Unreal Engine” Tab and then on “Library”
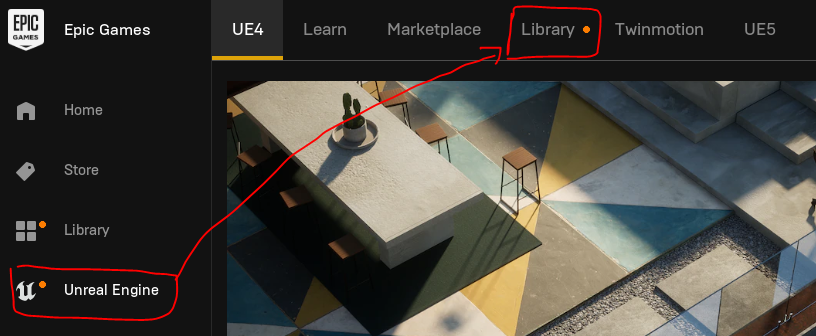
Click on the “+” icon near “Engine versions”

In the created widget, select the version you need (usually the latest one) and click on “Install”
Install Unreal Engine’s Debug Symbols
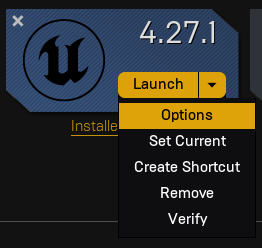
Open your Epic Games Launcher
Go in “Unreal Engine” and then “Library”
Click the little arrow near the “Launch” button of the Unreal Engine version you want to install the Debug Symbols in.
Select “Options”
In the displayed list, check “Editor Symbols for debugging”
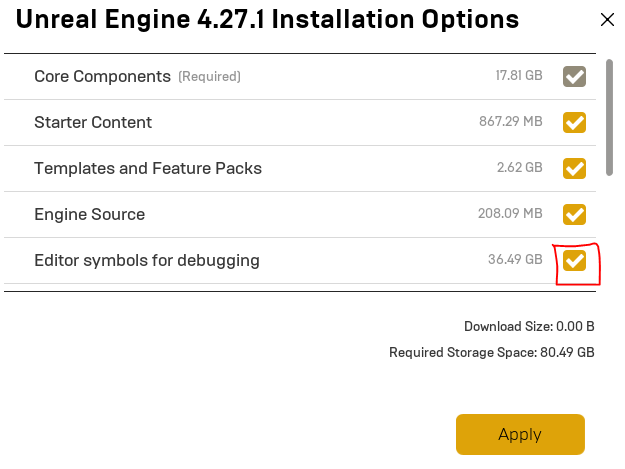
Click “Apply” and wait for the symbols to be downloaded
Install Visual Studio
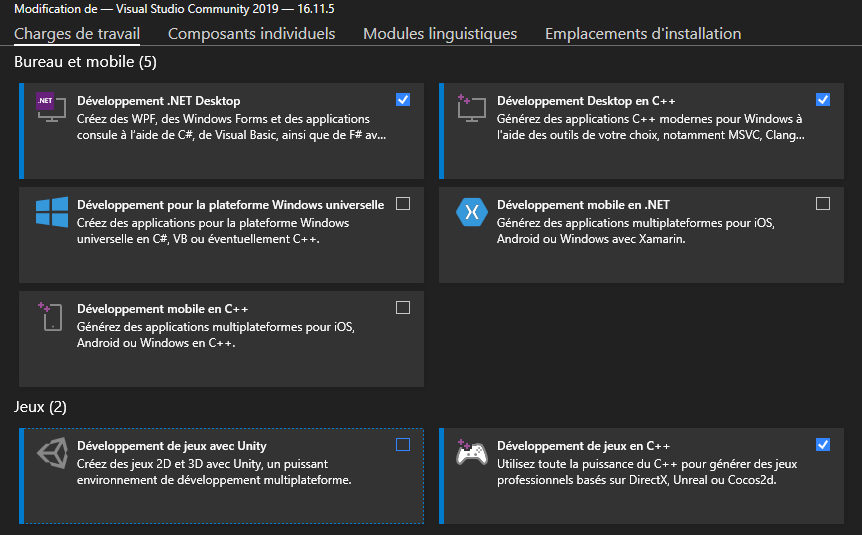
To edit and compile ILIAD, you need to install Visual Studio (Community version is enough).
When installing Visual Studio, please check the following options : - Desktop .NET Development - Desktop C++ Development - Game C++ Development
Create an Unreal Engine Project
To create an Unreal Engine Project :
Open Epic Game’s Launcher
Click on “Unreal Engine” and then “Library”
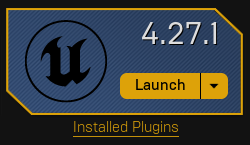
Click the “Launch” button of the Unreal Engine version you want to create a project in.
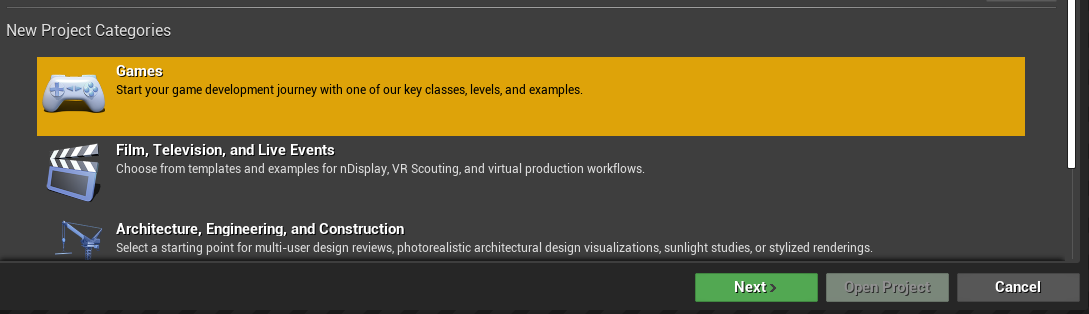
Select your new Project’s Category (usually Games) and click “Next”
Select the template you want to use or Blank and click “Next”
Select “C++” as the Project type, select any other option as you wish

Define the location and name of you project and click “Next”
Important
Be sure to launch the Unreal Engine version corresponding to the Git branch on which you will be working.
Important
Selecting “C++” as the project type is what will allow the project to be opened in Visual Studio Code and include ILIAD for development.
Add ILIAD to an Unreal Engine Project
Important
Make sure your Unreal Engine project is a C++ project.
To include ILIAD in an Unreal Engine Project for development :
Retrieve ILIAD from Github
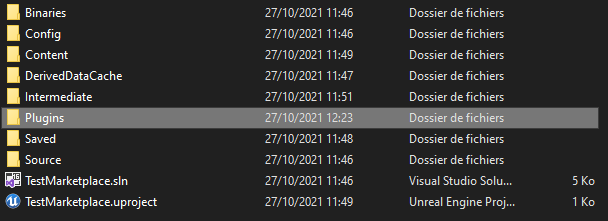
In your Unreal Engine Project directory and create a “Plugins” folder.
Copy you ILIAD folder or create a symbolic link to your ILIAD folder
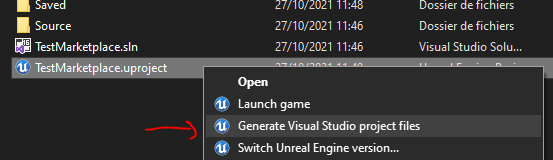
In your Unreal Engine Project directory, right-click on your project “.uproject” file and select “Generate Visual Studio Project Files”
In your Unreal Engine Project directory, open your “.sln” file with Visual Studio
In Visual Studio you should now see ILIAD under “Games/YourProjectName/Plugins”
In Visual Studio Compile your project in “DebugGame Editor” or “Development Editor” configuration.
Note
On Windows, creating a simple link does not work, you need to create a symbolic link in command line with mklink /D "Your/ILIAD/Folder" ILIAD